
How to Make a Quick Pipe Repair with Push-to-Connect Fittings
About This Project
This guide provides detailed instructions for performing a quick and effective repair on a leaking pipe using push-to-connect fittings. The process involves shutting off the water supply, cutting out the damaged section of the pipe, preparing the pipe ends, and installing the new fittings to create a watertight seal.
Best for homeowners and DIY enthusiasts with basic plumbing knowledge and familiarity with power tools.
Tools & Materials
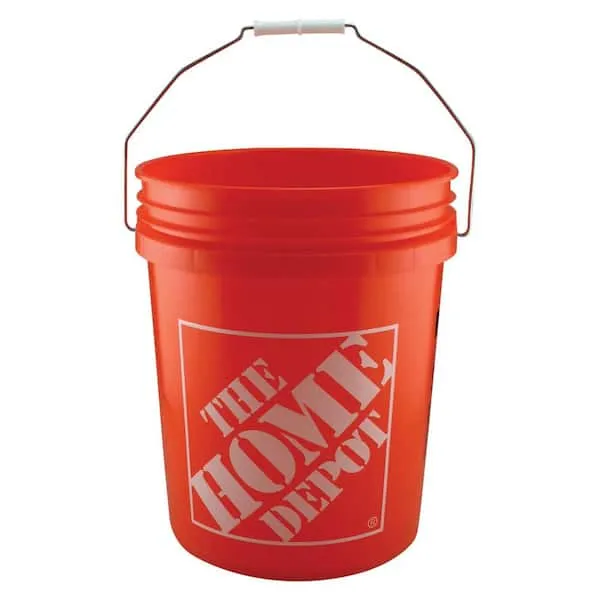
Bucket
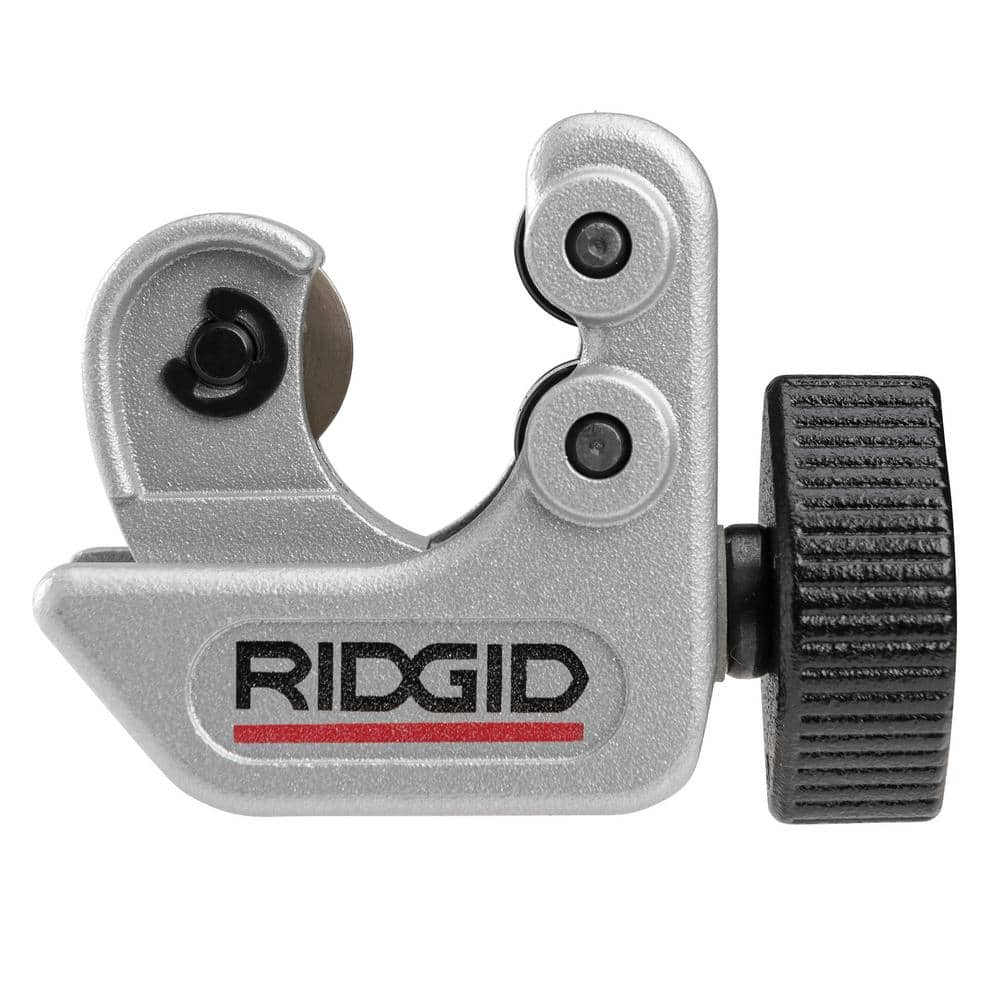
RIDGID 1/4 in. to 1-1/8 in. 101 Close Quarters Copper, Aluminum, Brass, and Plastic Tubing Cutter, Multi-Use Tubing Tool 40617
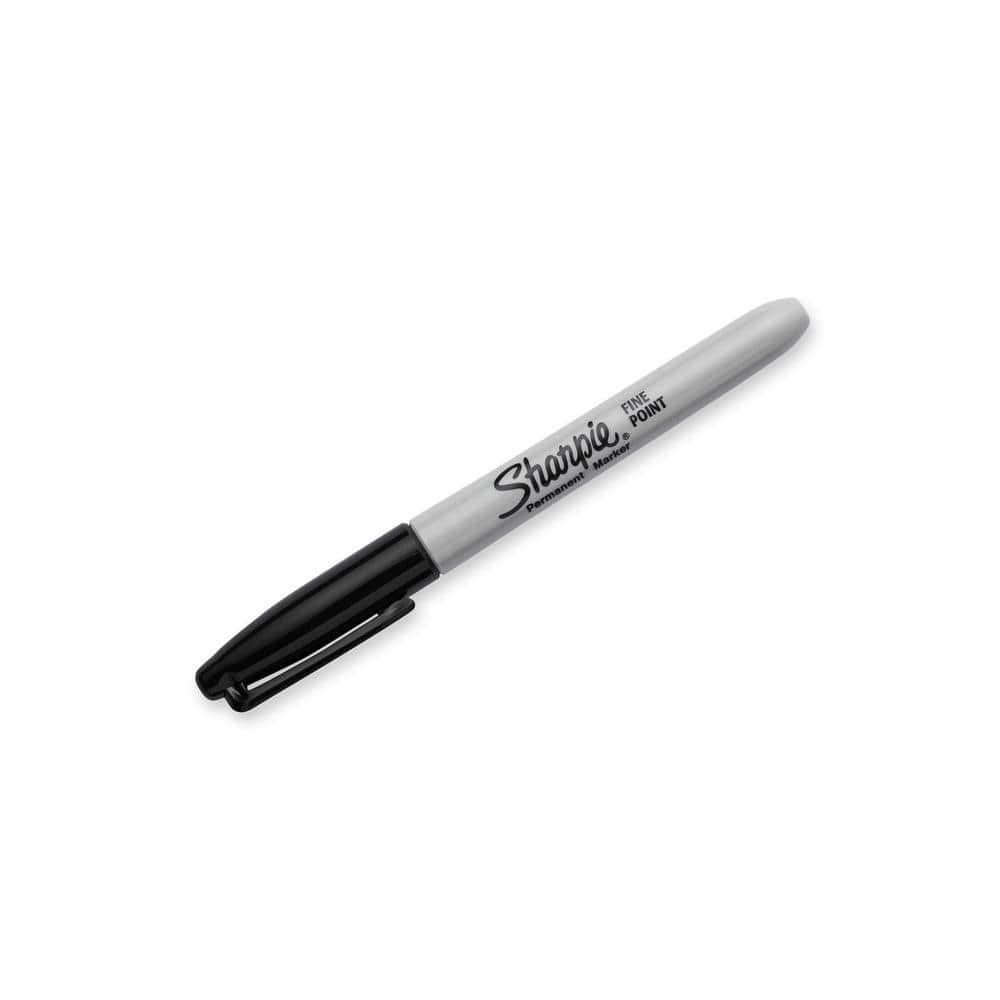
Sharpie Fine Point Black Permanent Marker (12 per Pack) 2005126
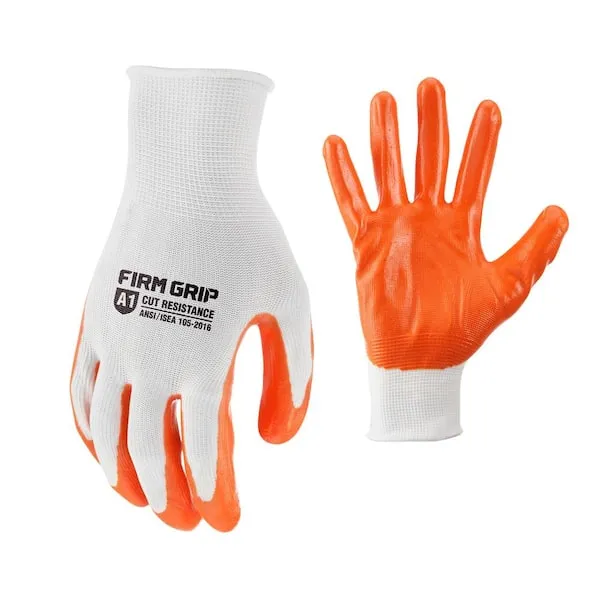
Work Gloves
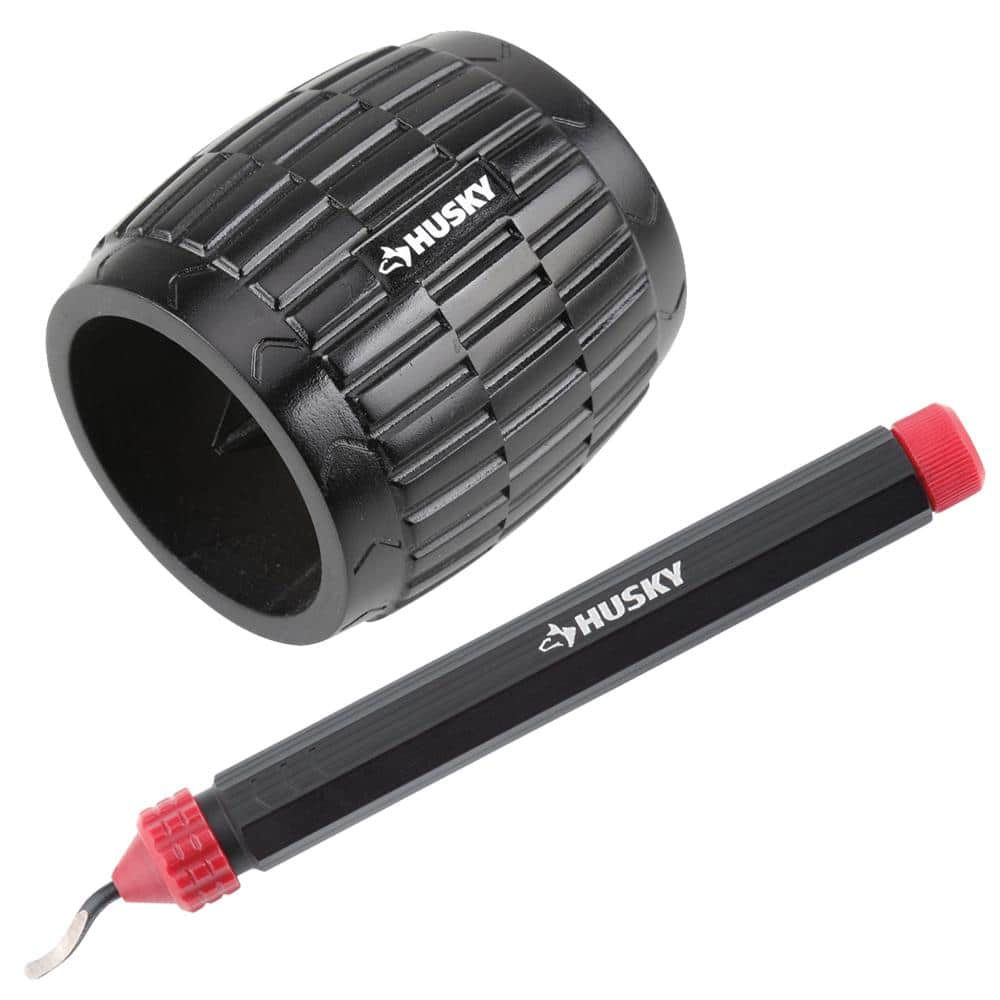
Husky 1-5/8 in. Inner/Outer Reamer and Deburring Tool 410-248-0111
3M 3.66 in. x 9 in. Coarse, Medium and Fine Assorted Grits Emery Cloth Sandpaper (3 Sheets-Pack) 5931ES
Bucket
Ideal for carrying or storing liquids.
RIDGID 1/4 in. to 1-1/8 in. 101 Close Quarters Copper, Aluminum, Brass, and Plastic Tubing Cutter, Multi-Use Tubing Tool 40617
Built on the trust of the trades, you need tools designed for experts and built to last. Experience the durability of the RIDGID 101 Close Quarters Tubing Cutter with 1/4"-1-1/8" capacity (catalog number
Sharpie Fine Point Black Permanent Marker (12 per Pack) 2005126
The Sharpie Permanent Markers can mark on most hard-to-mark surfaces. Suggested use on plastic, metal, cardboard, vinyl, and leather and glass surfaces. These permanent markers have an alcohol based ink
Work Gloves
Protects hands during tasks.
Husky 1-5/8 in. Inner/Outer Reamer and Deburring Tool 410-248-0111
Husky's Inner/Outer Reamer removes burrs from the inside and outside of copper, steel, iron and brass piping and tubing from 1/8 in. up to 1- 5/8 in. diameter. It delivers easy, clean inside diameter reaming and outside diameter beveling. The reamer features a textured body for firm gripping. Precision-ground cutting blades result in smooth surfaces. Husky's Deburring Tool removes burrs from metal or plastic pipe edges resulting from cutting, drilling, grinding or milling tasks. Boasting a lightweight design, this contoured, hex-handled tool creates smooth surfaces for any project. The blades are easy to replace using the push button blade release. Includes two types of blades: the black deburrs aluminum, copper and PVC pipes while the silver deburrs brass and cast-iron pipes. Built to last and backed by the Husky lifetime warranty.
3M 3.66 in. x 9 in. Coarse, Medium and Fine Assorted Grits Emery Cloth Sandpaper (3 Sheets-Pack) 5931ES
3M Emery Cloth Sandpaper 5931ES, 3-2/3 in. x 9 in., assorted grit, 3 sheet pack. 3M sandpaper comes in a variety of minerals and a wide grit range. This assorted-grit package can be used for sanding metal
Steps

Shut Off Water Supply and Drain Pipes
5 minsThe first and most critical step is to stop the flow of water to the area you'll be working on. Locate the main water shut-off valve for your home, which is often found in the basement, a utility closet, or near the water meter. Turn the valve handle clockwise until it is fully closed. To relieve pressure and drain the water remaining in the pipes, open a faucet at the lowest level of your house (like a basement sink or an outdoor spigot) and another at the highest level (like a second-floor bathroom). Place a bucket under the damaged pipe section to catch any residual water that drips out.

Mark and Cut the Damaged Pipe Section
5 minsPrecisely measure and mark the section of pipe that needs to be removed. Identify the exact location of the pinhole leak. Using a permanent marker, make a mark at least 1 inch to the left and 1 inch to the right of the damaged area. This ensures you are working with a solid, undamaged section of pipe. Place a tubing cutter around the pipe on one of your marks, tighten it slightly, and rotate it around the pipe, tightening the knob with each rotation until the pipe is cut cleanly. Repeat this process on the second mark to remove the damaged section entirely.

Clean and Deburr the Pipe Ends
5 minsAfter cutting, the pipe ends must be perfectly prepared. First, use a deburring tool to remove any sharp lip or burrs from both the inside and outside of the cut pipe ends. This prevents the O-ring from getting sliced during installation. Next, take a piece of emery cloth or fine-grit sandpaper and thoroughly clean the outside surface of both pipe ends, extending about 1 inch from the end. The goal is to remove all oxidation, dirt, and residue, leaving a bright, smooth, and shiny surface. Wipe the cleaned ends with a dry cloth to remove any dust or filings.

Mark the Insertion Depth
3 minsYou need to ensure the pipe is inserted fully into the fitting. To do this, measure the required insertion depth. Most push-to-connect fitting brands provide a small plastic depth gauge tool in the packaging. Alternatively, the depth measurement (e.g., 1 inch for 1/2" pipe) is printed on the fitting or its packaging. Place the depth gauge on the end of the pipe and use a permanent marker to make a mark on the pipe at the edge of the gauge. If you don't have a gauge, use a ruler to measure the required depth from the end of the pipe and mark it. Repeat for all pipe ends that will be inserted into a fitting.
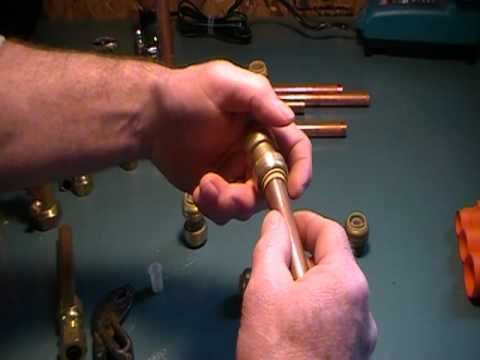
Install the Push-to-Connect Fittings and New Pipe
5 minsWith the pipe ends prepared and marked, you can now install the repair coupling. Measure the gap between the two pipe ends and cut a new piece of 1/2 inch copper pipe to that length. Deburr and clean both ends of this new piece just as you did before, and mark the insertion depth on both ends. Take one push-to-connect coupling and firmly push it onto one of the existing pipe ends. Use a slight twisting motion as you push. You should feel it pass the O-ring and then stop firmly as it seats against the internal tube stop. The depth mark you made should be right at the edge of the fitting. Now, insert one end of your new pipe piece into the other side of that coupling. Finally, take a second coupling and install it to connect the other end of the new pipe piece to the remaining existing pipe end.

Restore Water Pressure and Check for Leaks
5 minsThe final step is to test your work. Go back to the main water shut-off valve and open it slowly, about a quarter turn at first. This allows the pipes to fill with water gradually, which helps prevent a 'water hammer' effect. Listen for the sound of rushing water to stop, indicating the pipes are full. Then, open the valve the rest of the way. Return to the repaired area and carefully inspect both push-to-connect fittings for any signs of water. Use a dry paper towel and wipe it around each joint; it will make even the smallest bead of water visible. If everything is dry, close the faucets you opened earlier. Your repair is complete.
Common Problems
O-ring damage from rough pipe edges.
Solution: Deburring the outer edge prevents the O-ring inside the press fitting from being cut or damaged during insertion.
If using copper, you must deburr the pipe to prevent damage to the fitting's internal O-ring.
Solution: To avoid this issue: Be mindful of this warning and take appropriate precautions.
Water will be gushing out under pressure as soon as the pipe is cut. Be prepared to move to the next step immediately.
Solution: To avoid this issue: Be mindful of this warning and take appropriate precautions.
Uneven pipe cuts prevent push-to-connect fittings from sealing properly.
Solution: Using proper pipe cutters ensures a clean, square cut which is important for a good seal.
Sharp pipe edges can shred O-rings, causing leaks.
Solution: Deburring the pipe is a critical step; failure to do so can damage the O-ring in a press-fit coupling and cause a new leak.
Water spills onto the floor when cutting the pipe.
Solution: Place a bucket or towel underneath the pipe to catch any residual water that will drain out after cutting.
Ensure the SharkBite fitting is pushed all the way onto the copper pipe to engage the locking mechanism and O-ring seal.
Solution: To avoid this issue: Be mindful of this warning and take appropriate precautions.
Frequently Asked Questions
Is this pipe repair project truly beginner-friendly, and what's the most crucial step for a novice?
Yes, this project is rated beginner-level because push-to-connect fittings simplify the process significantly, requiring no soldering or special skills. The most crucial step is properly shutting off your home's main water supply to prevent flooding and ensure safety. Double-check that all water flow has stopped before cutting the pipe.
Do I need all the specific tools listed, especially the pipe cutters and deburring tools?
While specific brands are listed, the *types* of tools are essential for a successful repair. A good pipe cutter ensures a clean, straight cut, and a deburring tool is critical for smoothing pipe ends to prevent leaks and allow the push-to-connect fitting to seat correctly. Skipping these can lead to a failed seal.
What's the most common mistake beginners make with push-to-connect fittings, and how can I avoid it?
The most common mistake is improper pipe preparation, specifically not thoroughly cleaning and deburring the pipe ends, or not marking and achieving the correct insertion depth. Use sandpaper to clean the pipe exterior and the deburring tool to smooth both inner and outer edges, then use a depth gauge to ensure the pipe is pushed in far enough for a secure seal.
How long should this repair realistically take for someone new to plumbing?
The estimated time of 2 hours is achievable for a beginner once you have all your tools and materials ready. Most of the time is spent on preparation, such as shutting off water, draining pipes, and meticulously preparing the pipe ends. Rushing these steps can lead to redoing the repair.
Can push-to-connect fittings be used on all types of pipes, or only copper as shown in this project?
While this project specifically uses copper pipe, many push-to-connect fittings are designed to work with various pipe materials, including PEX and CPVC, in addition to copper. Always check the fitting's packaging to ensure compatibility with your specific pipe material and size before purchase. Compatibility is key for a watertight seal.
What should I do if the push-to-connect fitting leaks after installation?
If a leak occurs, first turn off the water supply again. The most likely causes are improperly prepared pipe ends (not deburred or cleaned) or insufficient insertion depth. Disconnect the fitting using the appropriate disconnect tool, re-clean and re-deburr the pipe, and ensure you push the pipe fully into the fitting up to the marked depth before restoring water.