
How to Make a Quick Pipe Repair with Push-to-Connect Fittings
About This Project
This guide provides instructions for temporarily or permanently repairing a damaged section of water pipe by cutting out the bad section and replacing it with a new piece of pipe connected using push-to-connect (or push-fit) fittings. This method is fast and requires no soldering, gluing, or special crimping tools, making it ideal for quick DIY repairs.
Best for experienced DIYers and homeowners with some experience with basic plumbing knowledge and familiarity with power tools. Requires MCR Safety BearKat Safety Glasses MCSCRWBK110 and Rheem Preferred Series Remote Water Shut-Off Valve 7388598.
Tools & Materials

Unger 6 Gal. Heavy-Duty Plastic Bucket DB02
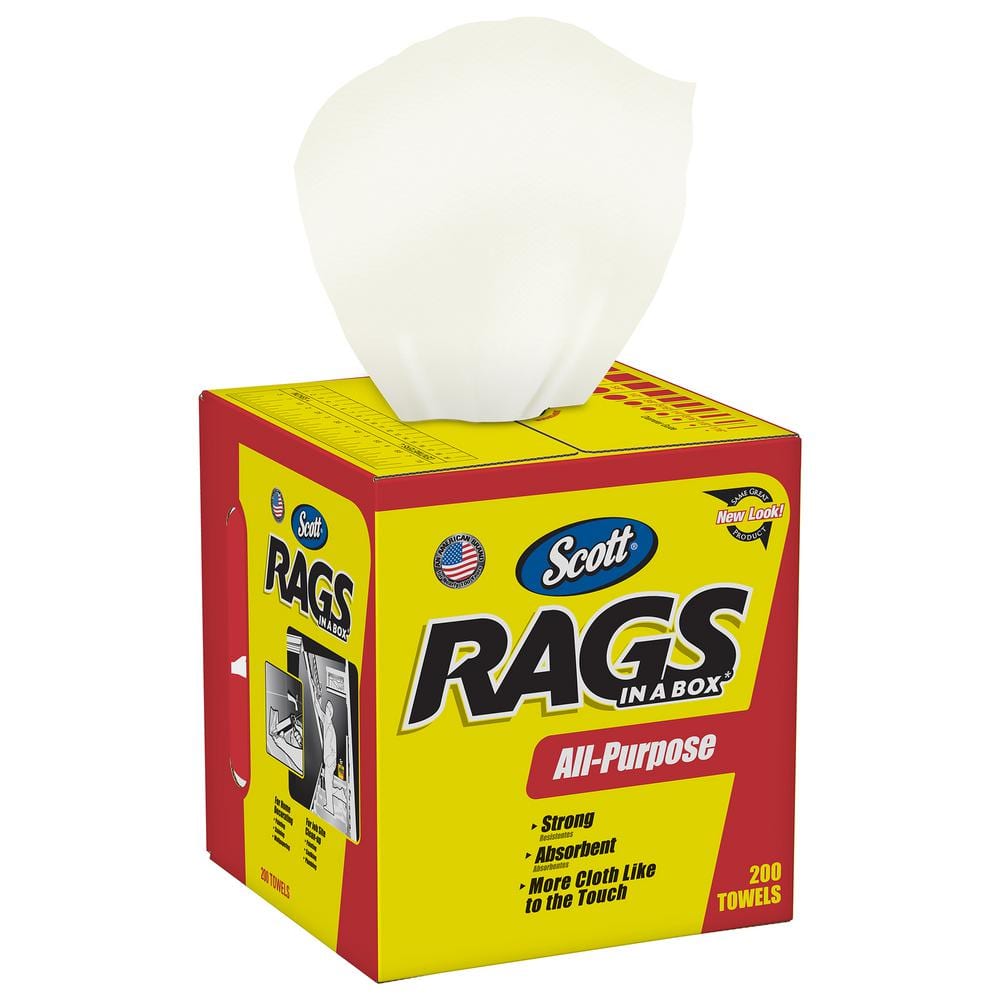
Scott Rags in A Box in White (200-Shop Towels per Box) 75260
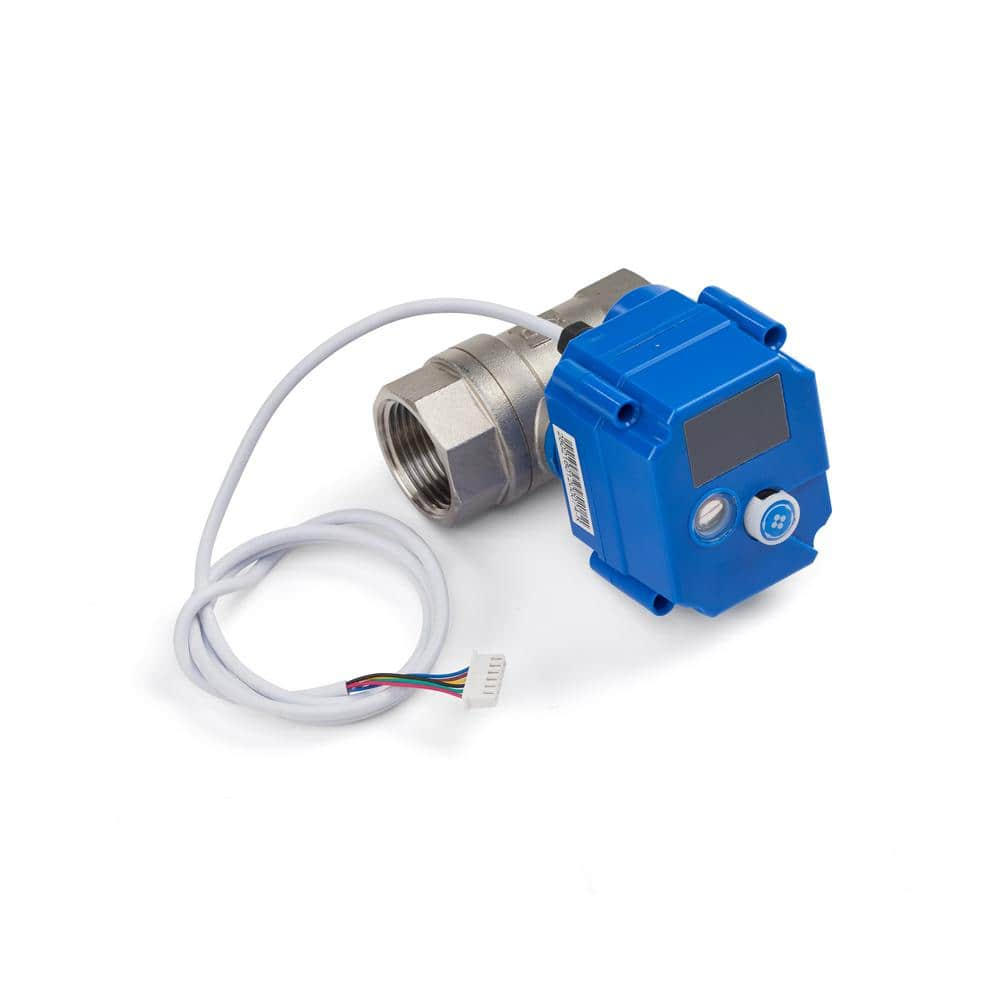
Rheem Preferred Series Remote Water Shut-Off Valve 7388598
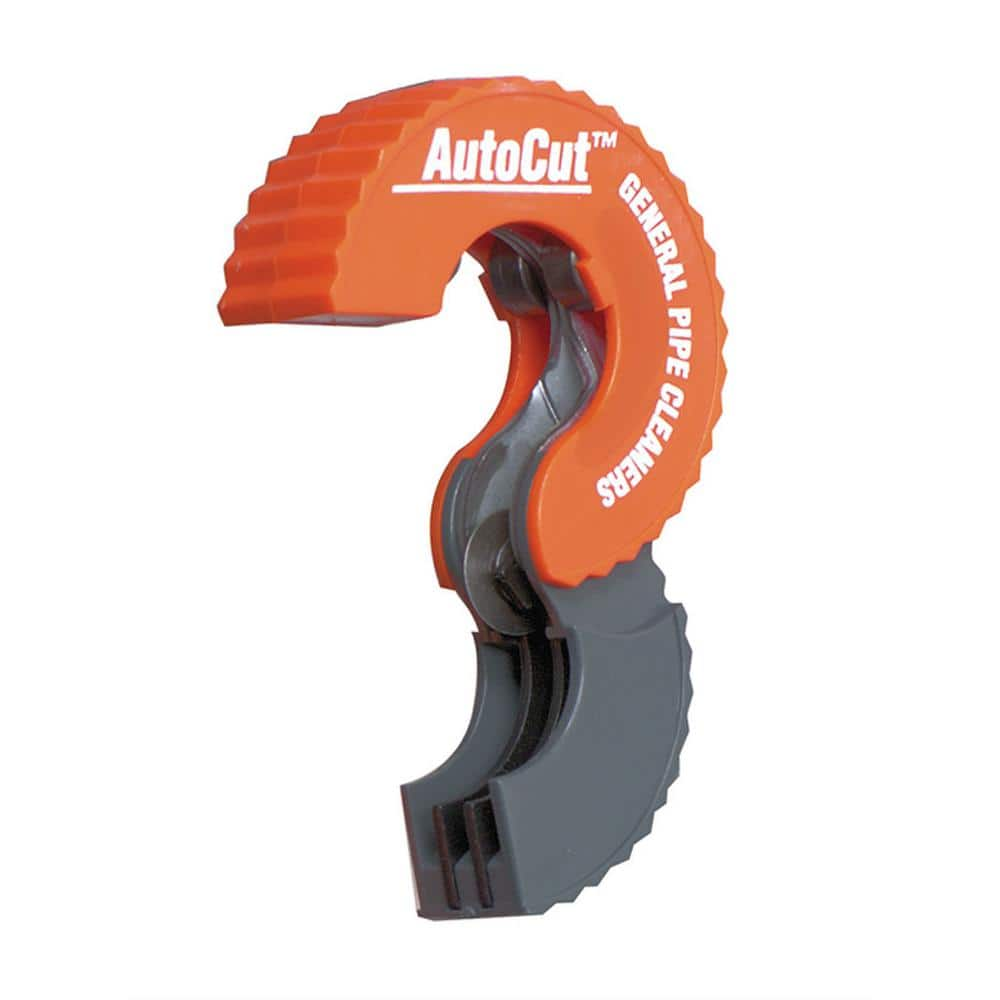
AUTOCUT 1/2 in. Copper Pipe Tubing Cutter ATC12
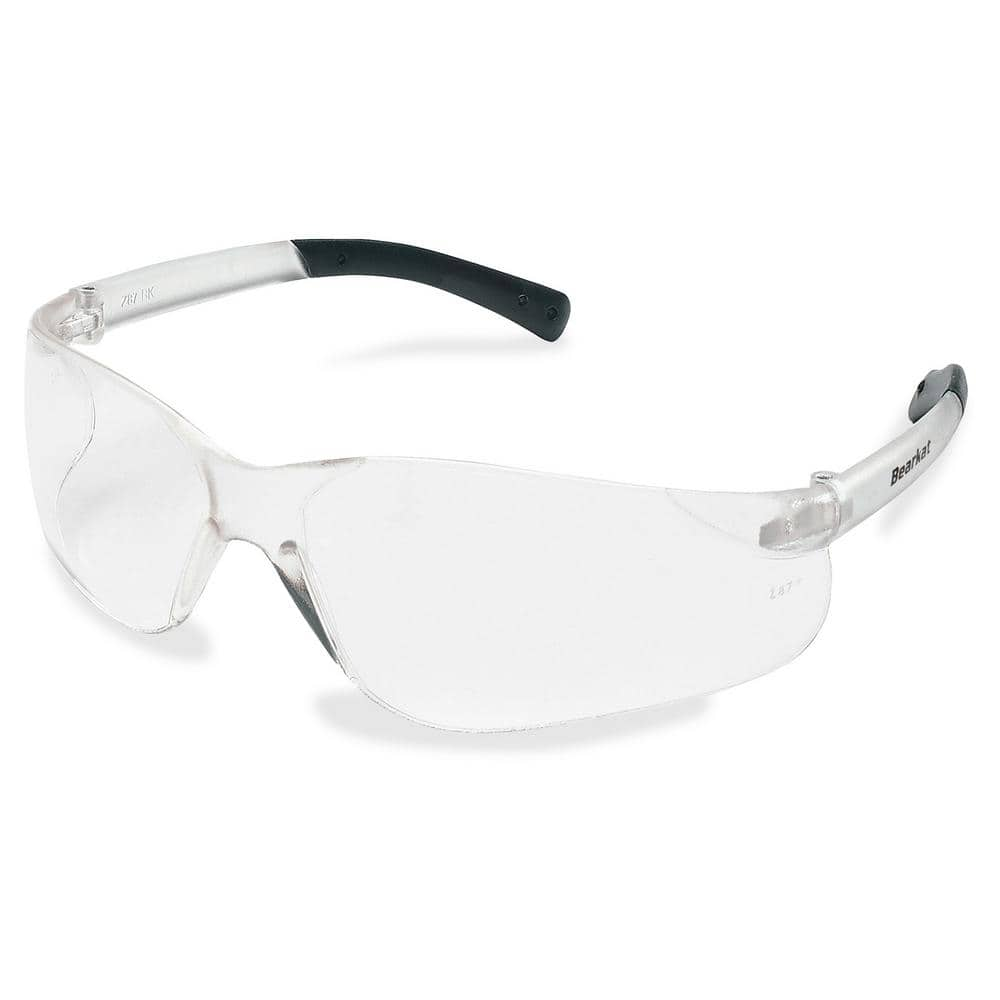
MCR Safety BearKat Safety Glasses MCSCRWBK110
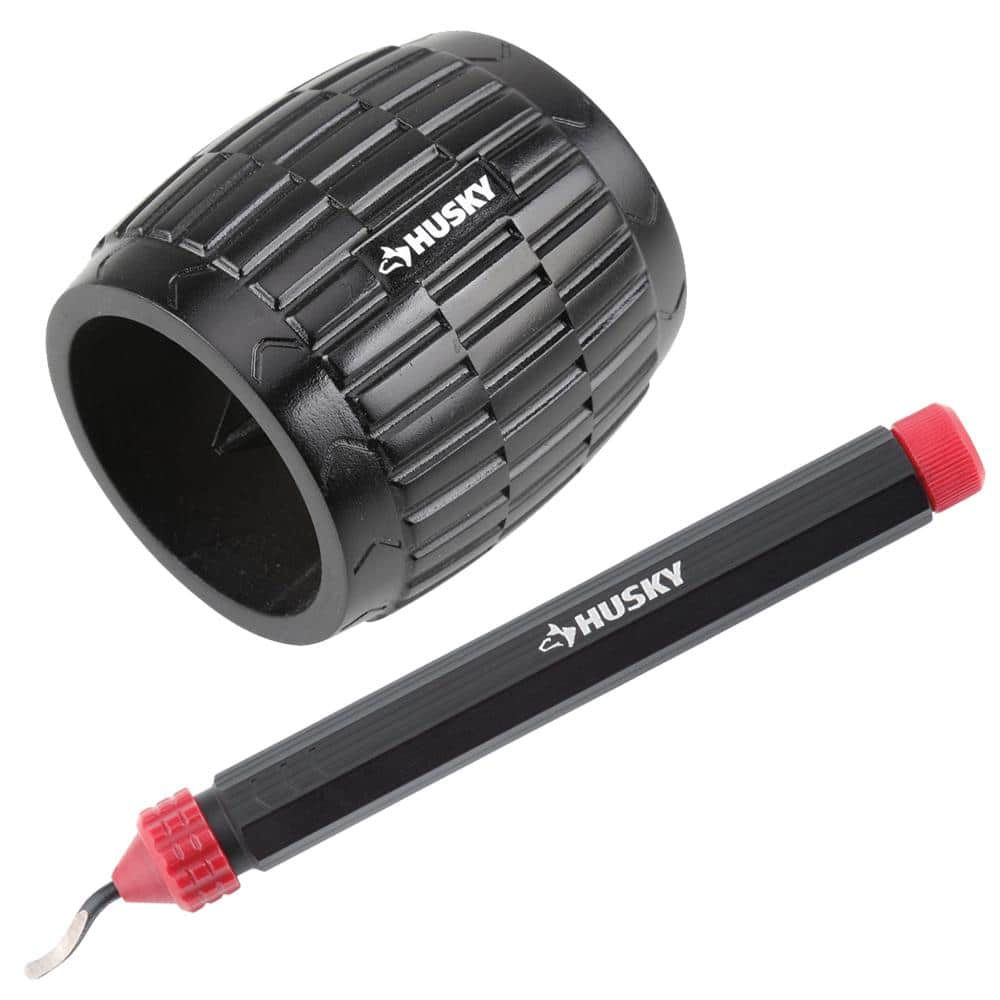
Husky 1-5/8 in. Inner/Outer Reamer and Deburring Tool 410-248-0111
Unger 6 Gal. Heavy-Duty Plastic Bucket DB02
The Unger 6-Gallon Heavy-Duty Professional Cleaning Bucket holds more than 6 Gal. of liquid. The bucket can accommodate a scrubber up to 14 in. L. This bucket features measurement marks and 2-pour spouts
Scott Rags in A Box in White (200-Shop Towels per Box) 75260
When you have tough jobs to tackle, you can trust Scott Rags in a Box, All-Purpose. These white disposable towels are made of cellulose fibers with a latex binder for thickness, absorbency, and strength.
Rheem Preferred Series Remote Water Shut-Off Valve 7388598
Enhance your Rheem PREFERRED Platinum Water Softener Wi-Fi capabilities with an optional Rheem PREFERRED Series Water Shut-Off Valve. Using the iQua app, you will be able to quickly respond to any continuous
AUTOCUT 1/2 in. Copper Pipe Tubing Cutter ATC12
Autocut copper tubing cutters are a great tool to have when you don't have enough swing room to use a full-size tubing cutter. You can cut copper tubing with less than one inch of clearance or you can
MCR Safety BearKat Safety Glasses MCSCRWBK110
Safety glasses feature a well thought-out construction that combines the best in safety, comfort and affordability. Your vision is unobstructed by the 1-piece wraparound lens which, by its tight fit, provides for maximum safety. Flexible temples enhance your comfort during extended use. Nonslip rubber head grips are notched for a clip-on breakaway cord.
Husky 1-5/8 in. Inner/Outer Reamer and Deburring Tool 410-248-0111
Husky's Inner/Outer Reamer removes burrs from the inside and outside of copper, steel, iron and brass piping and tubing from 1/8 in. up to 1- 5/8 in. diameter. It delivers easy, clean inside diameter reaming and outside diameter beveling. The reamer features a textured body for firm gripping. Precision-ground cutting blades result in smooth surfaces. Husky's Deburring Tool removes burrs from metal or plastic pipe edges resulting from cutting, drilling, grinding or milling tasks. Boasting a lightweight design, this contoured, hex-handled tool creates smooth surfaces for any project. The blades are easy to replace using the push button blade release. Includes two types of blades: the black deburrs aluminum, copper and PVC pipes while the silver deburrs brass and cast-iron pipes. Built to last and backed by the Husky lifetime warranty.
Steps

Shut Off Water Supply and Drain System
5 minsLocate the main water shut-off valve for the house, which is typically found in the basement, a utility closet, or near the water meter or water heater. Turn the valve handle clockwise until it stops to completely shut off the water. To drain the remaining water from the pipes, open the lowest faucet in the house (like a basement utility sink or an outdoor spigot) and the highest faucet (like a second-floor bathroom sink). This will release pressure and allow the system to drain. Place a bucket directly under the section of pipe you will be repairing to catch any residual water that will spill out when you make the first cut.

Cut Out the Damaged Pipe Section
10 minsPrecisely identify the leaking or damaged section of the copper pipe. Using an auto-cut style pipe cutter, which is designed for making clean, square cuts in tight spaces, make two cuts to remove the bad section. Place the cutter around the pipe and rotate it as per its instructions to slice through the copper. Make one cut on each side of the damaged area, ensuring there is enough straight, undamaged pipe remaining on both ends for the push-to-connect fittings to grip. Remove the now-free damaged section. Wear safety glasses during this process to protect your eyes from any small copper shavings.

Deburr and Clean the Pipe Ends
10 minsThis is the most critical step for a leak-free repair. Take a deburring tool and insert it into the freshly cut pipe end, rotating it to remove the sharp burr on the inside edge. Then, use the outside portion of the tool to smooth the outer edge. Repeat for the other cut end. Next, take a piece of sandpaper or emery cloth and thoroughly clean the outside of both pipe ends, polishing the surface for at least one inch back from the cut. The copper should be shiny and completely free of any oxidation, paint, or grime. Finally, wipe the cleaned ends with a dry, clean cloth to remove all dust and copper particles.

Measure and Cut the Replacement Pipe
10 minsFirst, measure the exact length of the gap created by removing the damaged section. Next, check the push-to-connect fitting's packaging or the fitting itself for the specified insertion depth (it is often 1 inch for 1/2-inch pipe). Add the gap measurement to two times the insertion depth (one for each fitting). This total is the precise length for your new piece of pipe. Mark this length on the new copper pipe section with a permanent marker. Use your pipe cutter to make a straight, square cut. Just as you did with the existing pipes, thoroughly deburr and clean both ends of this new replacement piece.

Install Fittings and New Pipe Section
5 minsBefore assembly, use the permanent marker and tape measure to mark the correct insertion depth (e.g., 1 inch) on all four pipe ends (the two existing ends and the two new ends). Take one 1/2-inch push-to-connect coupling and push it onto one of the existing pipe ends with a firm, steady motion. Push until the fitting's edge meets your marker line. You will feel a distinct 'thump' or 'click' as the internal grab ring locks onto the pipe. Give it a gentle pull to confirm it's secure. Now, take your new pipe section and push it into the other end of the same fitting. Finally, slide the second coupling onto the other end of your new pipe section, and then push this assembly onto the remaining existing pipe end. You may need to slightly flex the pipes to get them aligned. Ensure all connections are pushed to the depth marks.

Restore Water and Check for Leaks
10 minsFirst, double-check that the faucets you opened to drain the system are now fully closed. Go back to the main water shut-off valve and turn the handle counter-clockwise SLOWLY. Opening the valve slowly allows the pipes to fill gradually and prevents a sudden pressure surge known as 'water hammer,' which can damage pipes and joints. Listen for the sound of water filling the pipes. Once the valve is fully open, return to the repair site. Carefully inspect both push-to-connect fittings and the surrounding pipe for any signs of moisture. To be certain, wipe the entire area with a dry paper towel; even the tiniest leak will be immediately visible on the paper. If the repair remains dry for 5-10 minutes under full pressure, the job is complete.
Common Problems
Struggling to connect dissimilar pipe types without complex tools or techniques?
Solution: Push-to-connect fittings make joining different types of pipe like copper and PEX simple, without the need for soldering.
Using a hacksaw can create a rough cut with burrs that will damage the O-ring and cause a leak. Always use a designated pipe cutter.
Solution: To avoid this issue: Be mindful of this warning and take appropriate precautions.
Sharp pipe edges can damage O-rings, causing leaks.
Solution: Deburring is a critical step; a small burr on the pipe's edge can easily slice the O-ring during installation.
Uneven pipe cuts prevent push-to-connect fittings from sealing properly.
Solution: Using proper pipe cutters ensures a clean, square cut which is important for a good seal.
Deformed pipes prevent secure push-to-connect fitting seals.
Solution: Don't overtighten the cutter on each turn, as this can deform the pipe. A gradual approach works best.
The cut edge of the pipe will be sharp. Handle with care before deburring.
Solution: To avoid this issue: Be mindful of this warning and take appropriate precautions.
Sharp pipe edges can cut O-rings, causing leaks.
Solution: Deburring the pipe is a critical step; failure to do so can damage the O-ring in a press-fit coupling and cause a new leak.
Frequently Asked Questions
What are the most critical safety steps I need to take before cutting into a water pipe?
Always start by locating and completely shutting off the main water supply to your home. Next, open a faucet at the lowest point in your house to thoroughly drain the system and relieve any remaining water pressure, preventing unexpected sprays and potential flooding during the repair.
Is a deburring tool absolutely necessary, or can I skip that step to save time?
A deburring tool is highly recommended and essential for a leak-free repair. Any burrs or rough edges on the pipe from cutting can damage the O-ring seal inside the push-to-connect fitting, leading to leaks. Taking the extra minute to deburr ensures a secure connection.
What types of pipe materials are compatible with push-to-connect fittings, and how can I confirm compatibility?
Most push-to-connect fittings, like the Tectite coupling, are designed to work seamlessly with copper, CPVC, and PEX pipes. Always check the packaging or manufacturer's specifications of your chosen fittings to ensure they are rated for the specific type and size of pipe you are repairing.
What is the most common reason for a push-to-connect fitting to leak after installation, and how can I prevent it?
The most common reason for leaks is improper pipe preparation, specifically failure to deburr pipe ends or not fully inserting the pipe into the fitting. Ensure your pipe ends are clean, smooth, and pushed firmly into the fitting until they bottom out, creating a secure seal.
Is a repair with push-to-connect fittings considered a permanent solution, or is it just for temporary fixes?
When installed correctly according to manufacturer guidelines, push-to-connect fittings provide a durable and reliable connection suitable for permanent repairs. They are often code-approved for permanent installations in many regions, offering a long-lasting alternative to soldering or crimping.
The estimated time is 2 hours. What factors could make this project take longer for a beginner?
For beginners, tasks like locating the main shut-off valve, fully draining the system, or working in confined spaces can extend the project duration. Also, ensuring you have all tools and materials readily available before starting will help prevent delays.
How much space do I need to leave between cuts for the new pipe section and fittings?
When cutting out the damaged section, ensure you remove enough pipe to accommodate the new pipe segment plus the length required for the push-to-connect fittings to seat properly on both ends. Most fittings require about 1 inch of clean, straight pipe insertion on each side, so factor that into your measurements for the replacement pipe.