How to Install or Replace a Shower Diverter Valve
About This Project
This project details how to install or replace a shower diverter valve. First, turn off the water supply to the shower. Second, remove the old diverter valve by removing the handle and escutcheon plate. Third, Install the new diverter valve by connecting and tightening any fittings, using Teflon tape if needed. Fourth, turn the water back on slowly and test the new valve.
Best for experienced DIYers and homeowners with some experience.
Tools & Materials
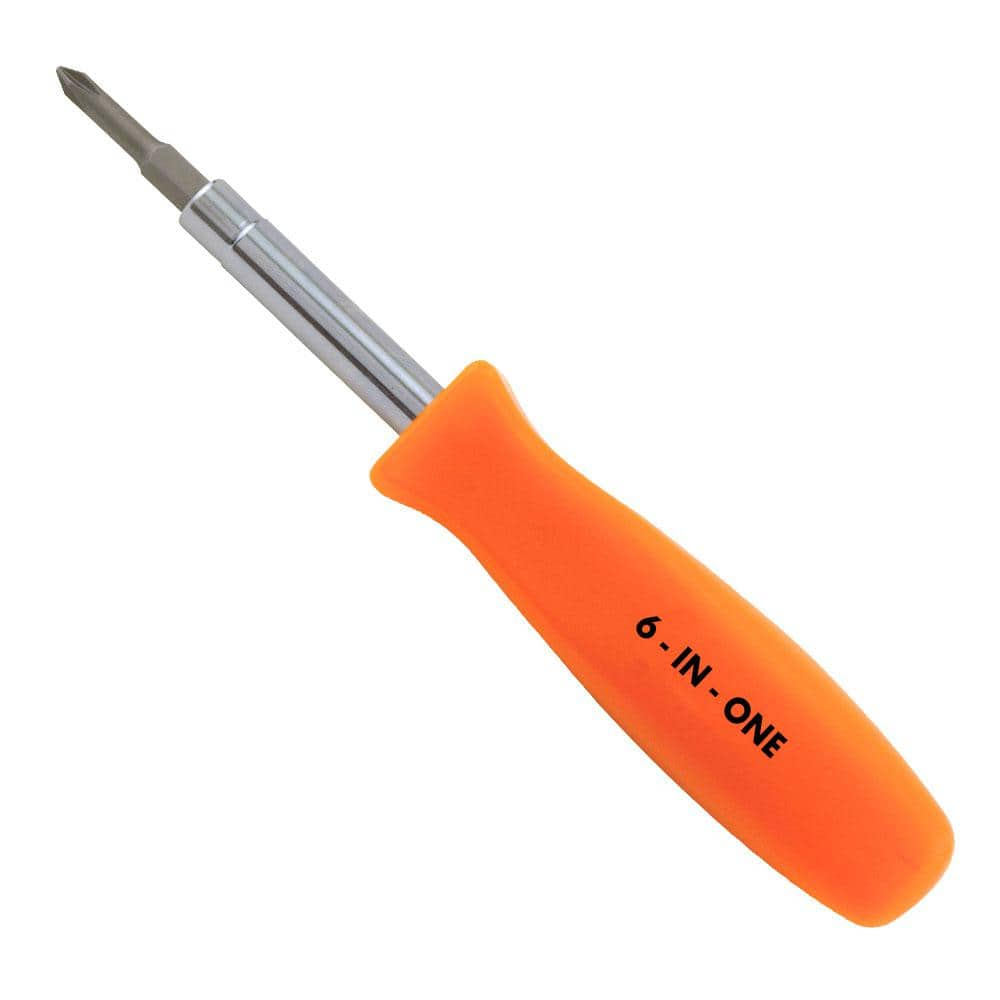
HDX 3-1/4 in. 6-in-1 Screwdriver 120SD12D
Pliers

Adjustable Wrench
Oatey 14 oz. Plumber's Putty 311662
HDX 3-1/4 in. 6-in-1 Screwdriver 120SD12D
The HDX 3-1/4 in. 6-in-1 Screwdriver features double-sided bits with the four most common screwdriver tip styles, including a #1 Phillips bit, a #2 Phillips bit, a 3/16 in. flathead bit and a 1/4 in. flathead bit. Both ends of the shaft can be used as 1/4 in. nut drivers when the bits are removed, offering convenient, versatile use. The high-visibility orange handle makes the handy tool easy to find on a job site or in a toolbox.
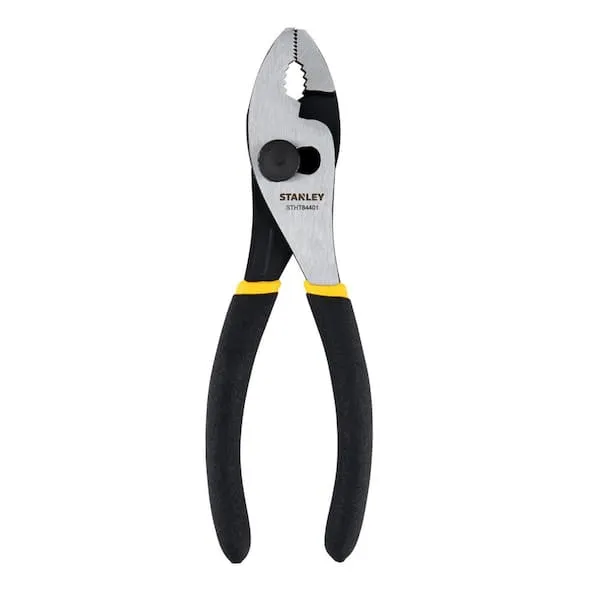
Pliers
Grips and manipulates objects.
Adjustable Wrench
Fits various nut and bolt sizes with its adjustable jaw.
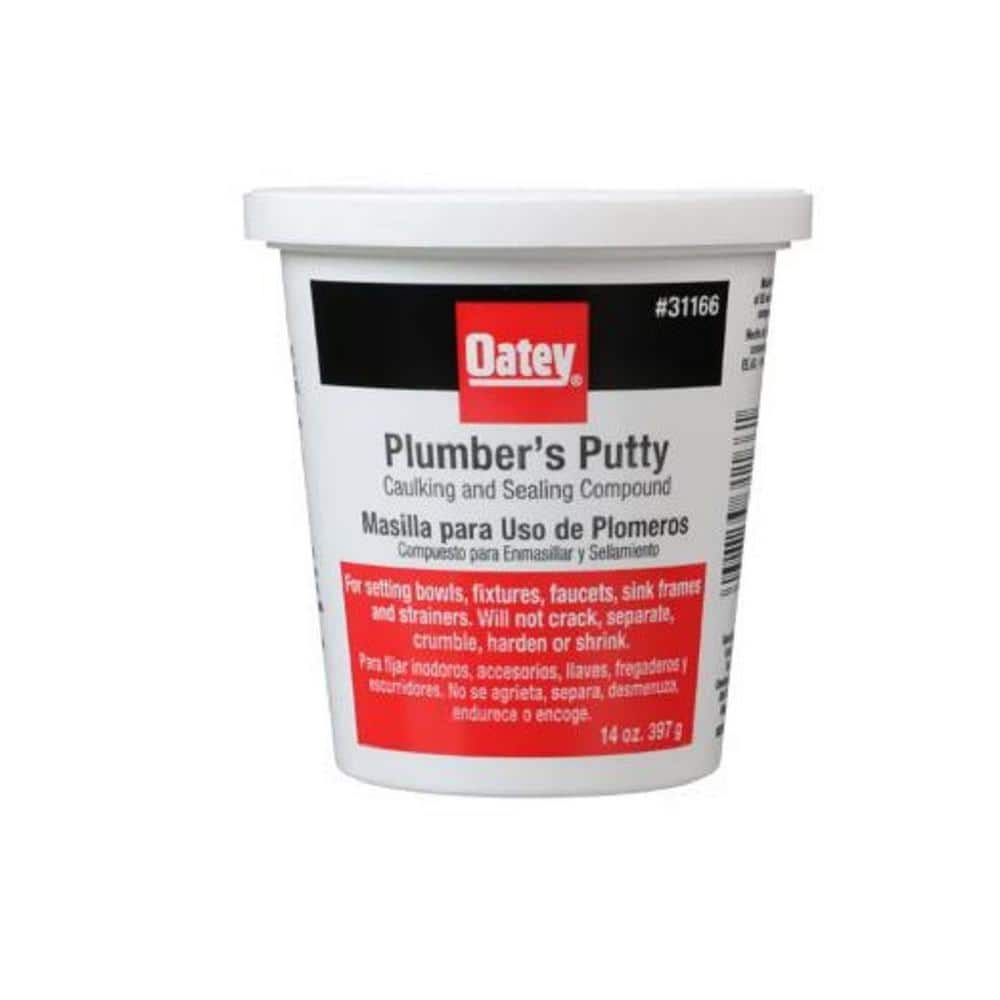
Oatey 14 oz. Plumber's Putty 311662
The Oatey 14 oz. Plumber's Putty is an easy-to-mold setting compound designed for use with stainless-steel sealing applications such as frames, faucets and strainer baskets. Not for use on plastic, marble,
Steps

Shut Off the Water Supply
5 minsBefore you begin, safety first! Turn off the water supply to your shower. Locate the shut-off valves under the sink or near the shower. If you can't find them, turn off the main water supply to your house. Double-check that the water is completely off before proceeding.


Common Problems
Failure to turn off the water supply will result in flooding and potential water damage.
Solution: To avoid this issue: Be mindful of this warning and take appropriate precautions.
Confirm power is off using a voltage tester before touching any wires.
Solution: To avoid this issue: Be mindful of this warning and take appropriate precautions.
Never assume the shutoff valves are working correctly. Always test by turning on the faucet after closing the valves.
Solution: To avoid this issue: Be mindful of this warning and take appropriate precautions.
The last thing you want in your bathroom is the Trevi Fountain. Make sure the water is completely off.
Solution: To avoid this issue: Be mindful of this warning and take appropriate precautions.
Dropped tools will scratch the tub during shower diverter replacement.
Solution: Place a towel in the bottom of the tub to prevent dropped tools or parts from scratching the surface.
Escutcheon is stuck and finish is damaged.
Solution: If the escutcheon is stuck due to mineral buildup, you can wrap it with a cloth and use slip-joint pliers for extra grip, but be careful not to scratch the finish.
Sudden water surges can damage your plumbing.
Solution: Turn the water on slowly to prevent a sudden surge of pressure which could damage plumbing.
Frequently Asked Questions
Is replacing a shower diverter valve a difficult DIY project for a beginner, and how long does it typically take?
This project is rated as beginner-friendly, primarily involving basic plumbing connections. Most homeowners can complete it within 2 hours, assuming you have the right tools and no unforeseen issues like seized parts. The key is methodical work and patience.
What crucial safety steps should I take before I begin to replace my shower diverter valve?
Always start by completely shutting off the main water supply to your house or specifically to the bathroom where you're working. Also, open a nearby faucet to drain any remaining water from the pipes, which helps prevent unexpected leaks and ensures a dry workspace. Confirm there's no water flow before proceeding.
Besides the screwdriver and adjustable wrench, are there any other essential tools or materials I should have on hand for this project?
Yes, Teflon tape (also known as plumber's tape) is crucial for sealing threaded connections and preventing leaks, as mentioned in the steps. You might also want a utility knife to remove old caulk, a wire brush to clean pipe threads, and a bucket or rags to catch any residual water during the process.
What are the most common mistakes beginners make when installing a new shower diverter valve?
A frequent mistake is not adequately sealing threaded connections with enough Teflon tape, which can lead to leaks. Another common error is overtightening fittings, which can strip threads or crack pipes; tighten until snug, then give it a quarter turn more. Always double-check that the water supply is fully off before disconnecting anything.
I've installed the new diverter, but it's still leaking. What should I do to troubleshoot this issue?
If leaks occur, first ensure the water supply is off again. Disassemble the leaking connection, clean the threads thoroughly, and reapply Teflon tape, wrapping it clockwise 3-5 times around the threads before reassembling. Ensure all connections are tightened securely, but avoid overtightening.
Do all shower diverter valves install the same way, or are there different types I should be aware of?
While the general process of turning off water and connecting is similar, diverter valves vary greatly by type (e.g., two-handle, three-handle, push-button) and brand. Always check the specific instructions provided with your new valve and ensure it's compatible with your existing shower setup before purchasing.