

How to Install an Air Chamber to Prevent Water Hammer
About This Project
This project outlines the process of installing a site-built air chamber, a vertical capped pipe, into a water supply line to mitigate water hammer. The process involves shutting off the main water supply, cutting into the existing pipe, soldering in a T-fitting, and attaching the air chamber. This cushions the shockwave created by abruptly closing valves, thereby eliminating the banging noise.
Best for advanced DIYers and professionals with basic plumbing knowledge and familiarity with power tools. Requires Wellco 70.8 in. x 70.8 in. Fiberglass Fire Blankets Emergency Heat Insulation And Flame Retardant Protection (8-Pack) WFB18P8 and Safety Glasses and Dyna-Glo Heat Resistant Grilling Glove DG12SG-D.
Tools & Materials

Panther Vision FLATEYE F-310 High Performance 310-Lumen Unround Flashlight CREE LED Multi Position Waterproof and Shockproof FL-6960
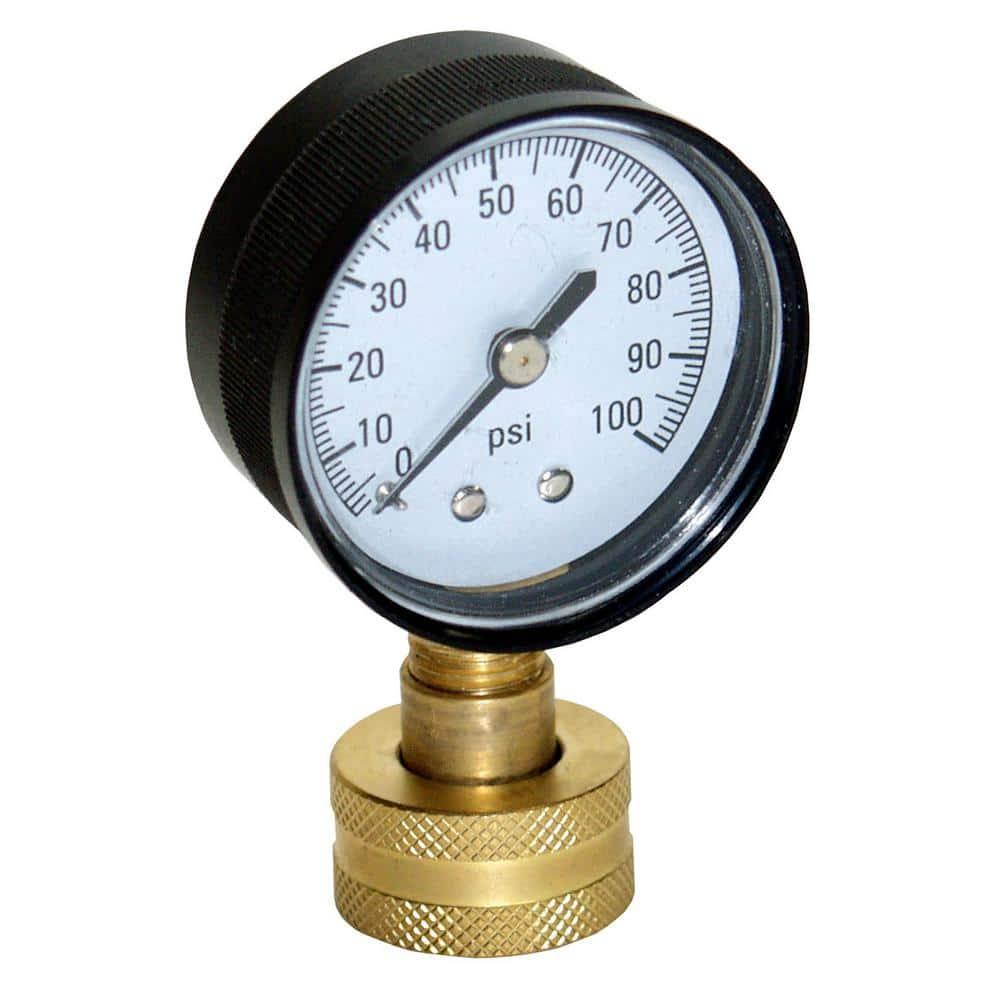
Water Source Water Test Pressure Gauge WSPGH100

Unger 6 Gal. Heavy-Duty Plastic Bucket DB02

FRESHFOLDS Orange 6-Piece Cotton Quick-Dry Bath Towel Set EC100706

25 ft. Tape Measure
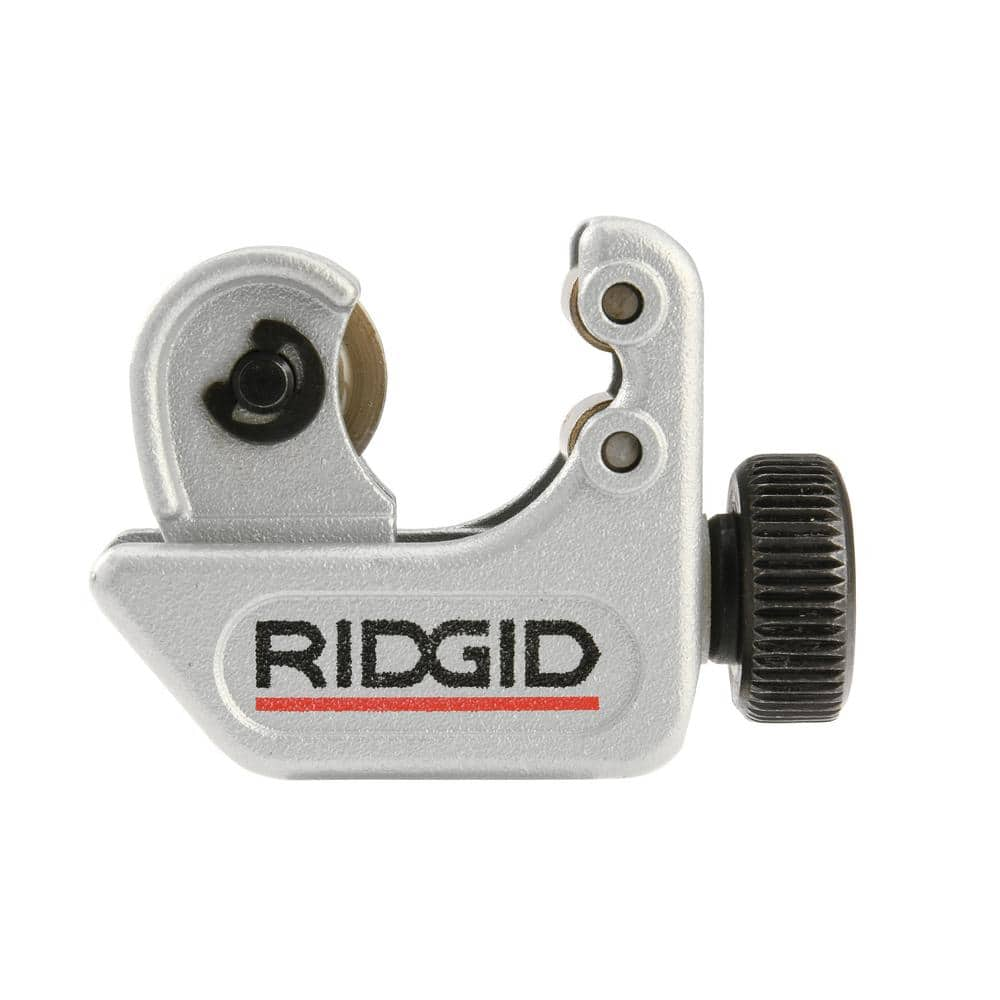
RIDGID 3/16 in. to 15/16 in. 104 Close Quarters Copper, Aluminum, Brass, and Plastic Tubing Cutter, Multi-Use Tubing Tool 32985
Panther Vision FLATEYE F-310 High Performance 310-Lumen Unround Flashlight CREE LED Multi Position Waterproof and Shockproof FL-6960
Every revolution starts with a spark. At 310-Lumens the F-310 has the power to ignite our un-round revolution without overpowering your needs or your wallet. Not your granddads flashlight these bad boys
Water Source Water Test Pressure Gauge WSPGH100
This 100 psi Water Pressure Test Gauge attaches to a garden hose bib to verify water pressure or check for leaks in the system. Glass casing provides an easy to read display. It's easy to install.
Unger 6 Gal. Heavy-Duty Plastic Bucket DB02
The Unger 6-Gallon Heavy-Duty Professional Cleaning Bucket holds more than 6 Gal. of liquid. The bucket can accommodate a scrubber up to 14 in. L. This bucket features measurement marks and 2-pour spouts
FRESHFOLDS Orange 6-Piece Cotton Quick-Dry Bath Towel Set EC100706
This cotton towel is quick-drying, absorbent and features a soft cotton popcorn texture. These towels are low-twist and two-ply, so the fibers are thicker and more durable. The weave allows for more air
25 ft. Tape Measure
Measure with precision and ease.
RIDGID 3/16 in. to 15/16 in. 104 Close Quarters Copper, Aluminum, Brass, and Plastic Tubing Cutter, Multi-Use Tubing Tool 32985
Built on the trust of the trades, you need tools designed for experts and built to last. Experience the durability of the RIDGID 104 Close Quarters Copper, Aluminum, Brass, and Plastic Tubing Compact Cutter with 3/16"-15/16" capacity (catalog number 32985, model 104). This powerful cutter allows you to make clean and precise cuts on copper, brass, aluminum, and plastic tubing with a capacity of 3/16 inch to 15/16 inch. Specifically designed for use in restricted spaces, this compact cutter makes tight cutting jobs significantly easier and more manageable. It features a strong yet lightweight slide and wheel housing for ease of operation and long-lasting durability as well as a large knurled feed screw knob that provides users with optimal cutting pressure control to produce superior clean cuts. Engineered for maximum accuracy, this cutter is constructed with a high-quality steel cutting wheel for a long life and contains a spare wheel stored in the knob. RIDGID is a global manufacturer trusted by the skilled trades in more than 100 countries. RIDGID products are purpose built for professionals in the evolving commercial, industrial and energy markets who install and maintain the world's infrastructure. BUILT FOR THOSE WHO KNOW.
Steps

Diagnose and Locate the Problem Area
15 minsFirst, identify the source of the water hammer. The banging sound is caused by a shockwave when a valve closes quickly. Operate one fast-acting valve at a time, such as a washing machine, dishwasher, or a single-lever faucet, to pinpoint which line is causing the noise. The air chamber should be installed on the problematic supply line (hot or cold), as close as possible to the shutoff valve for that fixture.

Shut Off Water Supply and Drain Pipes
15 minsTurn off the main water supply valve for the entire house. This is typically located in a basement, crawlspace, or utility closet near where the water service enters the home. After shutting it off, open the lowest faucet in the house (like a basement sink) and the faucet closest to your work area. This will relieve the pressure and drain most of the water from the system. Place a bucket and have some towels ready directly under the section of pipe you will be cutting.

Cut the Copper Pipe
10 minsUsing a tape measure, measure the central body of the 1/2-inch copper T-fitting (from the inside shoulder of one opening to the other). Mark this length on the copper pipe where you intend to install the air chamber. Attach the tubing cutter to the pipe, aligning it with your first mark. Rotate the cutter around the pipe, tightening the knob slightly with each rotation until the pipe is cleanly cut. Repeat for the second mark. Use the deburring tool, often attached to the cutter, to smooth the inside and outside edges of both cuts.

Clean, Flux, and Dry-Fit Components
15 minsThoroughly clean the outside of the two cut pipe ends and the inside of all three openings of the copper T-fitting using emery cloth. The copper should be shiny. Also, clean one end of your 12-inch pipe section and the inside of the copper cap. Once clean, use a flux brush to apply a thin, even layer of soldering flux to all cleaned surfaces. Assemble the pieces for a 'dry fit': slide the T-fitting onto the pipe ends and insert the 12-inch air chamber pipe into the top of the 'T'. Place the cap on the air chamber pipe. Ensure everything fits snugly and is aligned correctly.

Solder the Joints
20 minsPlace the fire-resistant cloth behind the work area to shield walls and other materials from the flame. Put on your safety glasses and gloves. Light the propane torch and begin heating one of the T-fitting joints. Heat the fitting, not the pipe itself, moving the flame constantly to distribute heat evenly. When the flux begins to bubble and smoke, touch the tip of the lead-free solder to the joint seam, opposite the flame. The hot fitting will melt the solder and capillary action will draw it into the joint, creating a complete, silver ring. Remove the solder and then the flame. Let the joint cool without disturbing it. Repeat this process for all three joints on the T-fitting and the cap on the air chamber.

Restore Water and Check for Leaks
15 minsOnce all solder joints are completely cool to the touch, close the faucets you opened earlier to drain the system. Go back to the main water shutoff valve and turn it on very slowly. This allows the pipes to fill with water gradually, which prevents another shock to the system and makes it easier to spot small leaks. Return to your work area and carefully inspect all the new solder joints for any signs of water beading or dripping. Use a dry towel to wipe the joints, which can help reveal very slow leaks.
Common Problems
Before removing the existing valve, shut off the main water supply.
Solution: To avoid this issue: Be mindful of this warning and take appropriate precautions.
Water hammer occurs when opening faucets causes pipes to bang.
Solution: If possible, open a faucet at the lowest point of the dwelling... this will relieve excess water in the system and reduce the amount of water that will escape.
Can't shut off water under the sink?
Solution: If you cannot find local shut-off valves under the sink, you will need to shut off the main water supply to the house.
Confirm the water is completely off by checking a faucet before you start loosening any fittings.
Solution: To avoid this issue: Be mindful of this warning and take appropriate precautions.
The safest way to do this is to use the main water shut-off valve for your house or building. This valve might be in a basement, crawl space, near a hot water heater, or in an outside shut-off box.
Solution: To avoid this issue: Be mindful of this warning and take appropriate precautions.
Uneven cuts lead to leaky fittings and a failed air chamber.
Solution: Making a square cut is crucial for the pipe to seat properly inside the fitting, ensuring a reliable seal.
Difficulty cutting pipes in confined areas.
Solution: The AutoCut PL tool is excellent for tight spaces where a traditional shear-style cutter might not fit.
Frequently Asked Questions
This project is rated 'beginner.' What's the biggest challenge, and what unexpected costs should I budget for?
The biggest challenge for beginners is often the soldering, which requires a steady hand and practice. Beyond the listed materials, budget for essential safety gear like a fire extinguisher or bucket of water, heat-resistant gloves, and proper eye protection. The total material and basic tool cost could range from $50-$150 if you need to purchase all soldering equipment.
What are the essential safety precautions I must take, especially when using a torch for soldering?
Always have a fire extinguisher or a bucket of water nearby when soldering, and ensure the work area is well-ventilated to avoid inhaling fumes. Wear appropriate eye protection and heat-resistant gloves to prevent burns. Before cutting any pipes, confirm the main water supply is completely off and the pipes are fully drained to prevent unexpected sprays or electrical hazards.
If I'm not comfortable with soldering, are there alternative connection methods for installing the air chamber?
Yes, if soldering isn't your preference, you can use push-fit fittings, like SharkBite, which don't require heat or special tools beyond a pipe cutter. These fittings create a secure, watertight seal by simply pushing the pipe into the fitting. While often more expensive than traditional copper fittings, they offer a beginner-friendly alternative for quick installation.
What's the most common reason a newly installed air chamber might not stop water hammer, and how do I fix it?
The most common reason is an insufficient air cushion or the chamber being too short. Ensure the air chamber is installed vertically with the capped end pointing upwards, allowing air to be trapped effectively. If water hammer returns, the air cushion may have depleted; you can recharge it by shutting off the main water supply and draining the system to refill the chamber with air.
Where exactly should I install the air chamber to get the best results in eliminating water hammer?
For maximum effectiveness, install the air chamber as close as possible to the fixture or valve causing the water hammer. The closer it is to the source of the sudden water stoppage (e.g., a washing machine solenoid valve), the better it can absorb the shockwave. Always ensure it's oriented vertically, with the capped end up, to properly trap the air.
Does a site-built air chamber require any ongoing maintenance or eventually need to be replaced?
Site-built air chambers can gradually lose their air cushion as air dissolves into the water over time, reducing their effectiveness. They don't typically need replacement unless damaged, but they will need periodic 'recharging.' To recharge, shut off your home's main water supply, open all faucets to drain the system completely, then close them and restore water pressure to refill the chamber with fresh air.


