

How to Identify Your Shower Valve for Replacement Parts
About This Project
A detailed guide on how to safely access and identify a shower valve body and cartridge to find the correct replacement parts. This involves shutting off the water, disassembling the shower trim, and inspecting for manufacturer marks, part numbers, and unique features.
Best for homeowners and DIY enthusiasts with basic plumbing knowledge and familiarity with power tools.
Tools & Materials
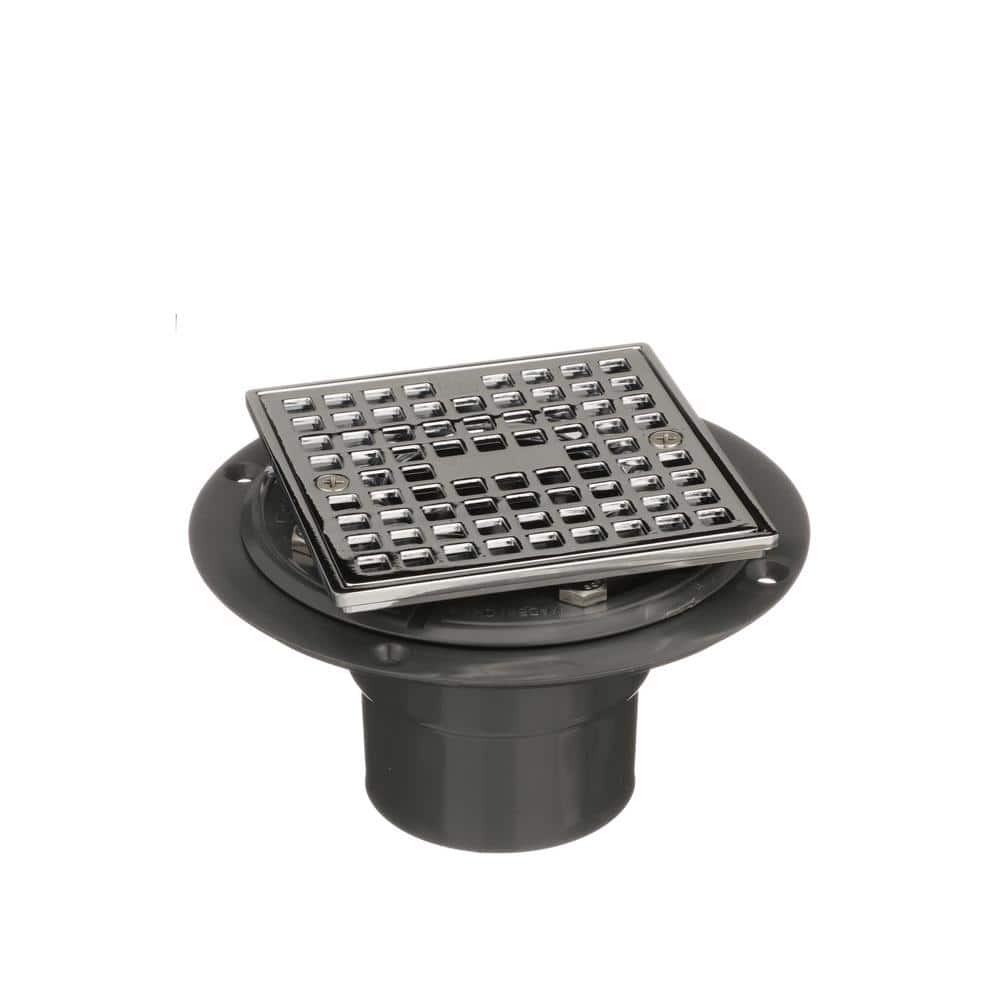
Oatey Round Gray PVC Shower Drain with 4-3/16 in. Square Screw-In Chrome Drain Cover 423202

HiGreen Outdoor Alden 4-Piece Teak Aluminum Outdoor Patio Sectional Sofa Set with Sunbrella Canvas Terracotta Cushions and Coffee Table 0001-2
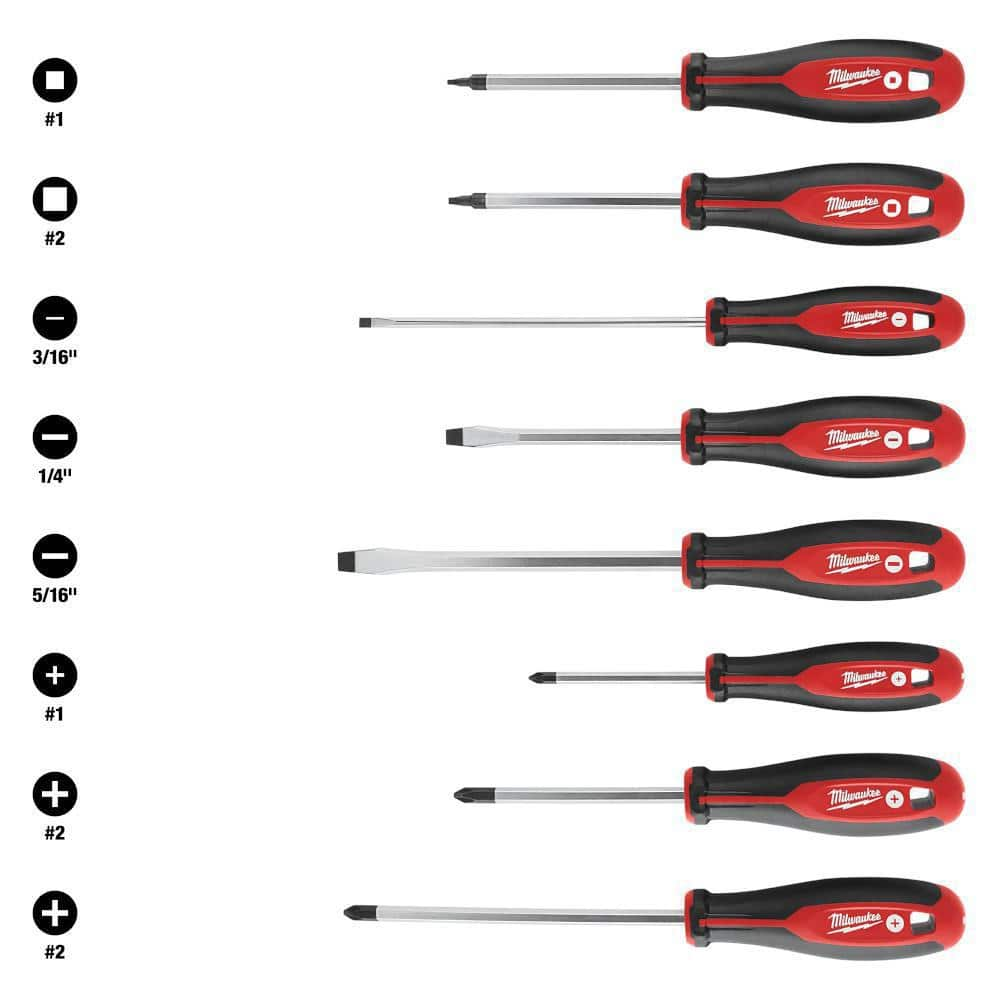
Milwaukee Phillips/Flat Head/Square Hex Drive Screwdriver Set with Tri-Lobe Handle (8-Piece) 48-22-2718
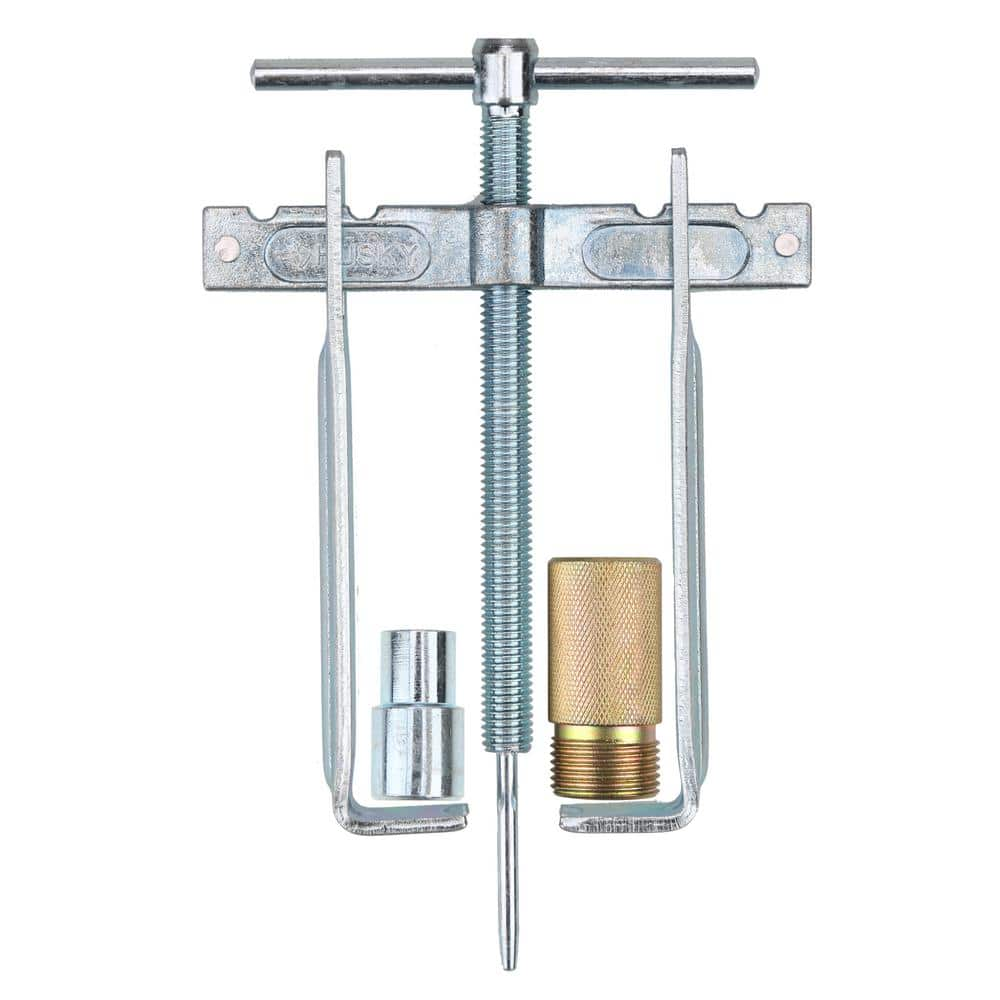
Husky Faucet Handle and Sleeve Puller 410-072-0111
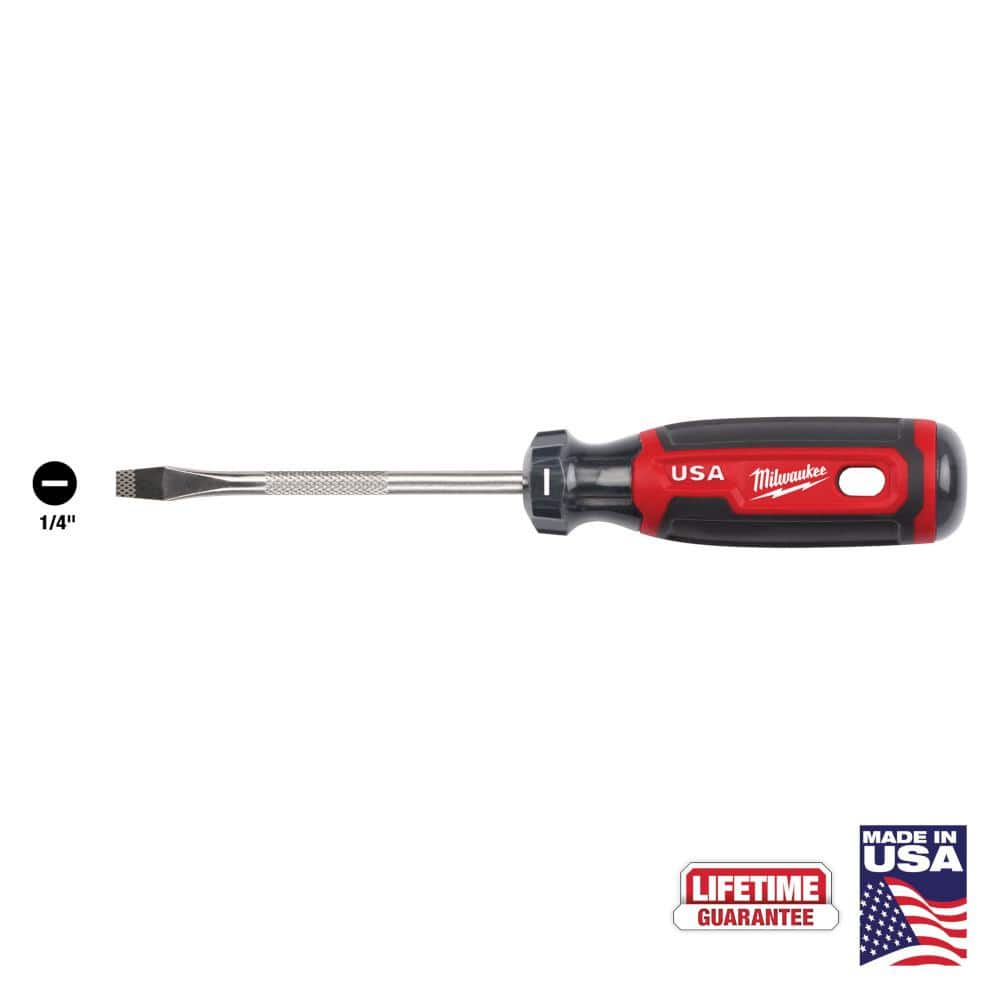
Milwaukee 4 in. x 1/4 in. Slotted Flat Head Screwdriver with Cushion Grip MT206
Husky Pro Utility Knife 00004
Oatey Round Gray PVC Shower Drain with 4-3/16 in. Square Screw-In Chrome Drain Cover 423202
The Oatey 130 Series PVC Low-Profile Shower Drain with Square Chrome-Plated Square Hole Strainer is designed for use with tile or marble shower bases where a shower pan liner membrane is required. The
HiGreen Outdoor Alden 4-Piece Teak Aluminum Outdoor Patio Sectional Sofa Set with Sunbrella Canvas Terracotta Cushions and Coffee Table 0001-2
Milwaukee Phillips/Flat Head/Square Hex Drive Screwdriver Set with Tri-Lobe Handle (8-Piece) 48-22-2718
Featuring hardened tips and forged shanks the Milwaukee 8-piece screwdriver set provides professional grade solutions and durability to the user. Bit types are marked on the cap of each tool for quick
Husky Faucet Handle and Sleeve Puller 410-072-0111
The Husky duel use Compression Sleeve and Faucet Handle puller offers a reliable way to remove seized 1/2 in. fittings. With its A3 steel design and zinc coating, this is sure to provide you with the leverage you need. This item is backed by the Husky lifetime warranty and satisfaction guarantee.
Milwaukee 4 in. x 1/4 in. Slotted Flat Head Screwdriver with Cushion Grip MT206
The Milwaukee® 1/4" Slotted 4" Cushion Grip Screwdrivers (USA) are manufactured to give the professional the best-fitting screwdriver with max grip. These screwdriver tips are custom machined to deliver
Husky Pro Utility Knife 00004
Offering a precise cut every time, Husky Pro Folding Utility Knife lets you easily adjust the blade to multiple angles to tackle a wide range of jobs. Aluminum die casting handle with plastic spraying
Steps

Shut Off Water Supply and Prepare Work Area
5 minsThe most critical first step is to completely shut off the water supply to the shower. Locate the main water shut-off valve for your house, which is often in the basement, a crawl space, or a utility closet. Turn the valve clockwise until it is fully closed. If your shower has dedicated shut-off valves (sometimes accessible via a panel behind the shower), you can use those instead. After closing the valve, turn the shower handle on to confirm that the water flow has stopped and to relieve any pressure in the lines. Place a rag or drain cover over the shower drain to prevent losing any small parts.

Remove the Shower Handle
5 minsCarefully remove the shower handle. For a single-lever handle, look for a small hole, often on the underside or front of the lever. This hole contains a set screw that holds the handle in place. You will need a matching Allen key (hex key) or a small Phillips/flathead screwdriver to loosen this screw. Turn the screw counter-clockwise a few turns until it is loose (it does not need to be fully removed). Once the set screw is loosened, gently pull the handle straight off the valve stem. If it's stuck, you may need to wiggle it carefully or use a handle puller tool. Avoid prying it off with a screwdriver, as this can scratch the finish.

Remove the Escutcheon Plate
5 minsWith the handle removed, you can now access the escutcheon plate (the decorative trim plate). This plate is usually held on by two or more visible screws. Use the appropriate Phillips or flathead screwdriver to remove these screws. Sometimes, the plate is simply pressed on and held in place by friction or a rubber gasket. If there are no visible screws, try to gently pull it away from the wall. If it's sealed with caulk, use a utility knife to carefully score the caulk line between the plate and the wall to break the seal. Be cautious not to scratch the plate or the surrounding tile. Once loose, slide the plate off over the valve stem and set it aside.

Inspect Valve and Cartridge for Markings
5 minsNow that the valve body is exposed, you can begin the identification process. First, inspect the valve body for any markings. Look for a brand name (e.g., MOEN, DELTA, KOHLER, PRICE PFISTER) or a logo cast directly into the brass body. Also, look for any series of numbers or letters, which could be a part number or model number. Next, examine the cartridge—the part the handle connected to. The cartridge's shape, color, and size are key identifiers. Some cartridges have part numbers stamped on them. Pay close attention to how the cartridge is held in place. Is it a U-shaped clip, a threaded bonnet nut, or screws? This mounting method is a major clue to the brand and model.

Take Detailed Photographs and Measurements
5 minsDocumentation is crucial. Use your smartphone or a digital camera to take several clear, well-lit photos of the valve from multiple angles. Capture the entire valve body, a close-up of the cartridge, any visible part numbers or logos, and the way the cartridge is secured (clip, nut, etc.). Next, use a tape measure or calipers to take key measurements. Measure the length of the cartridge, the diameter of the escutcheon plate screw holes (center to center), and the diameter of the valve stem. These photos and measurements will be your primary reference when searching for parts.
Match the Valve at a Supply Store or Online
With your photos and measurements, you can now find the parts. The most effective method is to take your old cartridge (if you choose to remove it), photos, and measurements to a dedicated plumbing supply store. The experienced staff can often identify it on sight. Alternatively, use online resources. Many plumbing supply websites have 'stem finders' or 'cartridge identification guides' where you can filter by shape, length, and brand. Compare your photos and measurements to the products online to find a match. Pay close attention to small details that differentiate similar-looking cartridges.
Common Problems
Make sure that water is completely off before proceeding to the next step.
Solution: To avoid this issue: Be mindful of this warning and take appropriate precautions.
Local shut-off valves are seized or broken, preventing water isolation.
Solution: If the local shut-off valves won't turn or are broken, you must go shut off the main water valve for the house.
Stuck shutoff valves can lead to broken pipes or water damage if forced.
Solution: If the shutoff valves are stuck, do not force them. You may need to shut off the main water supply to the house instead.
Double-check that the water is completely off by briefly turning on the shower controls.
Solution: To avoid this issue: Be mindful of this warning and take appropriate precautions.
If you cannot find local shut-off valves for the shower, you will need to shut off the main water supply to the entire house.
Solution: To avoid this issue: Be mindful of this warning and take appropriate precautions.
Ensure the main water supply to the shower is turned off before starting.
Solution: To avoid this issue: Be mindful of this warning and take appropriate precautions.
Incorrect cartridge purchase leads to shower repair delays.
Solution: Measure the old cartridge with a caliper and take a photo to make matching it at the store easier.
Frequently Asked Questions
What is the most critical safety step I need to take before starting to identify my shower valve?
The absolute most critical step is to shut off the main water supply to your home, or at least to the bathroom where you're working, before attempting any disassembly. This prevents accidental floods and potential water damage, ensuring a safe work environment. Always double-check that the water is off by briefly turning on the shower faucet.
Do I need specialized plumbing tools just to identify my shower valve and cartridge?
No, specialized plumbing tools are not typically required for identification. You'll mainly need basic household items like a screwdriver set (Phillips and flathead are common), a flashlight for inspecting dark areas, and a tape measure. A smartphone camera is also invaluable for documenting markings and the overall appearance of components.
What should I do if I can't find any clear manufacturer markings or part numbers on my valve or cartridge?
If direct markings are absent, focus on taking very clear and detailed photographs from multiple angles of the entire valve body and the cartridge itself. Note its dimensions with a tape measure, the number of inlets/outlets, and any unique physical features or colors. This comprehensive visual information can often help plumbing professionals or online search engines identify a compatible replacement.
How difficult is this project, and how much time should a beginner set aside for it?
This project is rated as 'beginner' difficulty because it primarily involves disassembly, careful observation, and photography, rather than complex plumbing repairs. For most beginners, safely shutting off water, removing the shower trim, inspecting the valve, and reassembling should take approximately 30 minutes to an hour.
Why is taking detailed photographs and measurements so important for identifying shower valve parts?
Detailed photographs of the valve body, cartridge, and any visible markings, along with precise measurements of key components (like cartridge length or diameter), are absolutely crucial. This visual and numerical data helps plumbing professionals or online resources accurately match your specific part, significantly reducing the chance of purchasing and needing to return an incorrect replacement.
Will identifying my shower valve require me to purchase a replacement part immediately, or can I reassemble everything?
This project's primary goal is identification, so you do not need to purchase a replacement part immediately. Once you've gathered all the necessary information (photos, measurements, potential part numbers), you can safely reassemble your shower trim and turn the water back on. You can then use the gathered information to buy the correct replacement part at your convenience.
Are there any alternative methods to identify my shower valve if I'm hesitant to disassemble it?
While disassembly is the most reliable method, you might find some clues without it. Check for a brand name or model number engraved on the shower handle, escutcheon plate, or even on the original installation instructions if you have them. However, for internal cartridge identification, disassembly and visual inspection of the cartridge itself are almost always necessary for accurate matching.


