
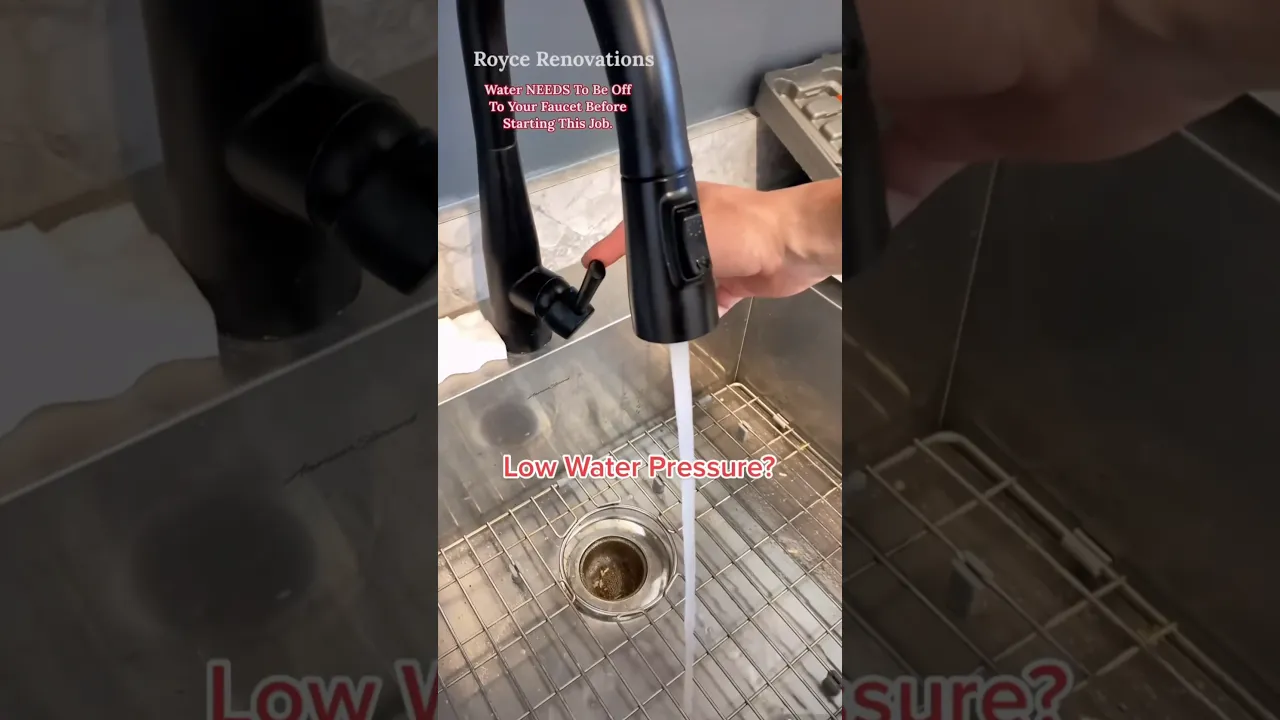
How to Fix a Leaky Outdoor Faucet Packing Nut
About This Project
This guide provides step-by-step instructions to fix a common leak on an outdoor faucet (sillcock or spigot) that originates from the packing nut located behind the handle. The process involves first attempting to tighten the nut and, if that fails, replacing the internal packing washer or string.
Best for homeowners and DIY enthusiasts with basic plumbing knowledge and familiarity with power tools. Requires MOEN Flo 1 in. Smart Water Monitor and Automatic Water Shut Off Valve 900-006.
Tools & Materials
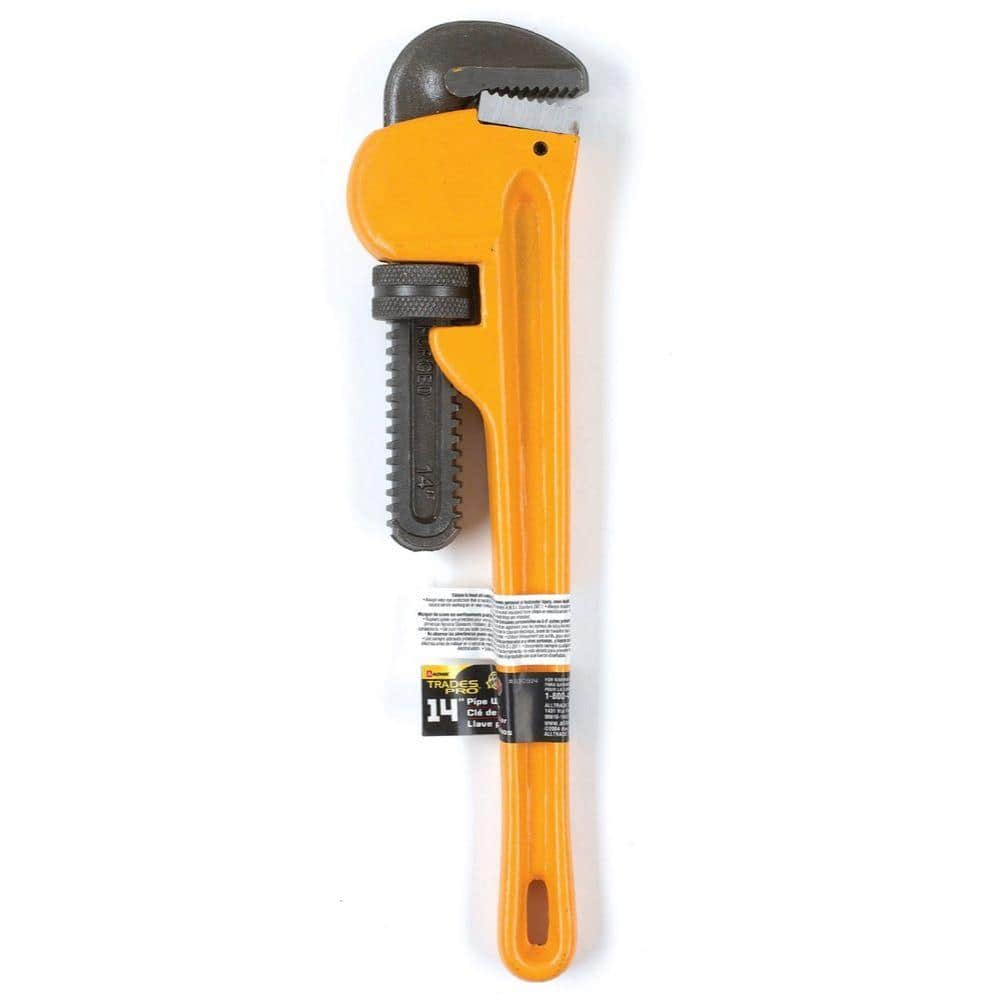
TradesPro 14 in. HD Pipe Wrench 830914

MOEN Flo 1 in. Smart Water Monitor and Automatic Water Shut Off Valve 900-006

Adjustable Wrench
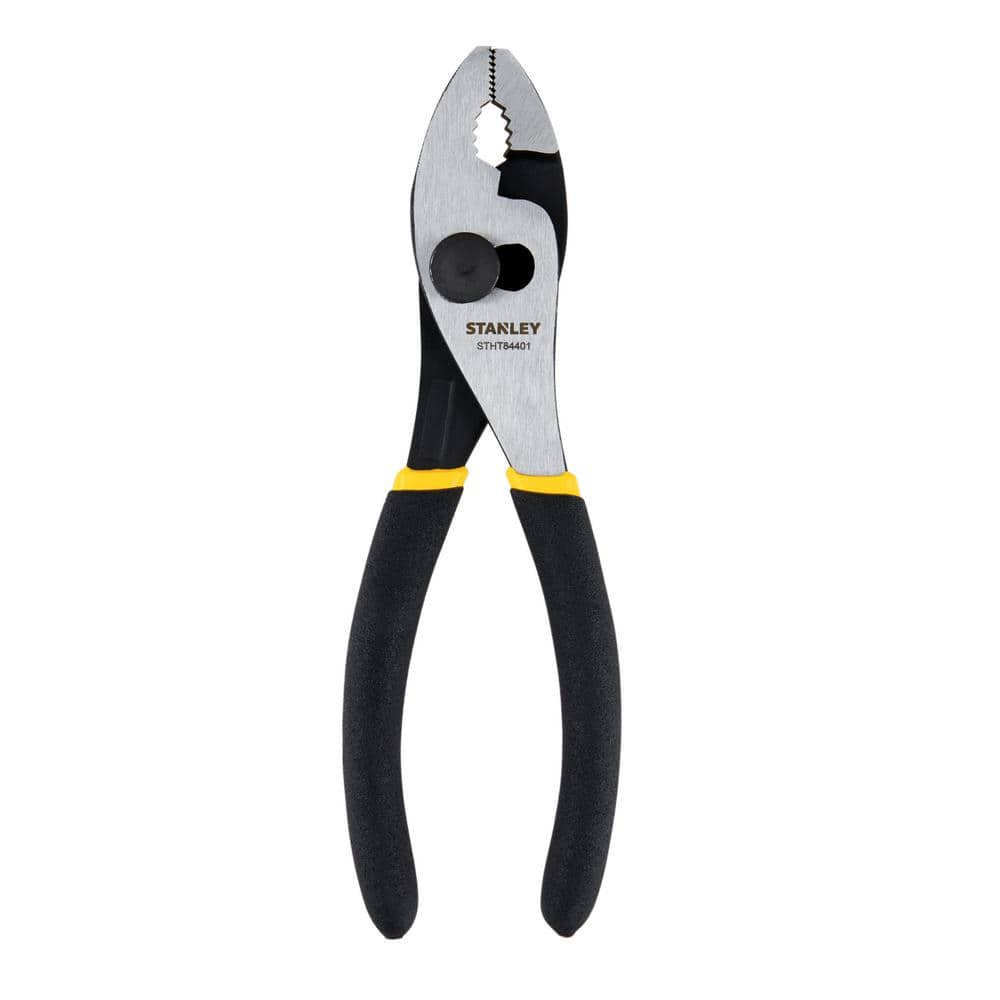
Stanley 6 in. Slip Joint Pliers STHT84401
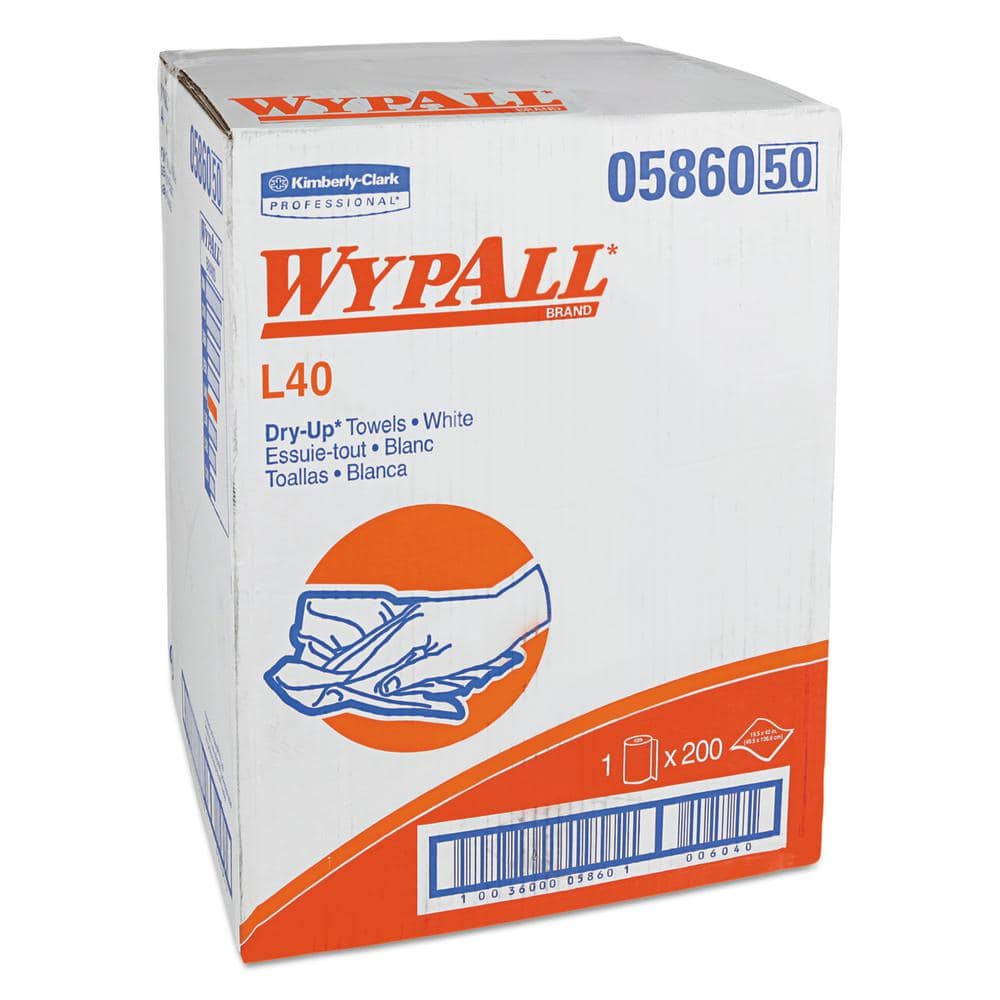
WYPALL L40 Towels, Dry Up Towels, 19-1/2 in. x 42 in., White, 200 Towels/Roll KCC05860
Panther Vision FLATEYE Rechargeable Lantern FRL-2100 High Performance 2175 Lumens Unround Flashlight CREE LED FRL-7981
TradesPro 14 in. HD Pipe Wrench 830914
A simple tool that's simply irreplaceable around the house, yard, garage and worksite. Nothing works better at biting, clamping and turning stubborn pipes, fittings and more. This wrench has all the essentials
MOEN Flo 1 in. Smart Water Monitor and Automatic Water Shut Off Valve 900-006
Bring smart plumbing to your home with the Flo Smart Water Monitor and Shutoff. The Smart Water Monitor and Shutoff is a smart home water security system that provides 24/7 protection by monitoring for
Adjustable Wrench
Fits various nut and bolt sizes with its adjustable jaw.
Stanley 6 in. Slip Joint Pliers STHT84401
The Stanley 6 in. Slip Joint Pliers are versatile pliers with a movable joint designed to grip larger materials and provide additional leverage. Made from drop-forged steel, this durable tool features
WYPALL L40 Towels, Dry Up Towels, 19-1/2 in. x 42 in., White, 200 Towels/Roll KCC05860
WYPALL L40 Wipers are effective wipers that absorb liquids lightning-fast. These wipes are made of bonded cellulose using DRC (double re-creped) technology for strength, softness and absorbency. As a wiping cloth, it soaks up liquids fast, but all you'll feel is softness, thanks to a plush, touchable outer layer. In fact, it's a popular choice for patient wiping in healthcare industries, for bathing and patient drying. These utility wipes are specially designed to absorb liquids, lubricants and oils (in restaurants for wiping counters, in mechanic shops, industrial and commercial factories and more), yet they're soft enough for use on face and hands. Experience the difference in superior absorbency and cleaning at your home or office today. Towel/Wipe Type: Dry Wipes; Application: Bathrooms; Material(s): Cloth-Like; Number of Plies: 1.
Panther Vision FLATEYE Rechargeable Lantern FRL-2100 High Performance 2175 Lumens Unround Flashlight CREE LED FRL-7981
Every revolution starts with a spark. Ranging from 310 Lumens to 2175 Lumens, Flat eye flashlights have the power to Ignite our UNROUND revolution without overpowering your needs or your wallet. This is not your Granddad's flashlight. These bad boys come with a patented UNROUND pistol grip, design, which makes them incredibly easy to hold, fit in your pocket and the perfect flashlight for all your everyday needs. They are purposely engineered to exacting standards and crafted from aircraft grade aluminum and tactical polymer for lasting durability. They are waterproof and feature shockproof Cree LED's for unsurpassed performance. With a choice of 8 models ranging from 310 Lumens to 2175 Lumens, in both battery operated or rechargeable versions with high, medium and low settings, you can get the right light and battery life for your every need. Join the UNROUND revolution and never see flashlights the same again.
Steps

Shut Off Water Supply
5 minsBefore starting any work, you must shut off the water supply to the outdoor faucet. Locate the specific shut-off valve for this faucet, which is typically found inside your home in the basement or a crawlspace, on the pipe leading to the exterior wall. Turn the valve handle clockwise until it is fully closed. After closing the valve, go outside and open the faucet to drain any residual water left in the pipe. If you cannot find a dedicated valve, you must shut off the main water supply to the entire house.

Tighten the Packing Nut
2 minsThe first and often simplest fix is to gently tighten the packing nut. This is the larger nut located directly behind the faucet handle, where the valve stem enters the main body of the faucet. Use an adjustable wrench or slip-joint pliers to grip the packing nut securely. Turn the nut clockwise about 1/8 to 1/4 of a turn. This slight tightening can compress the existing packing material and stop a minor leak.

Test for Leaks
3 minsAfter attempting to tighten the packing nut, you must test if the leak has been resolved. Return to the shut-off valve and turn it counter-clockwise to slowly reintroduce water to the line. Go back to the outdoor faucet and carefully observe the area around the packing nut. If there are no drips, the repair was successful. If it still leaks, you must shut off the water again and proceed to the next step to replace the packing material.
Disassemble Faucet Handle and Packing Nut
5 minsIf tightening the nut didn't work, you'll need to replace the packing washer. First, ensure the water is shut off. Use a screwdriver (typically a Phillips head) to remove the screw located in the center of the faucet handle. Once the screw is out, pull the handle straight off the grooved end of the valve stem. Next, use your adjustable wrench to turn the packing nut counter-clockwise until it is completely unscrewed from the faucet body. Slide the nut off the valve stem.

Replace Packing Material
5 minsWith the packing nut removed, you can now access the packing material around the valve stem. Use a small pick or a small flathead screwdriver to carefully dig out the old, compressed packing washer or graphite string. Be careful not to scratch the brass valve stem. Once the old material is removed, clean the area. Install the new packing washer by sliding it over the stem and seating it firmly. If using packing string, wrap several layers tightly in a clockwise direction around the stem until the cavity is full.
Reassemble Faucet and Perform Final Test
5 minsWith the new packing material in place, begin reassembly. Slide the packing nut back over the stem and hand-tighten it onto the faucet body. Use your adjustable wrench to tighten it until it is snug, plus an additional 1/4 turn. Re-install the handle onto the valve stem, aligning the grooves, and secure it with the screw. Now, go back and slowly turn on the water supply. Return to the faucet and thoroughly check for any leaks around the handle. Turn the faucet on and off to ensure it operates smoothly and doesn't leak.
Common Problems
Do not overtighten the bonnet nut or the set screw, as this can damage the new cartridge or the faucet.
Solution: To avoid this issue: Be mindful of this warning and take appropriate precautions.
Sudden pressure can cause water to spray from the handle if the packing isn't sealed properly.
Solution: When turning the water back on, do it slowly to check for any leaks around the handle before turning it on fully.
Do not overtighten the retaining nut or set screw, as this can damage the faucet components.
Solution: To avoid this issue: Be mindful of this warning and take appropriate precautions.
Make sure the notch on the cam aligns with the tab in the faucet body, otherwise the handle will not operate correctly.
Solution: To avoid this issue: Be mindful of this warning and take appropriate precautions.
Be prepared for a small amount of residual water to spill out when the cartridge is removed.
Solution: To avoid this issue: Be mindful of this warning and take appropriate precautions.
Be gentle and avoid overtightening the packing nut, which can damage the packing material or the valve.
Solution: To avoid this issue: Be mindful of this warning and take appropriate precautions.
Overtightening the packing nut can damage the pipe or olive, worsening the leak.
Solution: Do not overtighten, as this can damage the pipe or the olive, making the leak worse.
Frequently Asked Questions
How long does this repair typically take for someone new to plumbing, and is it truly a 'beginner' project?
For a beginner, this repair usually takes 30 minutes to an hour, including gathering tools and testing. It is genuinely a beginner-friendly project because it involves basic tools and straightforward steps like tightening a nut or carefully replacing a visible part, making it a great entry-level DIY plumbing fix.
What's the most critical safety precaution I need to take before starting this outdoor faucet repair?
The absolute most critical step is to shut off the water supply to the outdoor faucet (or the entire house, if necessary) before attempting any work. Failure to do so will result in a significant, uncontrolled water spray and potential damage, making the repair impossible until the water is off.
My outdoor faucet is still leaking a little even after I tried tightening the packing nut. What should I do next?
If tightening doesn't stop the leak, the internal packing material likely needs replacement. Carefully disassemble the faucet handle and packing nut, then use a pick tool (like the TEKTON Straight Pick) to carefully remove the old packing and replace it with new graphite packing string or an appropriately sized washer.
Do I need all the specific tools listed, especially the pick tool, or can I get by with just an adjustable wrench and screwdrivers?
While an adjustable wrench and screwdrivers are essential, a pick tool (such as the TEKTON Straight Pick) is highly recommended. It significantly eases the removal of old, stubborn packing material that's often lodged tightly, reducing the risk of damaging the faucet body or struggling with inadequate tools.
What kind of packing material should I use for my outdoor faucet, and are there alternatives to the graphite string?
The Everbilt 3/32 in. Self Forming Stem Packing in Graphite is an excellent choice for outdoor faucets due to its durability and ability to form a tight seal. Alternatively, you can use specialized faucet packing washers from an assortment like the DANCO Assorted Washer ProPack, or traditional braided valve packing string if graphite is unavailable.
After replacing the packing, the faucet handle feels much stiffer. Is this normal, and how tight should the packing nut be?
A slightly stiffer handle is normal initially as the new packing compresses and forms a tight seal. You should tighten the packing nut just enough to stop the leak; overtightening can damage the packing material, make the handle very difficult to turn, or even strip the threads. Aim for snug, then test for leaks.