

How to Fix a Leaky Garbage Disposal (Bottom Leak)
About This Project
This project details how to fix a garbage disposal leaking from the bottom. The first step is to ensure safety by disconnecting the power. Next, carefully inspect the garbage disposal for any visible cracks or damage, checking for leaks. If there are cracks in the housing, the unit needs to be replaced. Tighten mounting bolts if the leak is at a seam, or apply plumber's putty to seal leaks. If leaks persist, replace the garbage disposal unit by carefully disconnecting plumbing, wiring and mounting. Lastly, install the new unit and reverse the removal process following the manufacturer's instructions for a successful repair.
Best for advanced DIYers and professionals.
Tools & Materials
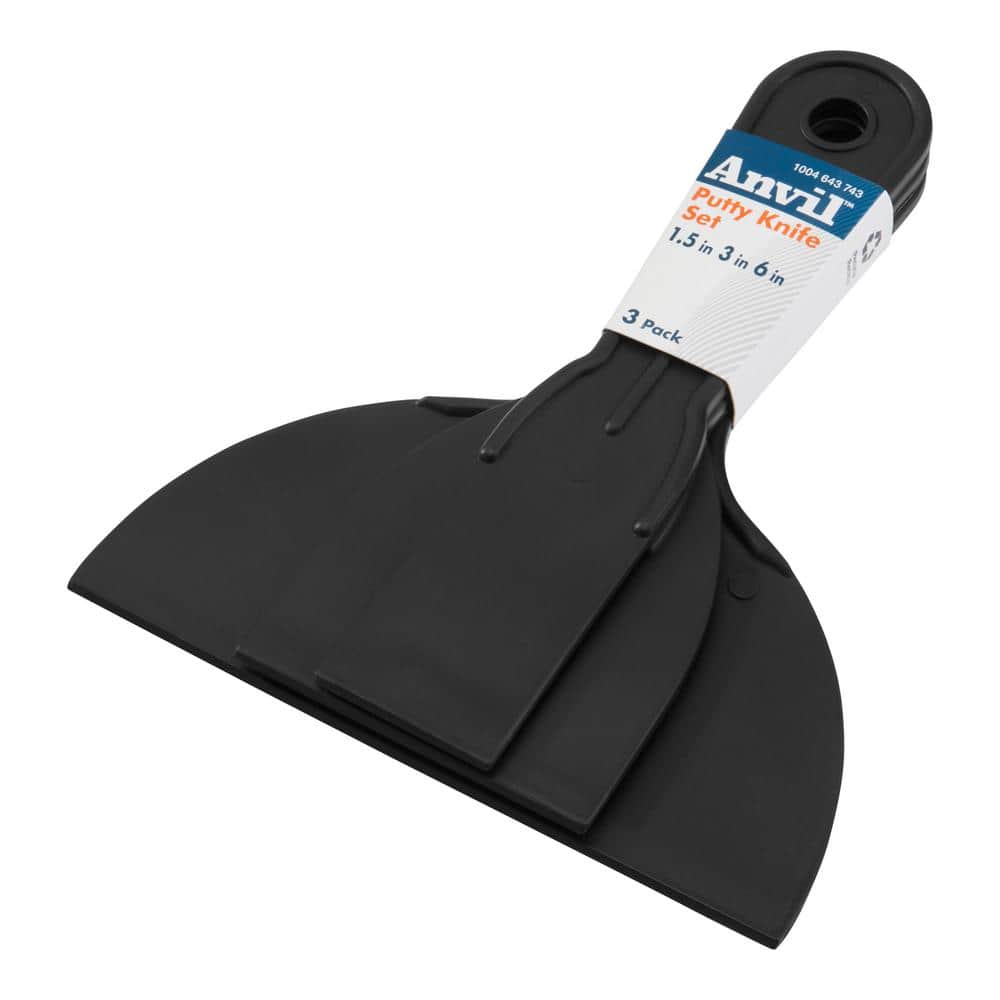
Anvil Plastic Putty Knife Set 18PT0826
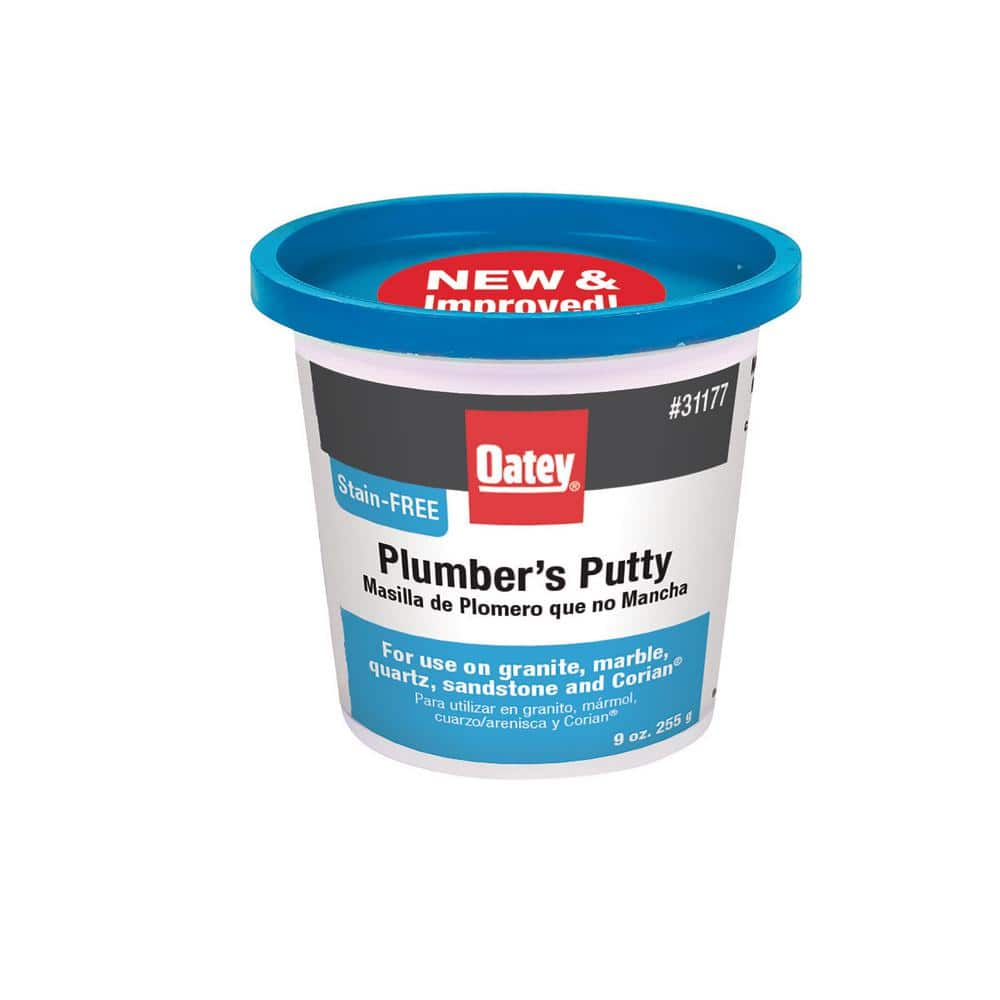
Oatey 9 oz. Stain-Free Plumber's Putty 31177
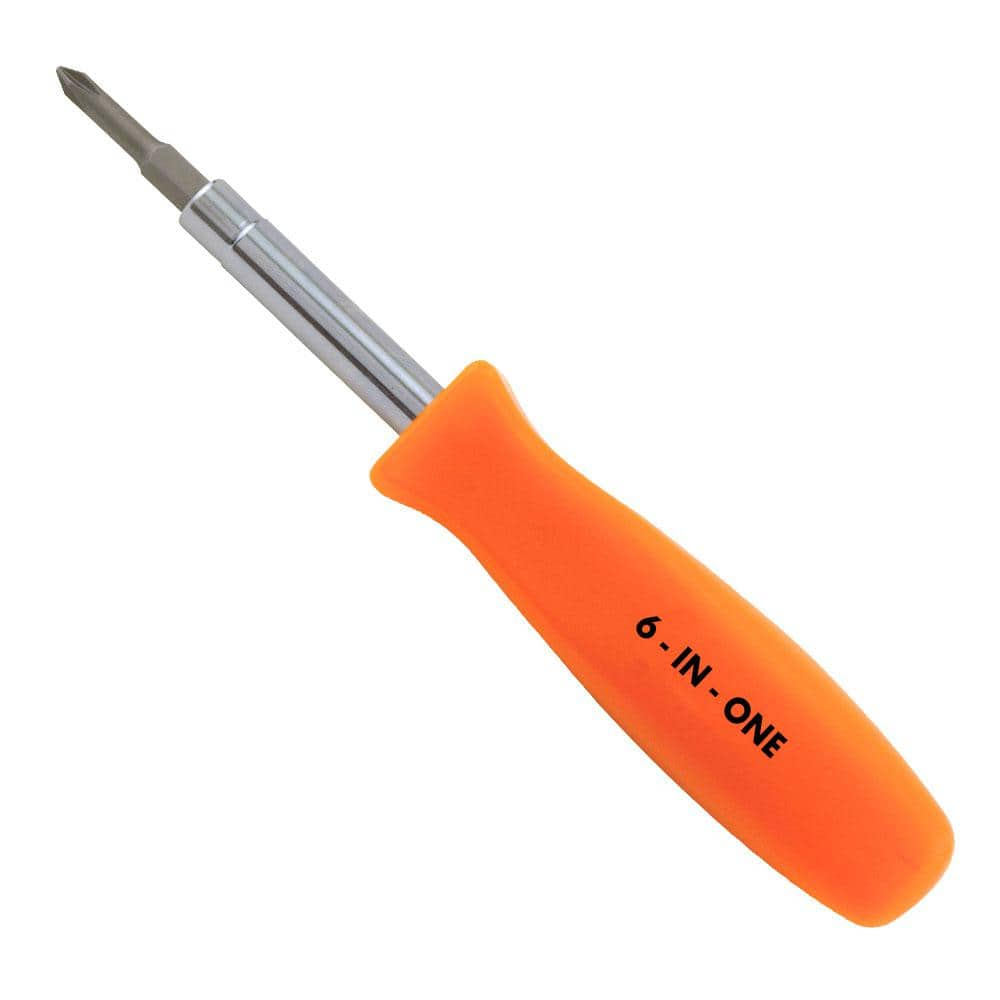
HDX 3-1/4 in. 6-in-1 Screwdriver 120SD12D
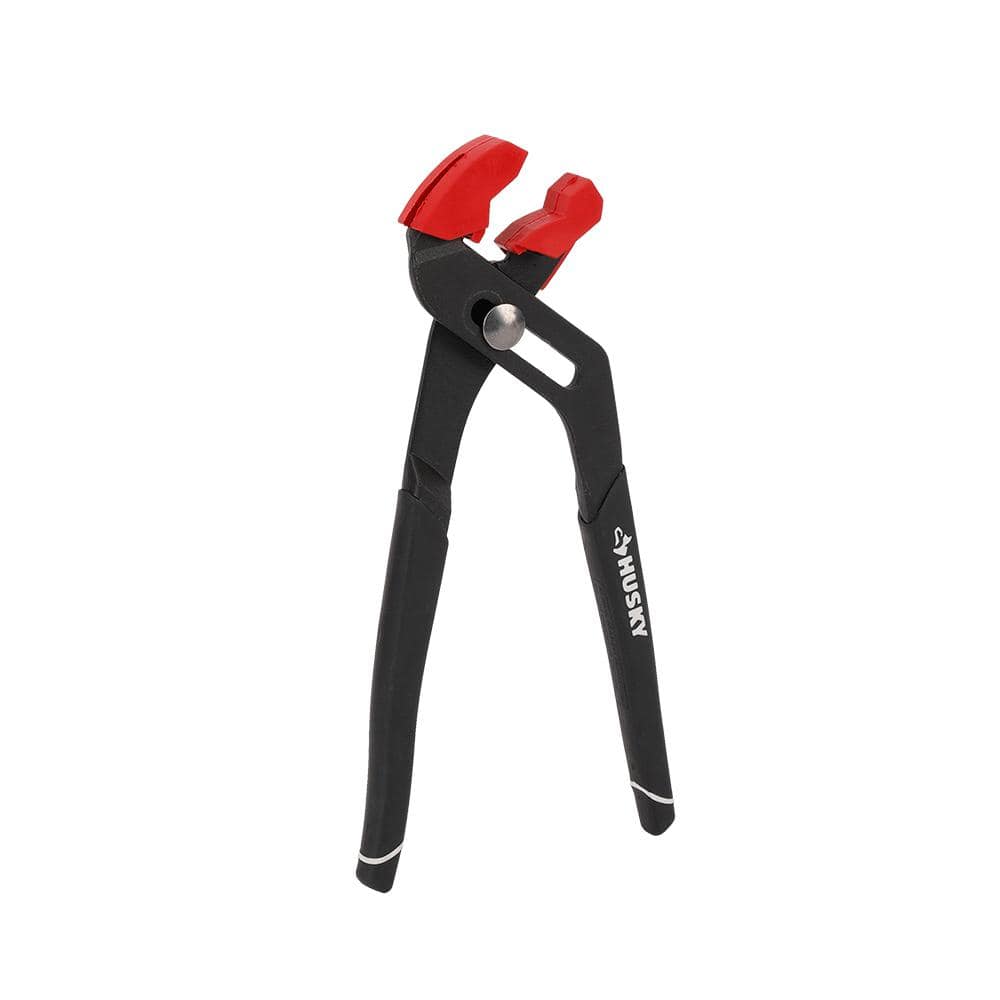
Husky 10 in. Soft Jaw Pliers 17PL0308
Husky Basin Wrench 16PL0127
KRAUS Garbage Disposal Adapter GDA-1
Anvil Plastic Putty Knife Set 18PT0826
The Anvil plastic putty knife set includes 1.5 in., 3 in., and 6 in. plastic putty knives. Use these putty knives to spread joint compound, spackle, or adhesive to repair cracks, holes, and scratches prior to painting. The multi-purpose set allows you to complete all of your jobs and dispose of the tools when done.
Oatey 9 oz. Stain-Free Plumber's Putty 31177
For setting frames, faucets and basket strainers, use this Oatey 9 oz. Stain-Free Plumber's Putty on granite, marble, quartz, sandstone and other natural, porous materials. Will not crack or shrink. Cleans
HDX 3-1/4 in. 6-in-1 Screwdriver 120SD12D
The HDX 3-1/4 in. 6-in-1 Screwdriver features double-sided bits with the four most common screwdriver tip styles, including a #1 Phillips bit, a #2 Phillips bit, a 3/16 in. flathead bit and a 1/4 in. flathead bit. Both ends of the shaft can be used as 1/4 in. nut drivers when the bits are removed, offering convenient, versatile use. The high-visibility orange handle makes the handy tool easy to find on a job site or in a toolbox.
Husky 10 in. Soft Jaw Pliers 17PL0308
Husky's 10 in. Soft Jaw Pliers are equipped with soft jaw caps for use on fashion plumbing fixtures. The plastic caps keep the jaws from marring the surface. They feature dual material handles for comfortable
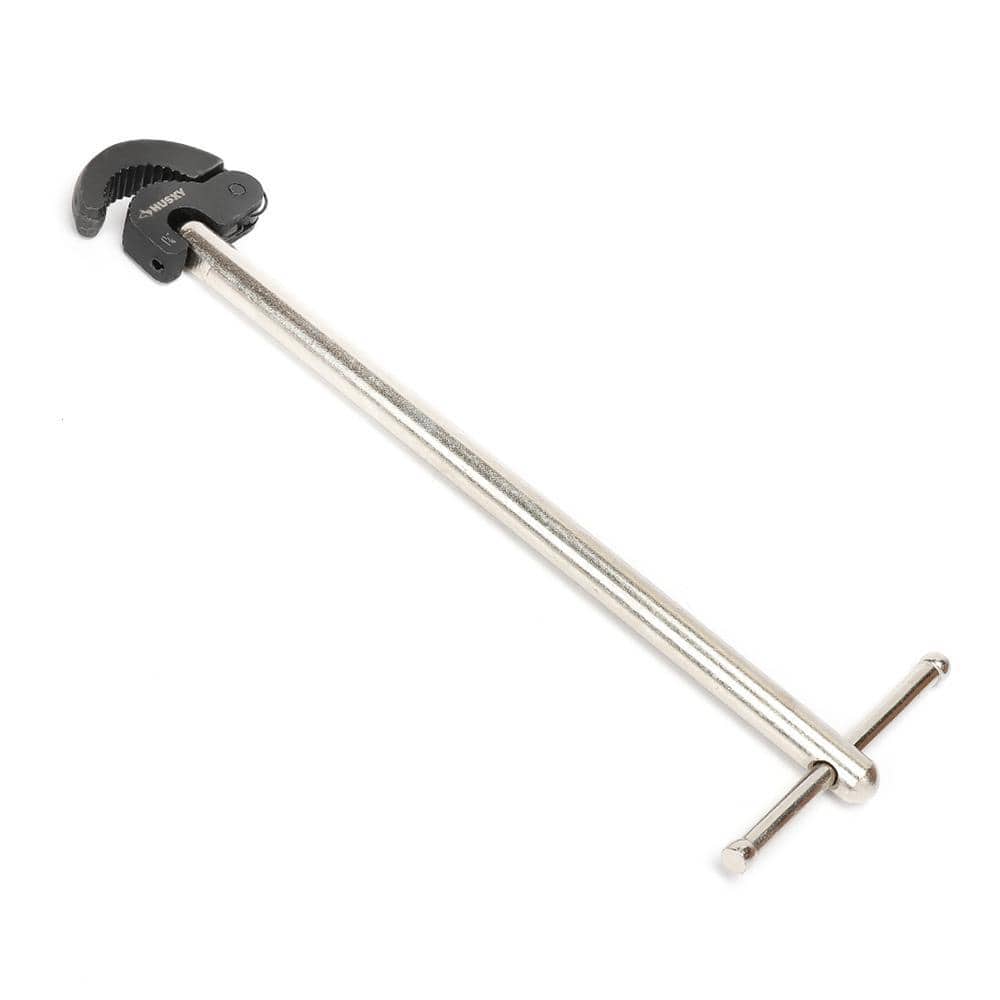
Husky Basin Wrench 16PL0127
Husky's 11 in. Basin Wrench is made from heavy-duty steel and has a reversible head for accessing faucet nuts in tight spaces. The 180 pivoting head holds its position at any angle to access hard-to-reach
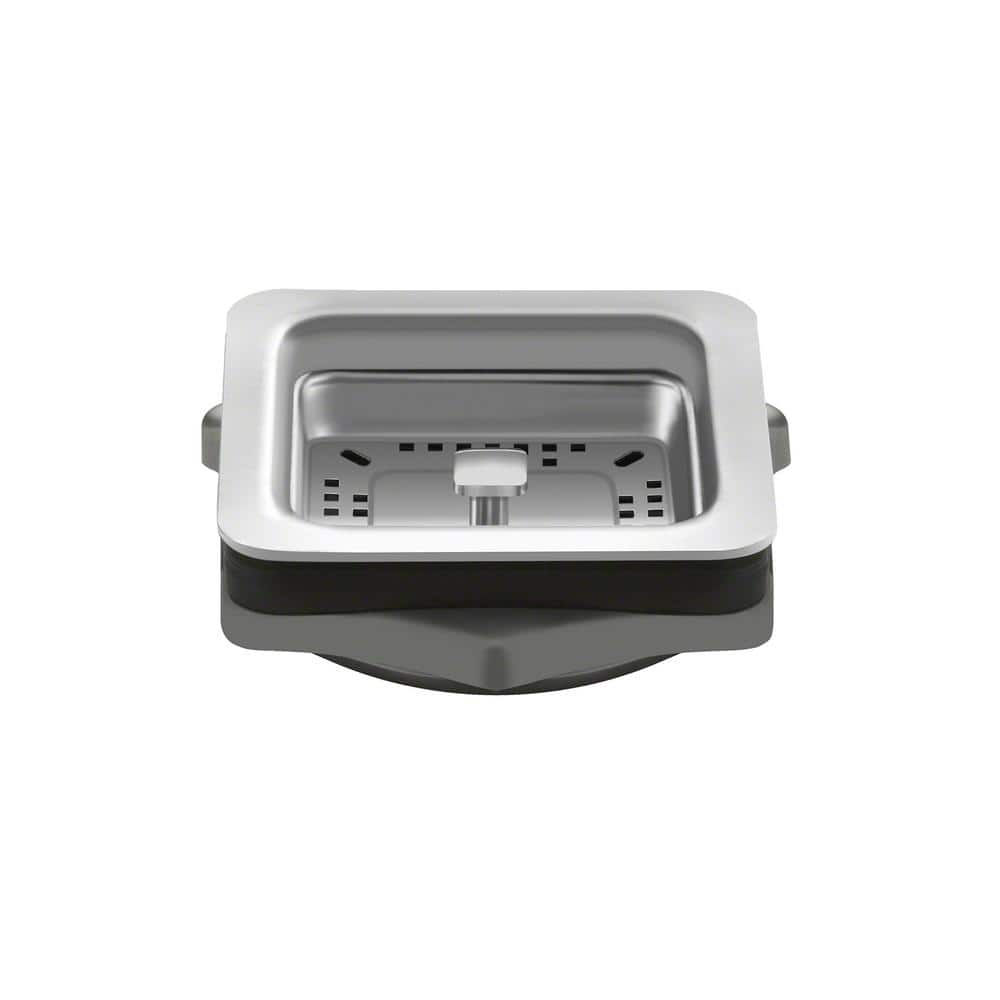
KRAUS Garbage Disposal Adapter GDA-1
Designed with clean lines and sleek shapes, Kraus kitchen accessories provide everyday efficiency with style. The square garbage disposal adapter coordinates with all Pax and R0 Pro Series stainless steel
Steps
Inspect for Damage and Leaks
15 minsCarefully inspect the garbage disposal for visible cracks or damage to the housing. If the housing is cracked, replacement is necessary. If the leak originates from a seam, try tightening the mounting bolts. If the leak persists, apply a bead of plumber's putty around the problematic area, ensuring a good seal.
Replace the Garbage Disposal (If Necessary)
1 minIf the leak persists after attempting repairs, a replacement is the most reliable solution. This will involve carefully disconnecting the plumbing, wiring, and mounting assembly. Install the new unit, following the manufacturer's instructions, reversing the removal process.
Common Problems
Safety concern: Always disconnect power to the garbage disposal before working on it.
Solution: Take proper safety precautions. Always disconnect power to the garbage disposal before working on it.
Prevention: Always follow safety guidelines before starting the project.
Do not skip the water test. It is essential to identify and fix any potential leaks before closing up the wall.
Solution: To avoid this issue: Be mindful of this warning and take appropriate precautions.
If your drain line is routed upwards, there will be water trapped in it. Be prepared with a bucket to catch it upon disconnection.
Solution: To avoid this issue: Be mindful of this warning and take appropriate precautions.
Water spills and messes when disconnecting disposal lines.
Solution: Have a bucket and towels ready before disconnecting water lines to manage spills.
Patching is a temporary solution. Replacement is often recommended for a long-term fix.
Solution: To avoid this issue: Be mindful of this warning and take appropriate precautions.
Water obscures the leak source, preventing accurate repair.
Solution: Dry the garbage disposal with a rag first to locate the leakage.
Always verify the power is off before proceeding. This is the most critical safety step.
Solution: To avoid this issue: Be mindful of this warning and take appropriate precautions.
Frequently Asked Questions
Why is it so important to disconnect power before working on the garbage disposal, and how do I do it correctly?
Disconnecting power prevents accidental electrocution or injury from the disposal blades, which is paramount for safety. Locate your home's electrical panel, identify the breaker for your kitchen or disposal, and switch it to the "off" position. Always double-check with a non-contact voltage tester on the disposal's wiring before touching anything.
How can I accurately identify the source of the leak at the bottom of my garbage disposal to know if I need a repair or replacement?
First, thoroughly dry the entire unit and the surrounding area. Then, briefly run water into the sink and look for immediate drips. If water leaks directly from the disposal's body (housing), it indicates an internal crack requiring replacement. Leaks from connections or the mounting collar can often be fixed by tightening or reapplying plumber's putty.
Are there any specific tools or materials that are absolutely essential for this repair, especially if I have to replace the unit?
Yes, a basin wrench is crucial for accessing and tightening the mounting nut in tight spaces under the sink. You'll also need screwdrivers, pliers, and plumber's putty for sealing the sink flange. If replacing, ensure your new disposal fits and you have a compatible adapter, like the KRAUS GDA-1, if required for your sink opening.
What should I do if I've tightened everything and applied plumber's putty, but my garbage disposal is still leaking from the bottom?
If external tightening and sealing efforts fail, it strongly suggests an internal crack in the disposal's housing or a deteriorated internal seal that cannot be repaired. In this common scenario, the entire garbage disposal unit needs to be replaced. Internal leaks indicate irreparable damage to the appliance itself.
I'm a beginner; how realistic is the 3-hour estimated time for replacing a garbage disposal, and what makes this a 'beginner' project?
The 3-hour estimate is realistic for a beginner with good preparation and clear instructions, assuming no unexpected complications. This is a beginner-friendly project because it primarily involves disconnecting and reconnecting standard plumbing and electrical parts. Success relies more on careful execution and following manufacturer guidelines than on specialized skills.
Can I use silicone caulk instead of plumber's putty for sealing connections, or are there alternatives for fixing minor cracks?
It's best to use plumber's putty for sealing the sink flange to the sink as it remains pliable, allowing for future adjustments or removal. Silicone caulk forms a permanent bond, making future disassembly much more difficult. For cracks in the disposal's housing, there are no reliable alternative fixes; the unit must be replaced to prevent water damage.