
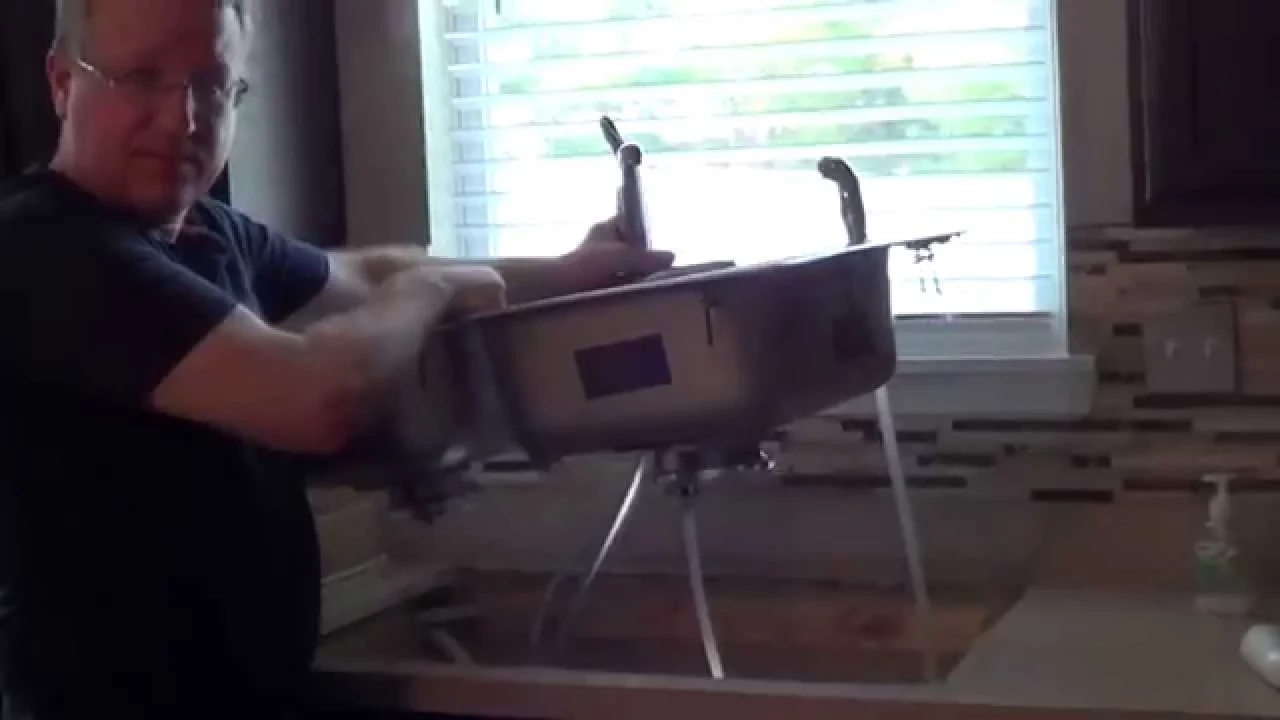
How to Clean Out a Bathroom Sink P-Trap
About This Project
This guide provides verbose step-by-step instructions for removing, cleaning, and reinstalling a bathroom sink P-trap to clear a clog and restore proper drainage. The process involves preparing the under-sink area, carefully unscrewing the trap to catch water and debris in a bucket, scrubbing the trap clean, and then reassembling the components, finishing with a thorough leak test.
Best for homeowners and DIY enthusiasts with basic plumbing knowledge.
Tools & Materials
Bucket
Scott Rags in A Box in White (200-Shop Towels per Box) 75260

Heavy Duty Latex Gloves
Milwaukee 350 Lumens LED Headlamp With 325 Lumens LED Aluminum Flashlight 2103-2107

Unger 6 Gal. Heavy-Duty Plastic Bucket DB02

Channellock 10 in. Tongue and Groove Plier 430
Bucket
Ideal for carrying or storing liquids.
Scott Rags in A Box in White (200-Shop Towels per Box) 75260
When you have tough jobs to tackle, you can trust Scott Rags in a Box, All-Purpose. These white disposable towels are made of cellulose fibers with a latex binder for thickness, absorbency, and strength.
Heavy Duty Latex Gloves
Protection during intense tasks.
Milwaukee 350 Lumens LED Headlamp With 325 Lumens LED Aluminum Flashlight 2103-2107
The Milwaukee Headlamp is more compact for all day comfort and delivers 350 Lumens of TRUEVIEW High Definition output in a wide flood beam. The LED headlamp is optimized to be lightweight and compact with a strap made from a washable, sweat absorbing microfiber, providing all-day comfort when worn on the forehead. The headlamp light's impact-resistant housing is built to withstand the toughest conditions. It survives drops and is IP54 rated for water and dust resistance. With 7 different tilt positions, users can direct the light by pivoting the light head. The Milwaukee headlamp has 3 light output modes to manage brightness and runtime, giving users up to 28 hours of runtime. The headlamp includes four clips for secure attachment to hard hats while users are on the jobsite. This headlamp is covered by a limited lifetime warranty. The Milwaukee 325L Focusing Flashlight delivers 325 Lumens of TRUEVIEW High Definition Output and is a Brighter, More Durable Everyday Flashlight.
Unger 6 Gal. Heavy-Duty Plastic Bucket DB02
The Unger 6-Gallon Heavy-Duty Professional Cleaning Bucket holds more than 6 Gal. of liquid. The bucket can accommodate a scrubber up to 14 in. L. This bucket features measurement marks and 2-pour spouts
Channellock 10 in. Tongue and Groove Plier 430
The Channellock 10 in. Straight Jaw Tongue and Groove Pliers are constructed with high-carbon steel and fashioned with laser heat-treated teeth for strong, nonslip jaw action. Undercut tongue-and-groove
Steps
Prepare the Work Area
5 minsBegin by clearing all items from the cabinet beneath the bathroom sink to create a clear and accessible workspace. Lay down old towels or several rags on the cabinet floor directly under the pipes. This will absorb any water that might splash or spill during the process. Gather all your tools and supplies and place them nearby for easy access.

Position the Bucket
1 minPosition a small-to-medium-sized bucket directly under the U-shaped bend of the P-trap. The trap is designed to hold a seal of water to block sewer gases, so this water, along with any trapped hair, soap scum, and other debris, will be released when you disconnect the trap. The bucket is essential for catching this mixture and preventing a mess.

Loosen the Slip Nuts
5 minsLocate the two large slip nuts that secure the P-trap. One connects the trap to the vertical pipe (tailpiece) coming from the sink, and the other connects to the horizontal pipe (drain arm) going into the wall. Attempt to loosen them by hand first, turning counter-clockwise. If they are too tight, use a pair of channel-lock pliers to grip the nut and turn it. Loosen both nuts completely, but leave them on the pipes for now.

Remove and Empty the P-Trap
3 minsWith both nuts loosened, hold the P-trap firmly and pull it straight down to detach it from the tailpiece. Then, pull it away from the drain arm in the wall. Keep the trap upright as you maneuver it out to minimize spillage, then carefully empty its contents into the bucket. You will likely find a clog made of hair, soap scum, and other gunk.

Clean the P-Trap Thoroughly
10 minsTake the detached P-trap to a utility sink or use a garden hose outside for cleaning. Use a flexible bottle brush to scrub the interior surfaces thoroughly. A small amount of dish soap and warm water will help dissolve any grease or soap residue. Make sure to clean inside all curves and openings. While you're at it, inspect the rubber or plastic slip joint washers for any cracks or signs of deterioration. If they are damaged, they should be replaced.

Reassemble the P-Trap
5 minsReturn to the sink with the clean P-trap. Make sure the slip joint washers are correctly seated on the ends of the pipes; the tapered side of the washer should always face the point of connection where the seal is made. Align the P-trap with the tailpiece and the wall arm, then push it back into position. Begin tightening the slip nuts by hand, turning them clockwise. Ensure they are threaded correctly and not cross-threaded to avoid leaks.

Final Tightening
1 minOnce the slip nuts are as tight as you can get them by hand, use the channel-lock pliers to give each nut an additional quarter-turn. This provides the final compression needed for a watertight seal. Be careful not to apply too much force, as overtightening can crack the plastic nuts or fittings.

Test for Leaks
5 minsThis is a critical final check. Remove the bucket and dry the P-trap and connections completely with a paper towel. Turn on the sink faucet—start with a slow stream, then increase to full blast. Let the water run for at least a minute. While it's running, closely inspect both slip nut connections for any signs of dripping. Feel around each joint with a dry finger or a fresh paper towel to detect subtle leaks. If you find a leak, turn off the water and tighten the corresponding nut slightly more.
Common Problems
Cross-threaded or cracked nuts when reassembling the P-trap.
Solution: Hand-tighten the slip-joint nuts first, then use pliers for a final quarter-turn to avoid cross-threading or cracking the nuts.
Do not over-tighten the plastic nuts, as they can crack easily. A snug fit is all that's needed.
Solution: To avoid this issue: Be mindful of this warning and take appropriate precautions.
Sink leaks persist after P-trap cleaning due to worn-out washers.
Solution: Replacing old washers is cheap insurance against future leaks.
Do not over-tighten the plastic nuts, as this can cause them to crack and leak. Snug is sufficient.
Solution: To avoid this issue: Be mindful of this warning and take appropriate precautions.
Leaky P-trap after cleaning due to insufficient tightening.
Solution: Hand-tightening is often sufficient, but have pliers ready in case a slight additional turn is needed to stop a leak.
Leaky P-trap connections due to improper nut tightening.
Solution: Hand-tighten the nuts first. If there are any drips after testing, use channel-lock pliers to give them a slight quarter-turn, but be careful not to overtighten and crack the plastic.
Leaking P-trap connections after reassembly.
Solution: Hand-tighten the slip nuts first. If there's a small leak, you can give it a quarter-turn with channel-lock pliers, but be careful not to crack the plastic.
Frequently Asked Questions
What safety precautions should I take beyond just wearing gloves?
Always wear heavy-duty latex or work gloves to protect your hands from dirty water, grime, and potential cleaning agents. Also, ensure good ventilation in the bathroom, and have plenty of old rags or paper towels (Scott 75260) on hand for immediate cleanup of any spills under the sink.
Do I really need specialized pliers like Channellock, or can I use a regular wrench?
While a regular adjustable wrench might work, Channellock tongue and groove pliers (430 or 440) are highly recommended. They provide a superior grip on the plastic slip nuts without damaging them, making loosening and tightening much easier and reducing the risk of cracking the pipe components. These pliers adapt better to various sizes and odd angles under the sink.
What's the most common mistake people make when cleaning a P-trap, and how can I avoid leaks after reassembly?
The most common mistake is overtightening the slip nuts during reassembly, which can crack plastic pipes or deform the rubber washers, leading to leaks. To avoid this, hand-tighten the nuts until snug, then use pliers to give them an additional quarter to half a turn, ensuring they are firm but not strained. If a leak persists, ensure the Oatey slip-joint washers (HDC2699C) are correctly seated and not damaged, replacing them if necessary.
Can I use chemical drain cleaners instead of manually cleaning the P-trap?
While chemical cleaners might offer a temporary fix for very minor clogs, they often don't fully remove accumulated hair and solidified grime common in P-traps. Furthermore, they can be corrosive to pipes and pose health risks. Manually cleaning the P-trap, as detailed in this project, is a more effective, safer, and long-lasting solution for blockages at this specific location.
How long does this P-trap cleaning project typically take for a beginner, and what's the estimated cost?
For a beginner, this project typically takes about 30-60 minutes, including setup, cleaning, and thorough leak testing. The cost is minimal if you already own basic tools like pliers and a bucket. If you need to purchase all the listed tools and materials like dish soap (Dawn Professional 003700057445) and replacement washers, the total cost might range from $20 to $50, depending on tool quality.
My sink is still draining slowly after cleaning the P-trap. What else could be wrong?
If your P-trap is clear, the clog might be located further down the drain line or in the pop-up stopper assembly itself. First, check the stopper for accumulated hair and debris and clean it thoroughly. If the problem persists, you might need to use a drain snake to reach clogs deeper in the main drainpipe beyond the P-trap.