
How to Clean or Replace a Dishwasher Air Gap
About This Project
This guide provides comprehensive, step-by-step instructions for troubleshooting a common dishwasher drainage problem: a clogged or faulty air gap. The process involves inspecting the air gap, performing a thorough cleaning of the cap, body, and connected hoses, and if necessary, completely replacing the air gap unit with a new one.
Best for experienced DIYers and homeowners with some experience with basic plumbing knowledge and familiarity with power tools.
Tools & Materials
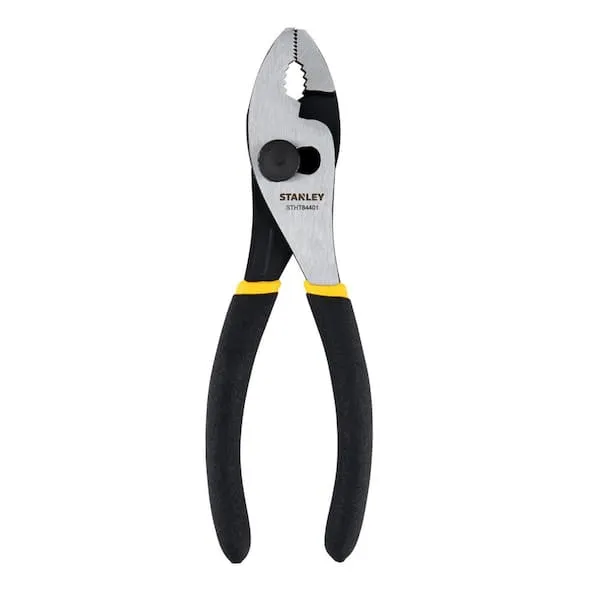
Pliers
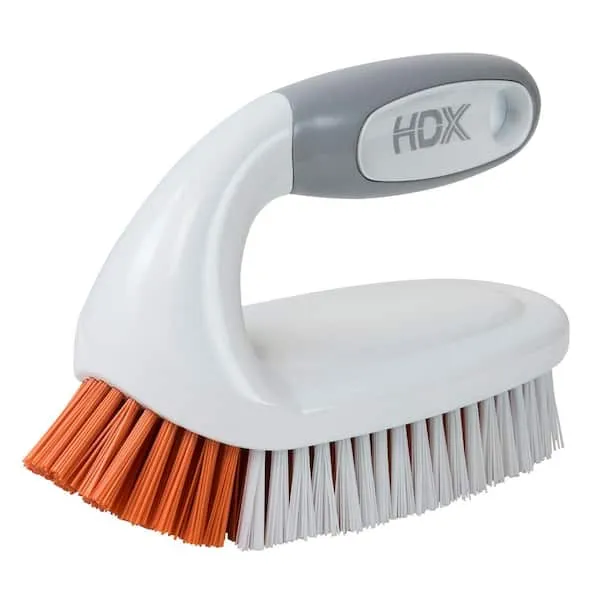
Scrub Brush

Towel
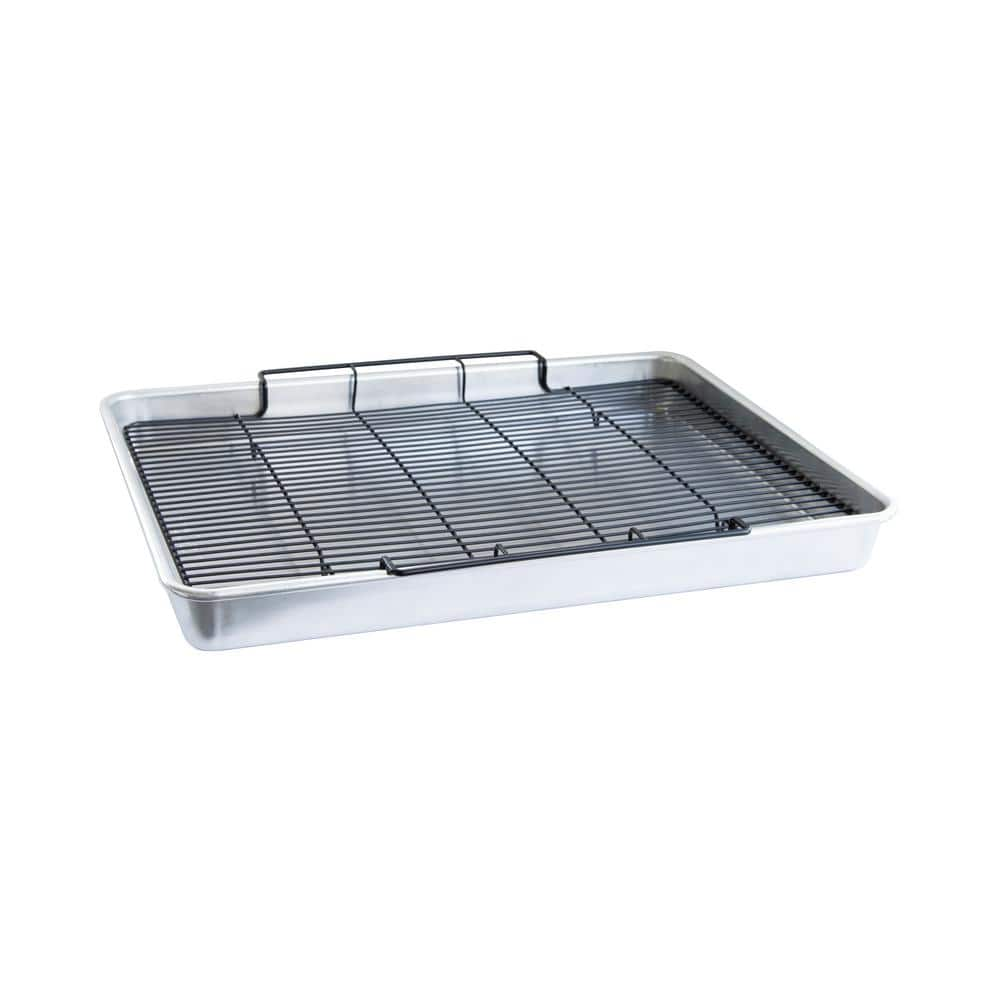
Nordic Ware Large Oven Bacon Pan 35702M

Better Trends Edge Collection 24 in. x 40 in. Green 100% Cotton Rectangle Bath Rug BAEG2440SA
Crescent 15 in. Flat Pry Bar with Grip FB15-06
Pliers
Grips and manipulates objects.
Scrub Brush
Tackles tough stains with stiff bristles.
Towel
Absorbs moisture and dries surfaces.
Nordic Ware Large Oven Bacon Pan 35702M
Air crisp in your oven. Roast meats, bacon, fries, tots, homemade jerky, dried fruit and more with our Extra Large Oven Crisp Baking Tray. This is a larger version of our popular Oven Bacon Pan.
Better Trends Edge Collection 24 in. x 40 in. Green 100% Cotton Rectangle Bath Rug BAEG2440SA
This one is a perfect option if you are looking for a highly durable and sustainable rug for the bathroom. This collection of bathroom mats and rugs sets is a worth investing offer from Better Trends.
Crescent 15 in. Flat Pry Bar with Grip FB15-06
Tackle your next renovation or demolition project with the latest innovations from Crescent. Our new tools are designed around powerful innovations that allow the user to attack projects from the best
Steps

Prepare the Work Area
5 minsBegin by preparing your work area to prevent water damage and ensure you have all tools at hand. Place several old towels or a shallow pan directly under the sink, positioned beneath the garbage disposal and the air gap hose connections. This will catch any residual water that drains from the hoses when you disconnect them. Gather your tools, such as pliers and a small brush, and place them within easy reach.

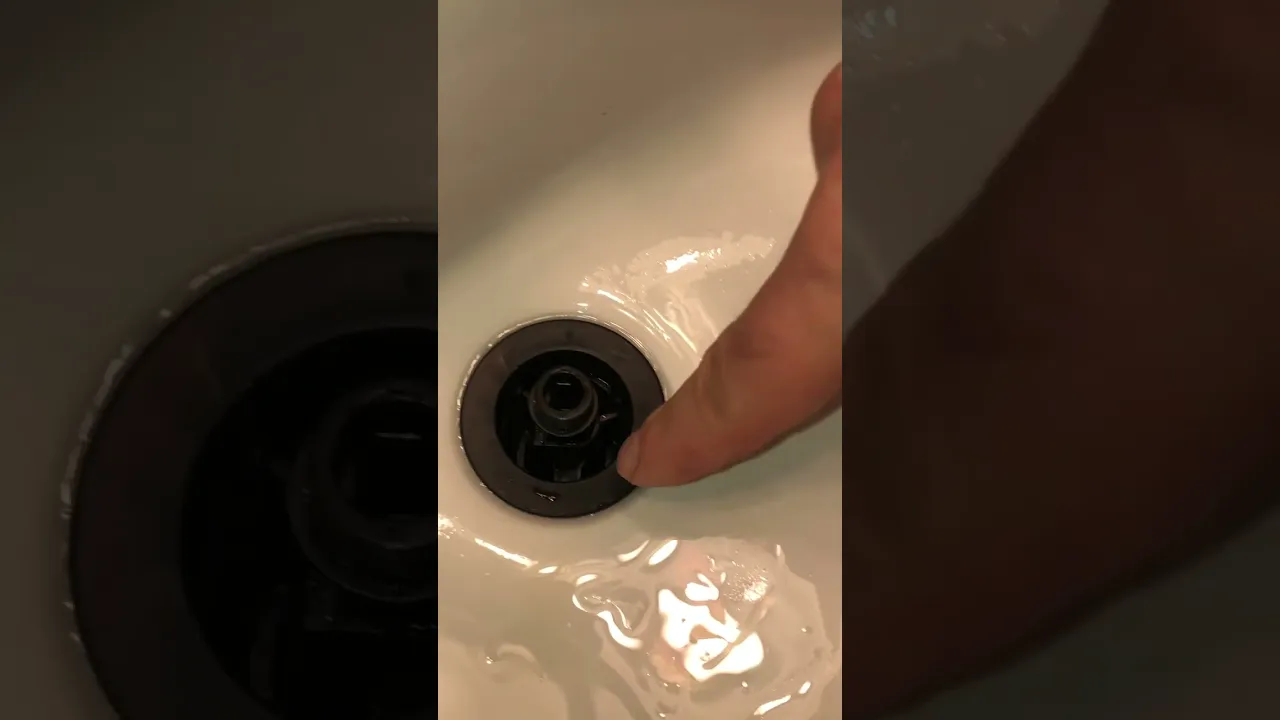
Remove the Air Gap Cover and Cap
3 minsTo access the air gap for cleaning, you must first remove its decorative cover. Most covers are either threaded or snap-on. Grasp the metal cover firmly and try to unscrew it by turning it counter-clockwise. If it doesn't turn, it is likely a snap-on cover; in this case, pull it straight up to remove it. Once the cover is off, you will see a smaller plastic cap. This cap may also twist off or simply pull up. Remove this plastic cap to expose the inside of the air gap body.

Clean the Air Gap Body and Cap
10 minsWith the caps removed, inspect the inside of the air gap body for obstructions. Often, food particles and gunk accumulate here, causing the blockage. Use a small bottle brush or a pipe cleaner to scrub the inside of the air gap body. Use rolled-up paper towels to wipe out any dislodged debris. Clean the plastic cap you removed as well, ensuring any small vent holes are clear. A toothpick can be helpful for clearing these small openings.

Check and Clean the Drain Hose
10 minsIf the top of the air gap is clean, the clog is likely in the drain hose leading from the air gap to the garbage disposal. Under the sink, locate the larger of the two hoses connected to the bottom of the air gap. Place a bucket underneath it. Loosen the hose clamp holding it to the garbage disposal inlet or sink drain tee and pull the hose off. Check the hose and the inlet port for blockages. Use a small brush or a blunt object like a screwdriver to clear any gunk. Reconnect the hose and tighten the clamp.

Reassemble and Test After Cleaning
5 minsOnce everything has been cleaned and the hose is reconnected, reassemble the air gap on top of the sink. Place the plastic cap back on, followed by the decorative cover (screw or snap it back into place). To test your work, run your dishwasher on a 'Rinse' or 'Drain' cycle. This will force water through the system. Watch the air gap closely to ensure no water leaks from the top. Also, check under the sink to make sure the hose connection you worked on is dry and not leaking.

Remove the Old Air Gap Assembly (Optional)
10 minsIf cleaning did not resolve the issue, or if you found the air gap body to be cracked or broken, you will need to replace it. Start by going under the sink and disconnecting both the smaller hose coming from the dishwasher and the larger hose going to the garbage disposal. Use pliers for the clamps and have your bucket ready. Next, unscrew the large plastic mounting nut that holds the air gap body to the underside of the sink. Once the nut is removed, you can pull the entire air gap assembly up and out from the top of the sink.

Install the New Air Gap (Optional)
15 minsTake your new air gap kit. From the top of the sink, insert the threaded body of the new air gap through the hole. Ensure any gaskets included are properly seated. From under the sink, thread the new mounting nut onto the air gap body and tighten it until it is snug. Hand-tight plus a quarter-turn with pliers is usually sufficient. Now, reconnect the hoses. The smaller-diameter hose (from the dishwasher) attaches to the smaller inlet nipple on the air gap. The larger-diameter hose (to the garbage disposal) attaches to the larger outlet nipple. Secure both with their clamps.
Final Test After Replacement (Optional)
5 minsWith the new air gap fully installed, conduct a final, thorough test. Place the new decorative cover on top. Run the dishwasher on a 'Drain' or 'Rinse' cycle. While it's draining, use a flashlight to carefully inspect all connections under the sink (both hose connections at the air gap and the connection at the garbage disposal) for any signs of dripping. Also, confirm that no water is sputtering from the top of the new air gap. Wipe each connection with a dry paper towel to make even the smallest leak obvious.
Common Problems
Be prepared for some water to spill from the hoses when they are disconnected.
Solution: To avoid this issue: Be mindful of this warning and take appropriate precautions.
The old hoses may contain trapped water, so have a bucket or towels ready.
Solution: To avoid this issue: Be mindful of this warning and take appropriate precautions.
Dishwasher drainage issues go unnoticed until a full cycle is ruined.
Solution: Running a short rinse cycle is a quick way to test the drain function without waiting for a full wash cycle.
Double-check that the hose clamps are tight and that there are no kinks in the new hose before running the test cycle.
Solution: To avoid this issue: Be mindful of this warning and take appropriate precautions.
Leaking dishwasher air gaps due to loose gaskets or cracked fittings.
Solution: Ensure the gaskets are in place and connections are tight to prevent leaks, but do not overtighten and crack the plastic fittings.
Failure to create an air gap with the drain hose can cause draining problems or siphoning of dirty water back into the machine.
Solution: To avoid this issue: Be mindful of this warning and take appropriate precautions.
Leaky plumbing connections after installation.
Solution: Before turning on the switch, run cold water into the sink to check for leaks at your plumbing connections.
Frequently Asked Questions
What are the essential tools I need for this project, and are there alternatives for the specific brands listed?
While specific brands are listed, the core tools required are pliers, a standard screwdriver (multi-bit is handy), and a scrub brush for cleaning. You will also need a reliable flashlight, a bucket, and plenty of towels or rags to manage spills. Any good quality versions of these basic tools will suffice.
What crucial safety precautions should I take before I start working on my dishwasher air gap?
The most important safety step is to disconnect power to your dishwasher at the circuit breaker before you begin to prevent electrical shock. Also, wear gloves to protect your hands from potential grime and use the bucket and towels to contain any water that might spill during the process.
Is this project truly beginner-friendly, and how much time should I realistically set aside?
Yes, this project is rated as beginner difficulty, primarily involving basic hand tool use. While the estimated time is 3 hours, a simple cleaning often takes less than an hour. A full replacement might take closer to 1-2 hours depending on how easily the old unit removes and the new one installs.
I've thoroughly cleaned my air gap, but my dishwasher is still not draining properly. What else could be the problem?
If cleaning the air gap didn't fix the issue, the blockage might be further down the drain line or within the dishwasher itself. First, check the drain hose that connects from the air gap to your sink's drain connection for kinks or clogs. If that's clear, you may need to inspect the dishwasher's internal drain filter or pump.
How can I prevent my dishwasher air gap from clogging frequently in the future?
To prevent future clogs, always scrape excessive food debris from dishes before loading them into the dishwasher. Regularly run your dishwasher with a cleaning cycle using a dishwasher cleaner. You can also occasionally remove the air gap cover and cap for a quick visual check and rinse out any minor buildup.
Why is an air gap necessary for my dishwasher, and what does it do?
The dishwasher air gap is a critical plumbing safety device designed to prevent contaminated water from your sink drain from flowing back into your dishwasher. It creates an actual air break in the drain line, protecting your clean dishes from potential backflow of dirty water in case of a clogged sink drain.
What is the typical cost for a new dishwasher air gap if I need to replace it instead of just cleaning?
A new dishwasher air gap, such as the KRAUS Brushed Brass model mentioned, generally costs between $20 to $50, depending on the finish and brand. This makes it a relatively inexpensive component to replace if your existing unit is damaged, severely corroded, or irreparably clogged.


