
How to Adjust a Water Pressure Reducing Valve (PRV)
About This Project
This guide provides instructions on how to test your home's water pressure and adjust the Pressure Reducing Valve (PRV) to a safe and optimal level, typically between 50 and 60 PSI, to protect plumbing fixtures and appliances from damage caused by high pressure.
Best for homeowners and DIY enthusiasts with basic plumbing knowledge.
Tools & Materials
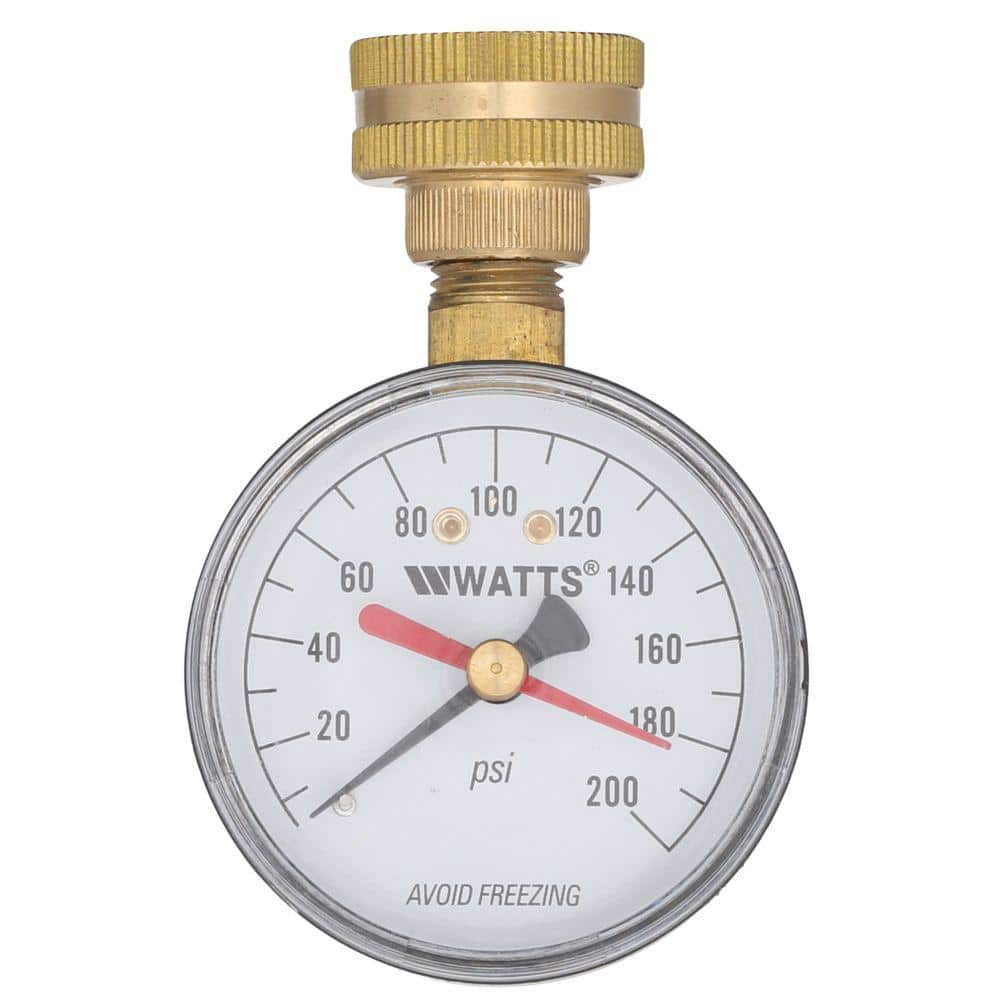
Watts 3/4 in. Plastic Water Pressure Test Gauge DP IWTG

Adjustable Wrench
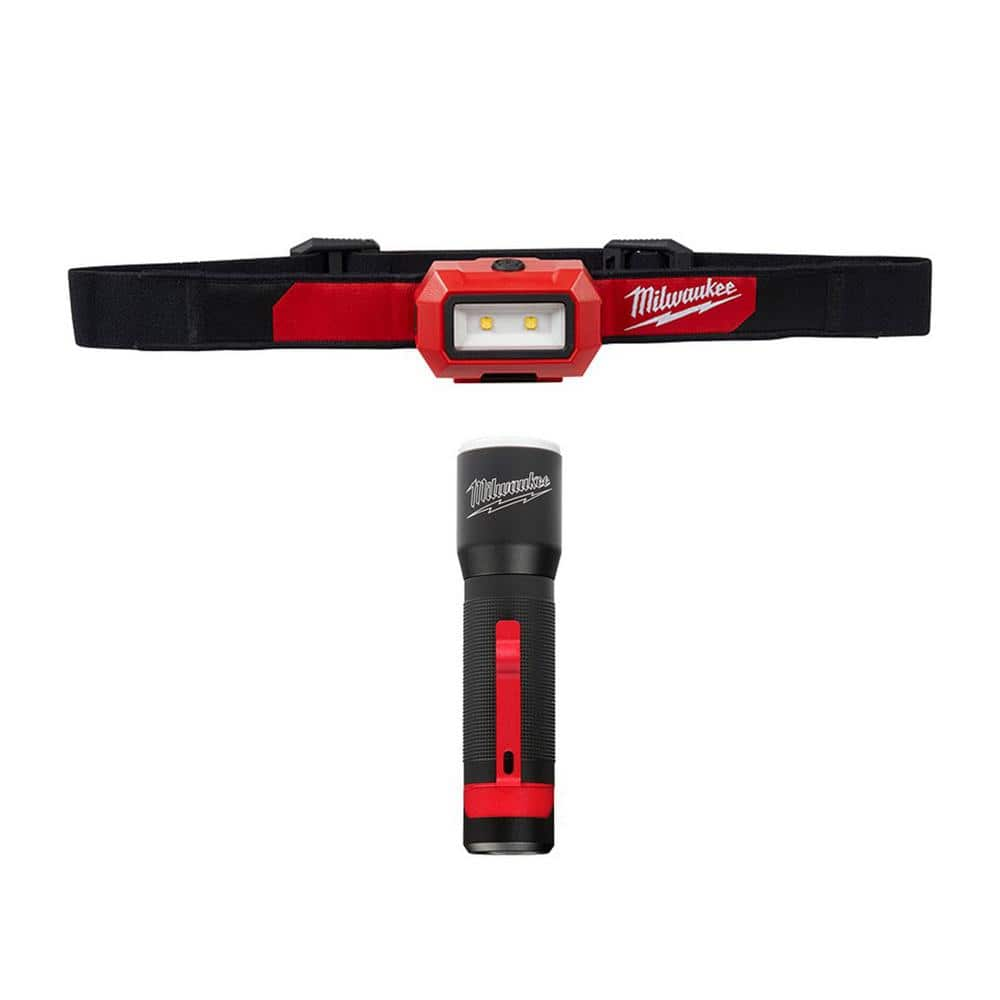
Milwaukee 350 Lumens LED Headlamp With 325 Lumens LED Aluminum Flashlight 2103-2107
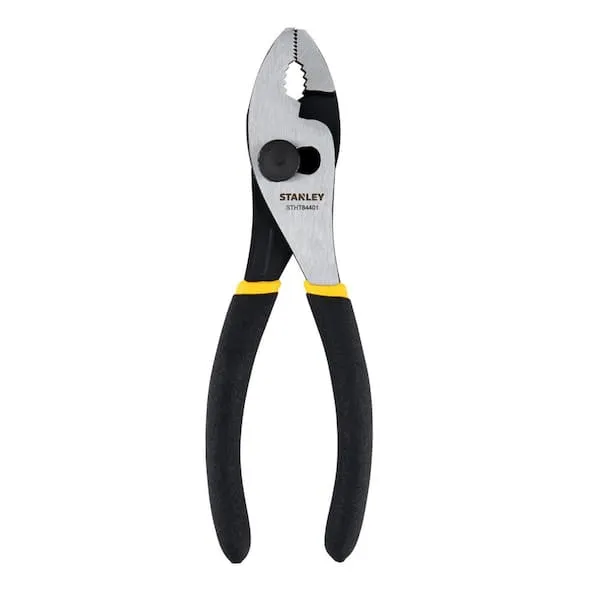
Pliers
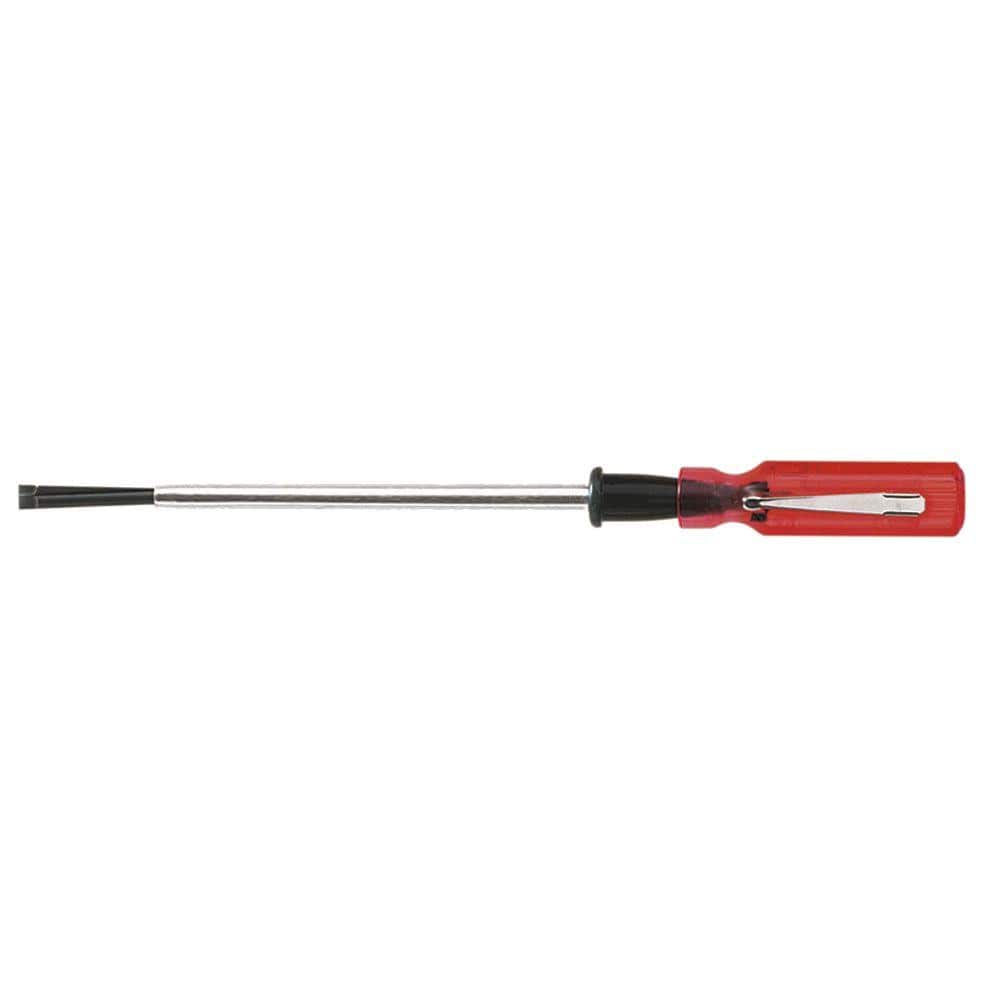
Klein Tools 3/16 in. Slotted Screw-Holding Flat Head Screwdriver with 8 in. Round Shank K28
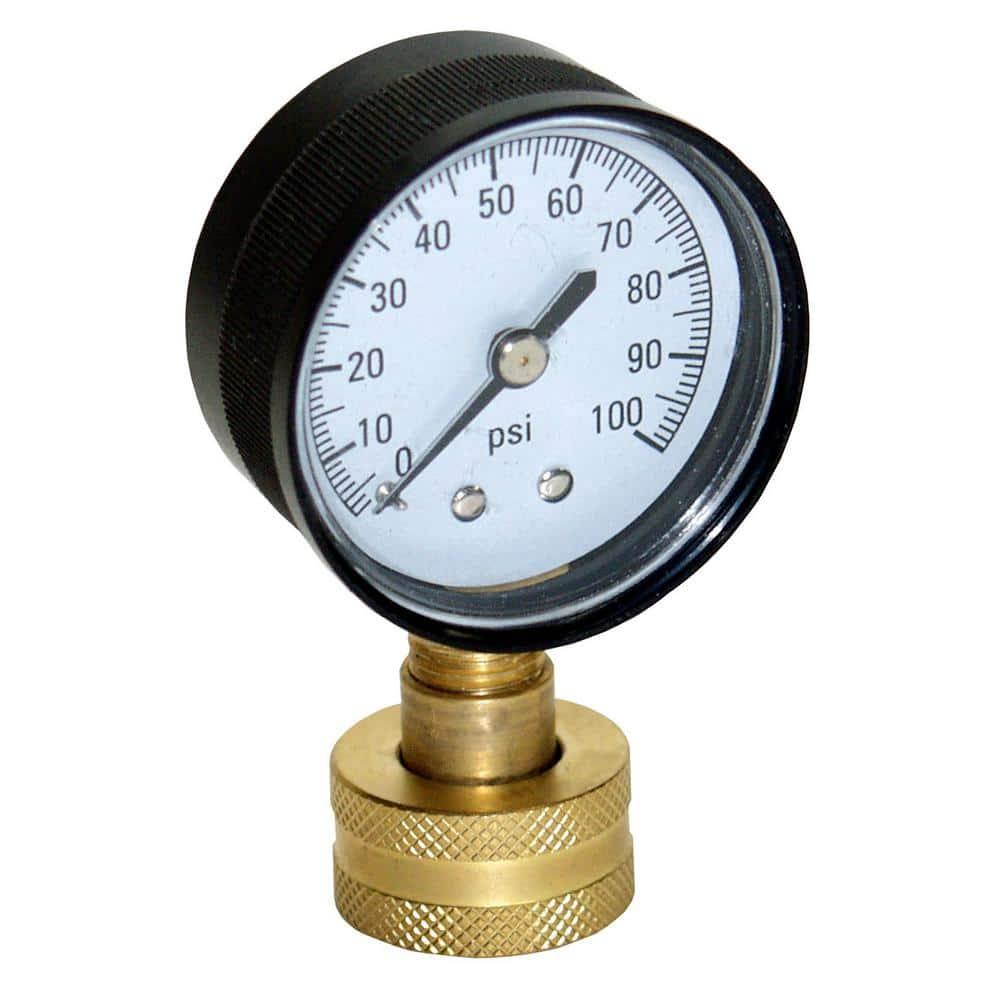
Water Source Water Test Pressure Gauge WSPGH100
Watts 3/4 in. Plastic Water Pressure Test Gauge DP IWTG
When you choose this hose connection gauge, you can rest assured that you're getting a quality product to test water supply pressures within a distribution system. Its red indicator hand holds at the highest reading registered for detection of thermal expansion pressure surges. Rubber garden hose washer included. Easy to install, no tools are required.
Adjustable Wrench
Fits various nut and bolt sizes with its adjustable jaw.
Milwaukee 350 Lumens LED Headlamp With 325 Lumens LED Aluminum Flashlight 2103-2107
The Milwaukee Headlamp is more compact for all day comfort and delivers 350 Lumens of TRUEVIEW High Definition output in a wide flood beam. The LED headlamp is optimized to be lightweight and compact with a strap made from a washable, sweat absorbing microfiber, providing all-day comfort when worn on the forehead. The headlamp light's impact-resistant housing is built to withstand the toughest conditions. It survives drops and is IP54 rated for water and dust resistance. With 7 different tilt positions, users can direct the light by pivoting the light head. The Milwaukee headlamp has 3 light output modes to manage brightness and runtime, giving users up to 28 hours of runtime. The headlamp includes four clips for secure attachment to hard hats while users are on the jobsite. This headlamp is covered by a limited lifetime warranty. The Milwaukee 325L Focusing Flashlight delivers 325 Lumens of TRUEVIEW High Definition Output and is a Brighter, More Durable Everyday Flashlight.
Pliers
Grips and manipulates objects.
Klein Tools 3/16 in. Slotted Screw-Holding Flat Head Screwdriver with 8 in. Round Shank K28
Getting that screw to stay put while you get it in place is much easier with Klein's Slotted Screw-Holding screwdriver. Positive gripping action holds, starts, and drives slotted screws in awkward, hard-to-reach
Water Source Water Test Pressure Gauge WSPGH100
This 100 psi Water Pressure Test Gauge attaches to a garden hose bib to verify water pressure or check for leaks in the system. Glass casing provides an easy to read display. It's easy to install.
Steps
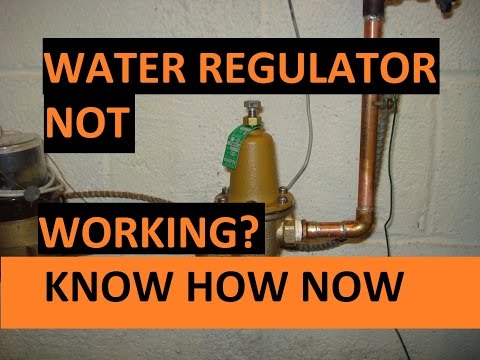
Measure Initial Water Pressure
5 minsFirst, ensure no water is running inside the house (no washing machines, dishwashers, or showers). Locate an outdoor hose bibb or a laundry sink faucet. Screw the water pressure gauge onto the faucet threads, ensuring a snug fit by hand-tightening. Open the faucet fully. Read the pressure in PSI (pounds per square inch) on the gauge's dial. This is your baseline static pressure. A reading above 80 PSI is too high; the ideal range is 50-60 PSI. Note this initial reading.
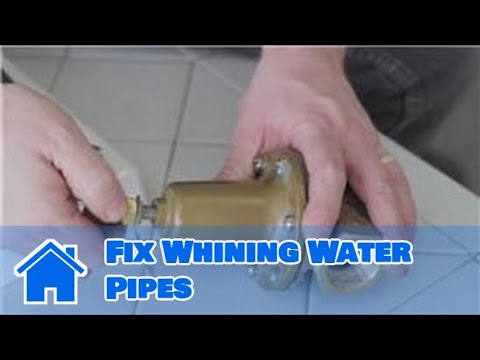
Locate the PRV and Loosen the Lock Nut
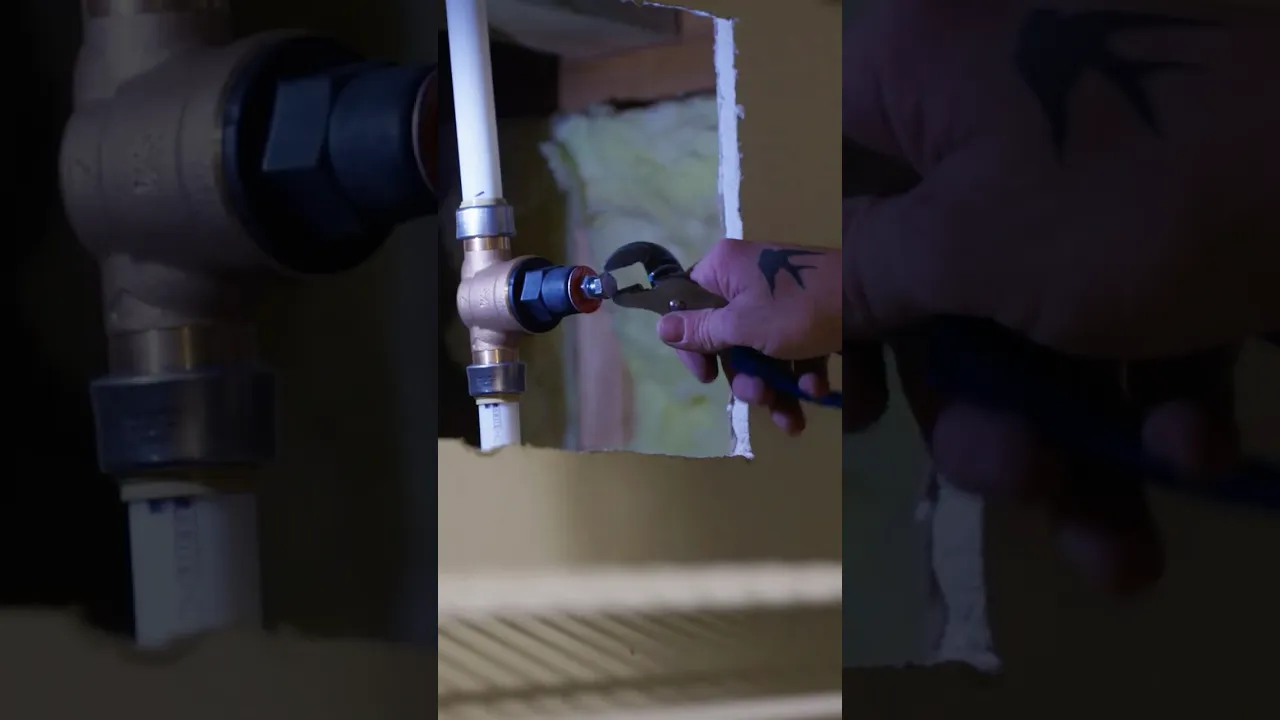
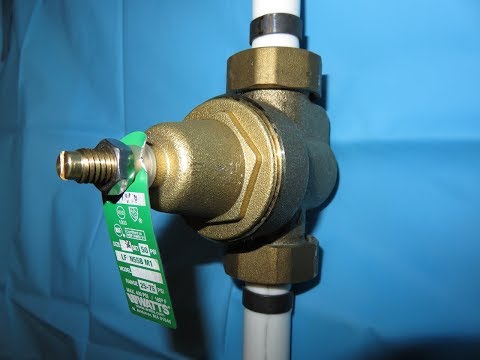
5 minsLocate the water pressure reducing valve. It is usually a brass, bell-shaped device installed on the main water line shortly after the main shutoff valve and water meter, often in a basement, crawlspace, or utility room. Identify the adjustment screw on top of the 'bell' and the lock nut that holds it in place. Using an adjustable wrench, turn the lock nut counter-clockwise about a half to a full turn to loosen it. This will allow the adjustment screw to be turned.

Adjust the Pressure Screw
10 minsWith the lock nut loosened, you can now adjust the pressure. To decrease the pressure (our assumed goal), use pliers or a flat-head screwdriver to turn the adjustment screw counter-clockwise. To increase pressure, you would turn it clockwise. It is crucial to make only small adjustments at a time, such as a quarter or half-turn. This prevents over-adjusting and allows you to fine-tune the pressure accurately.

Verify the New Pressure Setting
5 minsAfter making a small adjustment, you must verify the new pressure setting. To do this, go to a faucet inside the house (preferably one on an upper floor) and turn it on for about 15-20 seconds, then turn it off. This relieves the static pressure and allows the new setting from the PRV to stabilize throughout the system. Return to your water pressure gauge and read the new pressure. If it's still not in the desired range (50-60 PSI), repeat Step 3 and this verification step until the target is achieved.
Lock the Adjustment and Final Check
5 minsOnce your water pressure gauge shows a steady reading within the 50-60 PSI range, the adjustment is complete. Return to the PRV. Hold the adjustment screw in place with your pliers or screwdriver to prevent it from turning, and use the adjustable wrench to tighten the lock nut by turning it clockwise. Snug it down firmly, but do not overtighten. Finally, take one last look at your pressure gauge to ensure the pressure didn't change while tightening the nut. You can now remove the gauge from the faucet.
Common Problems
Make small adjustments at a time, about a quarter to a half turn, and check the pressure after each adjustment to avoid overshooting your target.
Solution: To avoid this issue: Be mindful of this warning and take appropriate precautions.
Stiff adjustment bolt prevents PRV pressure changes.
Solution: The adjustment bolt may be stiff on older regulators. Apply steady pressure to turn it.
Avoid lowering the pressure too much, as it can result in poor performance from showers and faucets. A setting between 45-60 PSI is generally ideal for most homes.
Solution: To avoid this issue: Be mindful of this warning and take appropriate precautions.
Incorrectly adjusting the PRV screw can lead to inconsistent water pressure.
Solution: Turning the adjusting screw clockwise compresses the internal spring, which results in higher downstream pressure.
Do not increase pressure above the maximum recommended PSI for your home's plumbing and appliances, which is typically 80 PSI.
Solution: To avoid this issue: Be mindful of this warning and take appropriate precautions.
Water pressure above 80 PSI can damage plumbing and appliances.
Solution: To avoid this issue: Be mindful of this warning and take appropriate precautions.
Inconsistent water pressure hinders fixture and sprinkler performance.
Solution: Low water pressure affects the performance of fixtures and sprinklers.
Frequently Asked Questions
What's the most important tool I need for this project, and why?
The most critical tool is a reliable water pressure test gauge, such as the Watts 3/4 in. Plastic Water Pressure Test Gauge DP IWTG. It's essential for accurately measuring your initial pressure and verifying your adjustments. Without it, you're guessing, which can lead to further plumbing issues or damage to your home's system.
How long does it usually take to adjust a PRV, and is it truly beginner-friendly?
For a beginner, this project typically takes about 30-60 minutes, including the initial pressure test and verification steps. It is considered beginner-friendly because it involves simple tool use and clear, sequential steps, primarily turning a screw or bolt. Patience is key, as small adjustments are often needed.
What are the main safety precautions I should take when working with my PRV?
Before making adjustments, ensure you know how to turn off your home's main water supply in case of an unexpected issue. Avoid over-tightening the adjustment screw or lock nut, which could damage the valve. Always re-test the pressure after each adjustment to prevent setting it too high, which can harm appliances.
My PRV seems to be adjusted, but the pressure gauge isn't showing a change. What could be wrong?
First, ensure your pressure gauge is properly connected and functioning. If it's still not changing, the PRV itself might be old, faulty, or clogged, preventing it from responding to adjustments. In such cases, the PRV might need replacement rather than just adjustment.
What's the ideal water pressure range for my home, and why is it important not to exceed it?
The optimal water pressure for most homes is between 50 and 60 PSI. Maintaining pressure within this range is crucial because excessively high pressure (above 80 PSI) can prematurely wear out plumbing fixtures, cause leaks, and damage water-using appliances like dishwashers and water heaters, potentially voiding warranties.
When should I consider replacing my PRV instead of just trying to adjust it?
You should consider replacing your PRV if it's over 10-15 years old, constantly leaking, or if adjusting it no longer effectively controls the water pressure (e.g., pressure remains consistently high or fluctuates wildly). A faulty PRV can't be fixed by adjustment and will continue to endanger your plumbing system.