
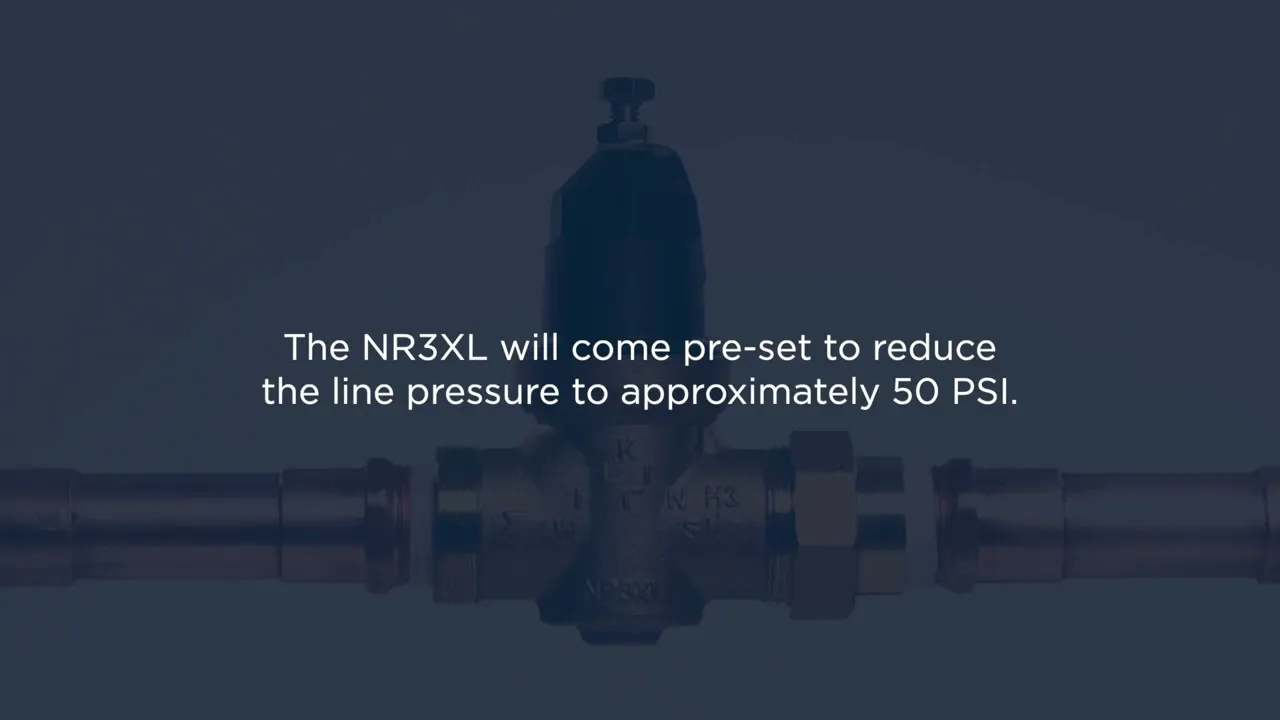
How to Adjust a Water Pressure Reducing Valve (PRV)
About This Project
This guide provides comprehensive, step-by-step instructions for testing and adjusting your home's water pressure reducing valve (PRV) to ensure the water pressure is within the safe and optimal range of 50-60 PSI. Adjusting the PRV can resolve issues of both low and high water pressure.
Best for homeowners and DIY enthusiasts with basic plumbing knowledge.
Tools & Materials
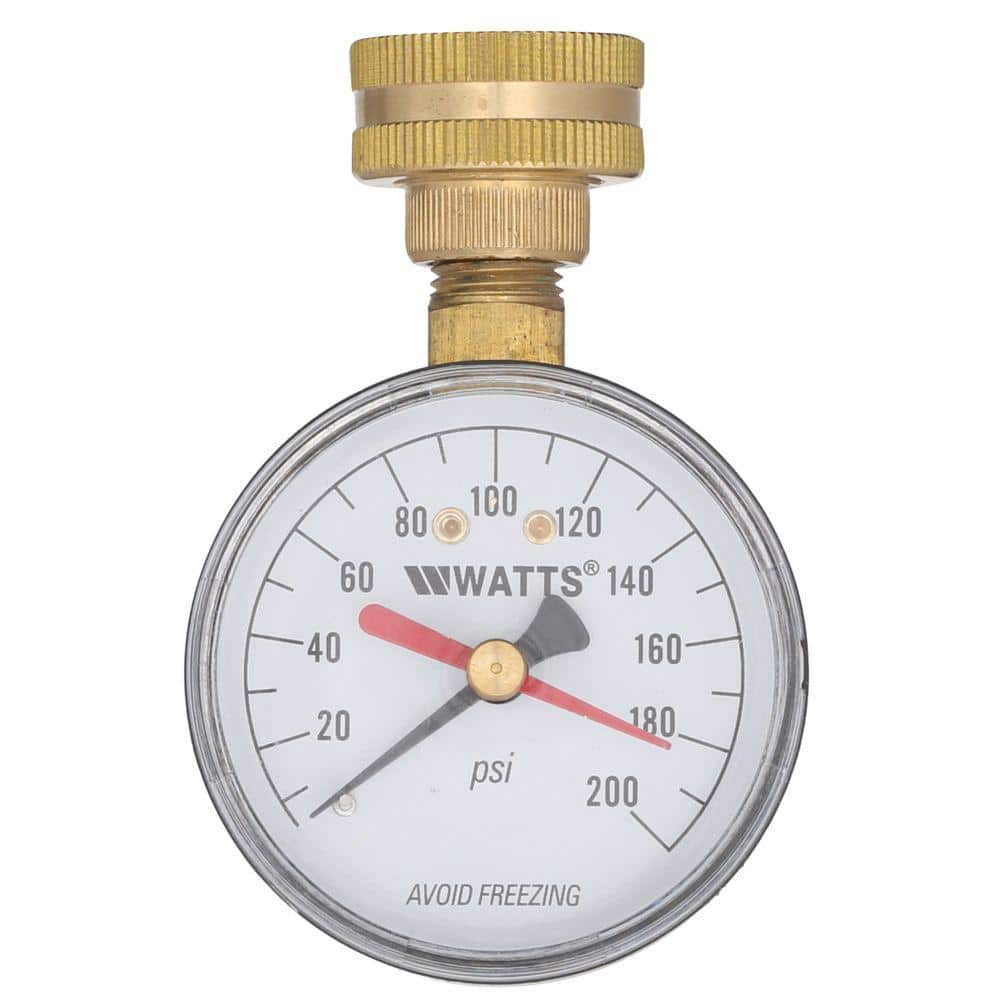
Watts 3/4 in. Plastic Water Pressure Test Gauge DP IWTG
Rite in the Rain Weatherproof Black Metal Clicker Pen, Black Ink (2-Pack) 97-2
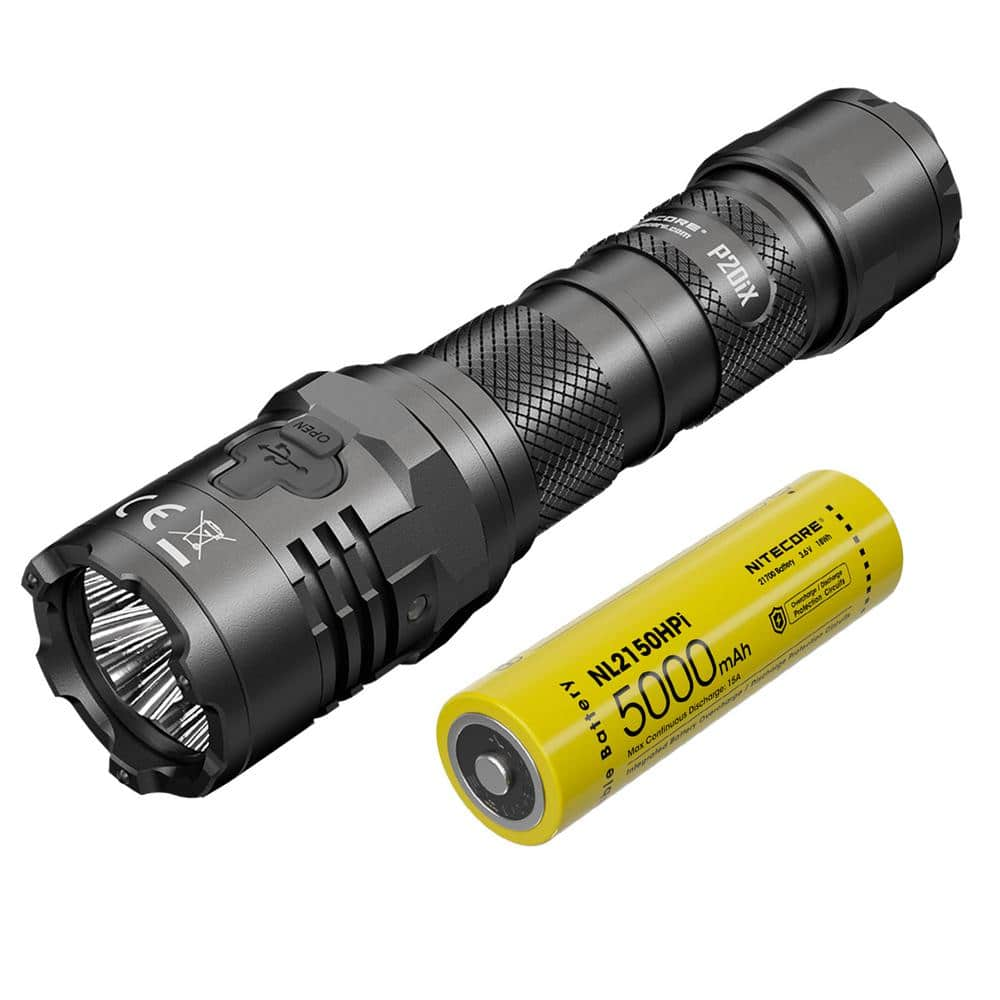
NITECORE 4000 Lumens USB-C LED Rechargeable Tactical Flashlight P20iX

Channellock 12 in. V-Jaw Tongue and Groove Pliers 442

Adjustable Wrench
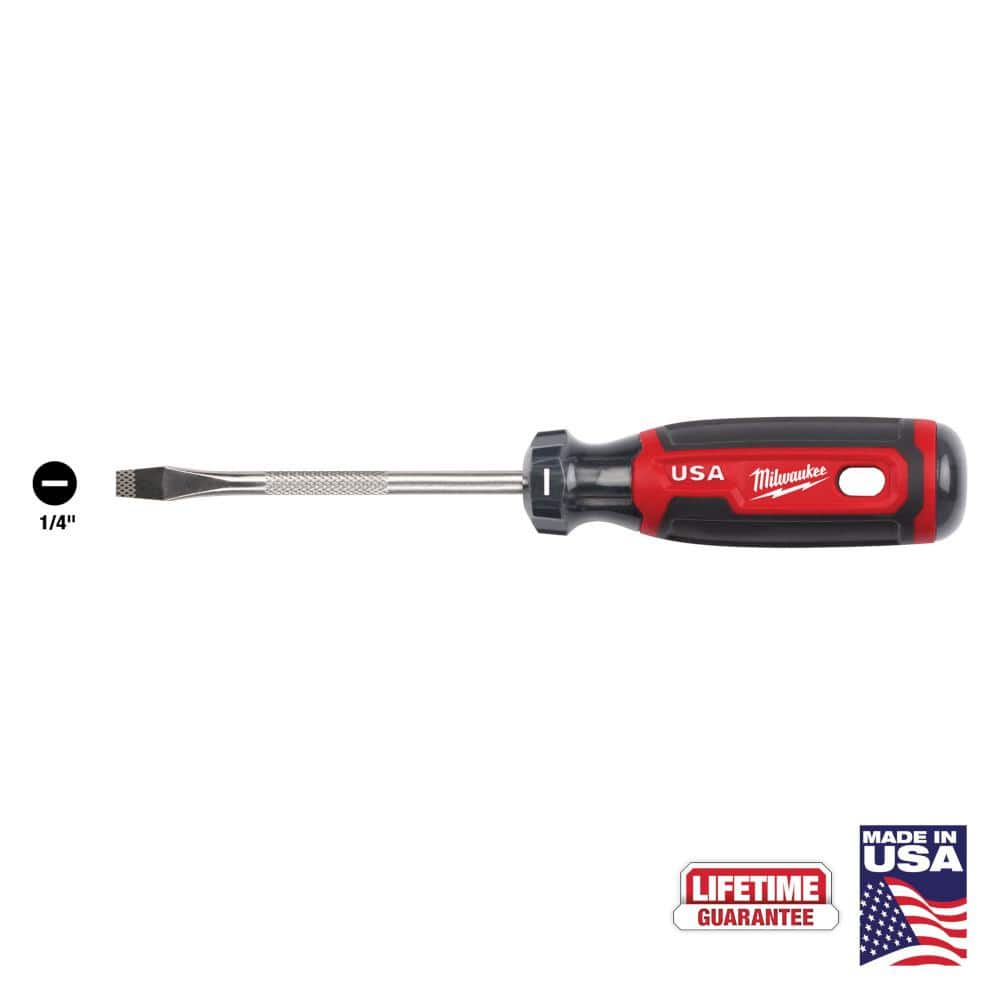
Milwaukee 4 in. x 1/4 in. Slotted Flat Head Screwdriver with Cushion Grip MT206
Watts 3/4 in. Plastic Water Pressure Test Gauge DP IWTG
When you choose this hose connection gauge, you can rest assured that you're getting a quality product to test water supply pressures within a distribution system. Its red indicator hand holds at the highest reading registered for detection of thermal expansion pressure surges. Rubber garden hose washer included. Easy to install, no tools are required.
Rite in the Rain Weatherproof Black Metal Clicker Pen, Black Ink (2-Pack) 97-2
Pencils will work great on Rite in the Rain All-Weather Paper but sometimes you need a pen. This All-Weather Plastic Clicker Pen writes on wet paper and upside down, the pressurized ink cartridge performs
NITECORE 4000 Lumens USB-C LED Rechargeable Tactical Flashlight P20iX
The NITECORE P20iX is unrivaled when it comes to performance. NITECORE took the beloved P20i frame and maintained the compact size, ergonomics and doubled the power with 4 LEDs. This Xtreme high lumen
Channellock 12 in. V-Jaw Tongue and Groove Pliers 442
CHANNELLOCK 442 12" Tongue & Groove Pliers feature a unique v-jaw design that creates more points of contact on round stock and tubing. These pliers are built to last with a PERMALOCK fastener to eliminate
Adjustable Wrench
Fits various nut and bolt sizes with its adjustable jaw.
Milwaukee 4 in. x 1/4 in. Slotted Flat Head Screwdriver with Cushion Grip MT206
The Milwaukee® 1/4" Slotted 4" Cushion Grip Screwdrivers (USA) are manufactured to give the professional the best-fitting screwdriver with max grip. These screwdriver tips are custom machined to deliver
Steps

Measure Initial Static Pressure
5 minsTo begin, you must first get an accurate baseline reading of your home's current static water pressure. Ensure all faucets, showers, and water-using appliances inside and outside the house are turned off. Locate an outdoor hose bibb (spigot) or a laundry utility sink faucet. Screw the water pressure gauge onto the threads of the faucet, ensuring a snug fit. Fully open the faucet valve. The needle on the gauge will immediately display the static water pressure in pounds per square inch (PSI). Note this number down.

Locate the PRV
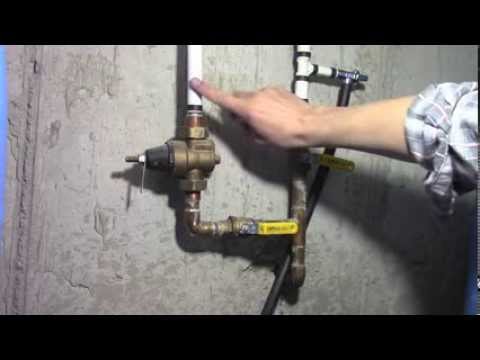
5 minsLocate the Pressure Reducing Valve (PRV) itself. It is typically installed on the main water supply line shortly after the main shut-off valve and the water meter. Look for a brass, bell-shaped device. On top of the 'bell' housing, you will find the adjustment mechanism, which is usually a long threaded bolt (the adjustment screw) secured by a hex nut (the lock nut).

Loosen the Lock Nut
5 minsBefore you can turn the adjustment screw, you must loosen the lock nut that prevents it from moving. Using a pair of channel-lock pliers or an adjustable wrench, grip the hex-shaped lock nut located at the base of the adjustment screw. Turn the wrench counter-clockwise to loosen it. A half-turn to a full turn should be sufficient; you do not need to remove it completely.
Turn the Adjustment Screw
5 minsWith the lock nut loosened, you can now adjust the pressure. Since our assumed goal is to increase low pressure, you will use a flathead screwdriver or the appropriate tool for your valve's screw. Turn the adjustment screw clockwise (righty-tighty) to increase the downstream water pressure. Start with a small adjustment, such as a one-half turn. If your goal was to decrease pressure, you would turn the screw counter-clockwise (lefty-loosey).

Verify New Pressure
5 minsAfter making an adjustment, you must check the new pressure setting. To do this, you need to relieve the static pressure and allow the system to reset to the new setting. Go to a high-flow faucet inside the house, such as a bathtub, and turn on the cold water for about 30 seconds, then turn it off. This action allows the PRV to regulate the pressure to its new set point. Return to your pressure gauge on the outdoor bibb and read the new static pressure. Compare it to your target of 50-60 PSI. Repeat this step and the previous adjustment step as needed until you reach the desired pressure.

Tighten Lock Nut and Finish
5 minsOnce you have successfully adjusted the pressure to your desired level (ideally between 50 and 60 PSI), the final step is to secure your adjustment. Using the same adjustable wrench or pliers, turn the lock nut clockwise until it is snug against the bell housing of the PRV. Do not overtighten, as this can damage the valve. Just make it firm enough to prevent the adjustment screw from vibrating or turning on its own. Finally, you can turn off the outdoor hose bibb and remove your water pressure gauge.
Common Problems
Incorrectly adjusting PRV nuts can lead to inconsistent water pressure.
Solution: The larger nut on the pressure switch adjusts the cut-off pressure, while the smaller nut adjusts the pressure differential (the range between cut-in and cut-out).
Do not set the pressure higher than the maximum rating for your pressure tank or plumbing system.
Solution: To avoid this issue: Be mindful of this warning and take appropriate precautions.
Incorrect faucet choice leads to inaccurate PRV adjustment.
Solution: It doesn't matter which faucet you use, as long as it creates a constant flow. The bathroom sink is often convenient.
PRV adjustments are inaccurate if all faucets are fully closed.
Solution: To accurately set the pressure, a faucet should be slightly open somewhere in the house while you make adjustments.
Incorrect PRV adjustment leads to water pressure that is too high or too low.
Solution: Turning the adjusting screw clockwise compresses the internal spring, which results in higher downstream pressure.
Do not increase pressure above the maximum recommended PSI for your home's plumbing and appliances, which is typically 80 PSI.
Solution: To avoid this issue: Be mindful of this warning and take appropriate precautions.
Make small, incremental adjustments to the pressure screw while monitoring the gauge to avoid over-pressurizing the system.
Solution: To avoid this issue: Be mindful of this warning and take appropriate precautions.
Frequently Asked Questions
Is adjusting my PRV truly a "beginner" DIY project, and what are the risks if I do it incorrectly?
Yes, adjusting your PRV is considered beginner-friendly, provided you follow the instructions carefully and have the right tools. The primary risk is setting the pressure too high, which can damage plumbing fixtures, appliances, and lead to leaks. Conversely, setting it too low will result in inadequate water flow. Always re-verify your pressure with a reliable gauge after adjustments.
Do I really need all the specific tools listed, or are there more budget-friendly alternatives I can use?
While the listed tools are recommended for their reliability and ease of use, some can be substituted. For example, any standard flat-head screwdriver of the correct size will work, and a basic adjustable wrench can often replace the Channellock pliers. However, a reliable water pressure gauge is absolutely essential for accurate measurement and cannot be skipped for this project.
Are there any important safety precautions or warnings I should be aware of before adjusting my PRV?
Always ensure you are aware of your main water shut-off valve location in case of an issue. Wear appropriate eye protection to guard against potential splashes. Most importantly, never set your water pressure above 80 PSI, as this can stress your plumbing system, void appliance warranties, and increase the risk of leaks.
My water pressure isn't changing after I adjust the screw, or I can't find my PRV. What should I do?
If adjusting the screw doesn't change the pressure, your PRV might be faulty, stuck, or clogged with sediment and may need replacement. Double-check that you're turning the adjustment screw in the correct direction (clockwise for more pressure, counter-clockwise for less). PRVs are typically located near your main water shut-off, where the main water line enters your home, often distinguished by a bell-shaped top.
How long does this project typically take, and what's the approximate cost if I need to purchase all the recommended tools?
The actual adjustment and verification process usually takes about 15-30 minutes, once you've located your PRV and gathered your tools. If you need to purchase all the recommended tools, expect to spend approximately $50-$100. The water pressure test gauge is often the most significant single cost among the required items.
Why is 50-60 PSI considered the optimal range, and are there situations where I might want a different setting?
50-60 PSI is widely considered optimal because it provides sufficient water flow for household activities without putting excessive strain on your plumbing system or appliances. Pressures above 80 PSI are generally too high and can cause damage, while pressures below 40-45 PSI can lead to weak shower streams and slow-filling toilets. Always check your local building codes, as very specific areas might have slightly different recommendations.
How often should I check or adjust my water pressure reducing valve?
It's a good practice to check your home's water pressure annually, even if you haven't noticed any issues. You should also check and potentially adjust your PRV if you experience sudden changes in water flow, hear pipes rattling, or if you suspect your municipal water supply pressure has changed. Regular checks help maintain plumbing health and prevent costly damage.