

How to Hang a Chandelier in a Two-Story Foyer
About This Project
This project outlines the steps for safely installing a chandelier in a two-story foyer, including preparation, mounting the electrical box, hanging the fixture, and making the electrical connections.
Tools & Materials
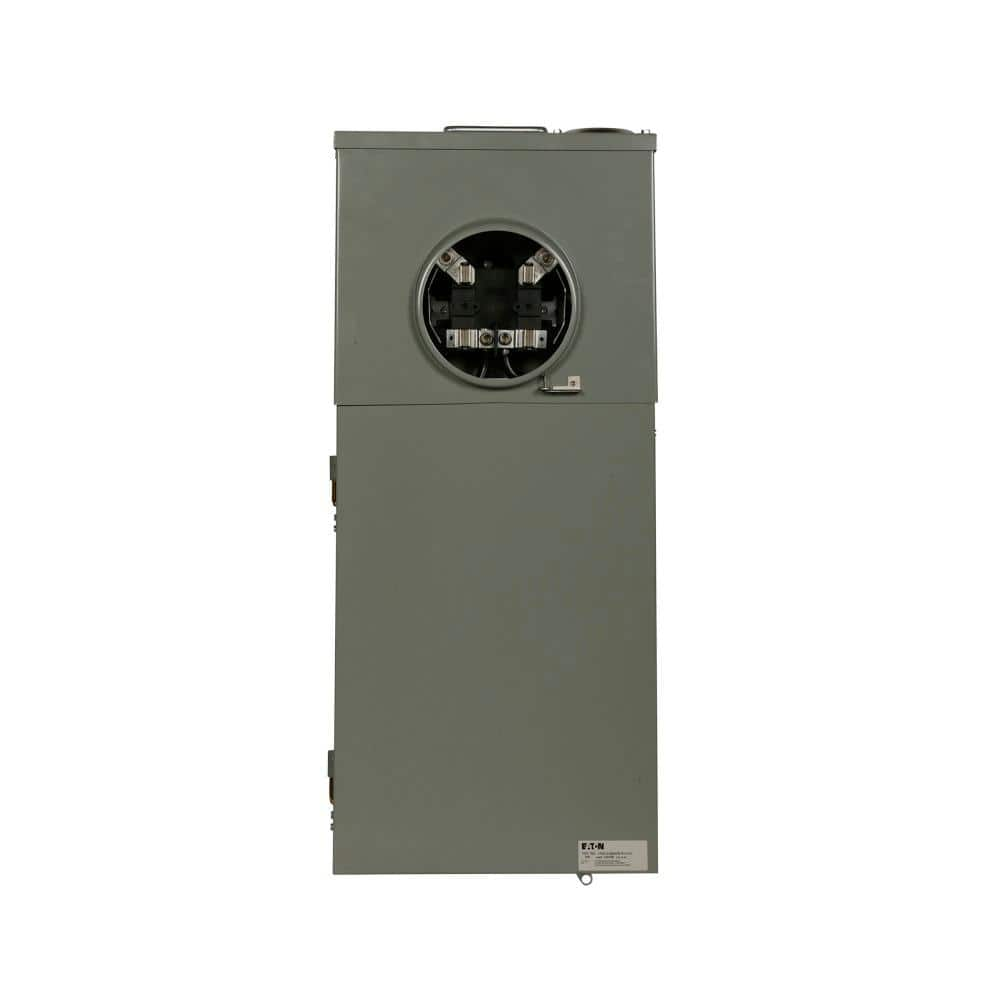
Eaton CH 200 Amp 12-Space 12-Circuit Non-EUSERC Meter Breaker Panel CMB1212B200BTS

Voltage / Circuit Tester
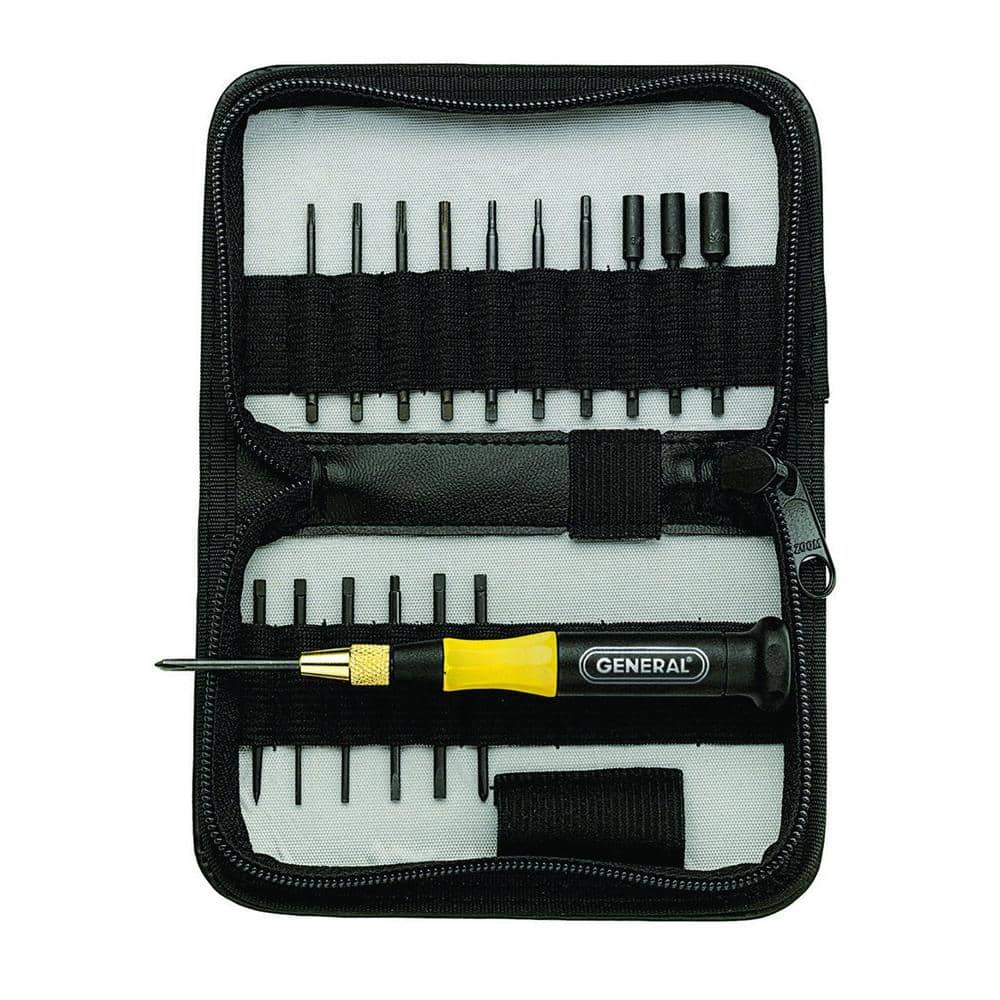
General Tools Screwdriver Set (18-Piece) 63518

Werner 28 ft. Aluminum D-Rung Equalizer Extension Ladder with 225 lbs. Load Capacity Type II Duty Rating D1728-2EQ

Wire nuts

Drill
Eaton CH 200 Amp 12-Space 12-Circuit Non-EUSERC Meter Breaker Panel CMB1212B200BTS
Eaton's residential meter breakers are service entrance equipment systems that consist of a single meter socket and load center distribution section. This type of configuration is also known as All-in
Voltage / Circuit Tester
Detects electrical voltage presence.
General Tools Screwdriver Set (18-Piece) 63518
General Tools has grown to become the recognized industry leader for specialty hand tools and instruments. The General Tools 18-Piece Screwdriver Set features a diversified assortment of extended-shaft
Werner 28 ft. Aluminum D-Rung Equalizer Extension Ladder with 225 lbs. Load Capacity Type II Duty Rating D1728-2EQ
Built with lightweight aluminum for easy transport, WERNER's 28 ft. Aluminum D-Rung Equalizer Extension Ladder eliminates uneven ground with the factory-installed, adjustable EverLevel leveling system.
Wire nuts
Connects electrical wires with a twist.
Drill
A power tool used for drilling holes in various materials.
Steps

Turn Off Power
10 minutesLocate your home's main electrical panel and identify the circuit breaker that controls the lighting in the foyer. Flip the breaker to the 'OFF' position. If your panel is not labeled, you may need to turn off the main breaker to ensure all power is disconnected. Use a voltage tester to confirm that the power is indeed off at the existing light fixture.
Watch: Turn Off The PowerRemove Existing Fixture
20 minutesCarefully remove the canopy or cover of the existing light fixture. Unscrew any decorative nuts or screws holding the fixture base to the mounting bracket. Gently pull the fixture away from the ceiling, supporting its weight. Disconnect the wires by unscrewing the wire connectors (wire nuts). Note how the wires are connected for future reference, typically black to black, white to white, and ground to ground.
Watch: Remove The Old Fixture
Install New Electrical Box (if necessary)
60 minutesChandelier fixtures, especially those for a two-story foyer, can be heavy. Standard electrical boxes may not be sufficient. You may need to install a special fan or chandelier-rated electrical box that is designed to support up to 150 lbs. These boxes often come with a metal brace that spans between ceiling joists. Follow the manufacturer's instructions for mounting the box securely to the ceiling joists. Ensure the box is flush with the ceiling surface.
Watch: Mount Fan-Rated Junction Box
Assemble Chandelier
45 minutesUnpack the chandelier and lay out all components. Follow the assembly guide provided with the fixture. This may involve attaching arms, crystal components, or other decorative elements to the main body of the chandelier. Do not attach the canopy or mounting hardware that will connect to the electrical box yet.
Watch: Unpack and Assemble Chandelier Arms
Install Mounting Bracket
15 minutesThe new chandelier will come with its own mounting bracket or crossbar. Align this bracket with the holes in the newly installed (or existing, if sufficient) electrical box. Use the screws provided with the mounting bracket to securely fasten it to the electrical box. Ensure the bracket is level and firmly attached, as it will support the weight of the chandelier.
Watch: Install Mounting Bar and Canopy Plate
Wire the Chandelier
25 minutesFeed the chandelier's electrical cord through the center of the mounting bracket and the electrical box. Strip about 1/2 inch of insulation from the ends of the chandelier wires if they are not already pre-stripped. Connect the wires according to standard practice: black (hot) wire from the chandelier to the black wire from the ceiling, white (neutral) wire from the chandelier to the white wire from the ceiling, and the bare copper or green (ground) wire from the chandelier to the bare copper or green wire from the ceiling. Use new wire nuts to secure each connection. Ensure all connections are tight and no bare wire is exposed.
Watch: Wire and Mount the Chandelier
Mount the Chandelier
20 minutesCarefully lift the assembled chandelier and align its canopy with the mounting bracket. The canopy typically has a threaded nipple that passes through a central hole in the bracket. Secure the canopy to the bracket using the decorative nuts or screws provided with the chandelier. Ensure the canopy is flush against the ceiling and the chandelier hangs straight.
Watch: Secure Chandelier Canopy
Install Light Bulbs and Trim
15 minutesInstall the appropriate type and wattage of light bulbs as specified by the chandelier manufacturer. Do not exceed the maximum wattage for any socket. Attach any remaining decorative glass shades, crystals, or trim pieces that were not pre-assembled. Ensure all pieces are securely attached.
Watch: Install Bulbs and Shades, Then Test
Restore Power and Test
5 minutesGo back to your electrical panel and flip the circuit breaker to the 'ON' position. Return to the foyer and test the chandelier by flipping the light switch. Ensure all bulbs illuminate correctly and the fixture operates as expected. If using a dimmer, test its functionality.
Watch: Restore Power and Test Fixture