

Floating Shelf Installation
About This Project
This project involves installing a knotty pine floating shelf on a drywall surface. The process will include selecting the appropriate mounting hardware for drywall, locating wall studs for secure attachment, measuring and marking the shelf's position, drilling pilot holes, and securely fastening the shelf to the wall. The final step will be to ensure the shelf is level and stable.
Tools & Materials
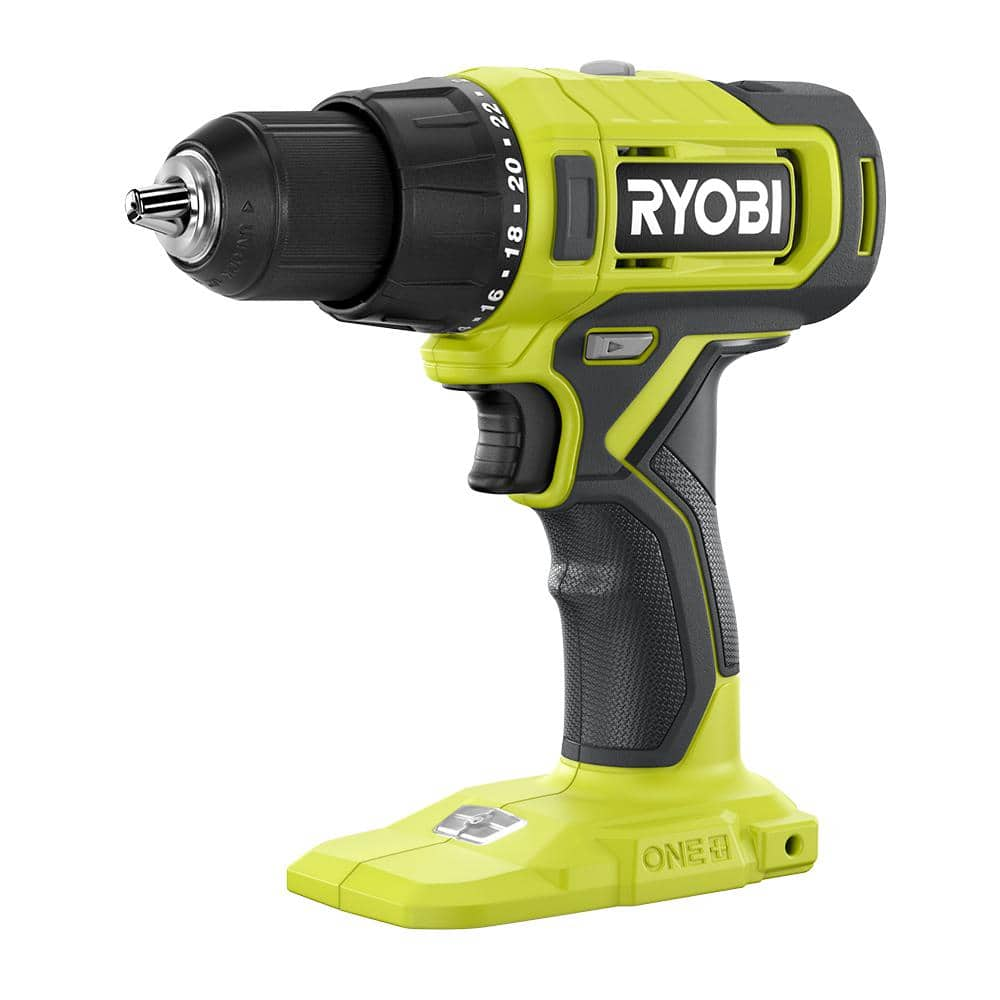
RYOBI ONE+ 18V Cordless 1/2 in. Drill/Driver (Tool Only) PCL206B
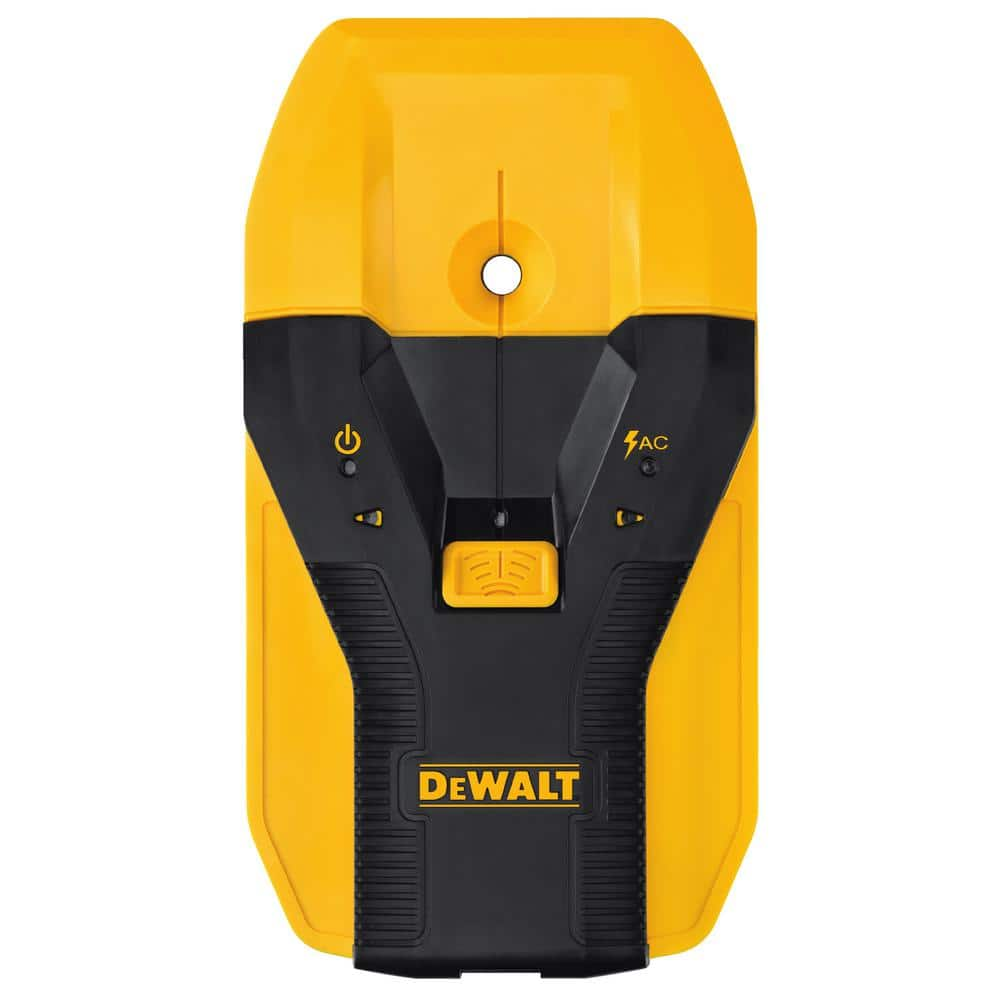
DEWALT 1-1/2 in. Stud Finder DW0150
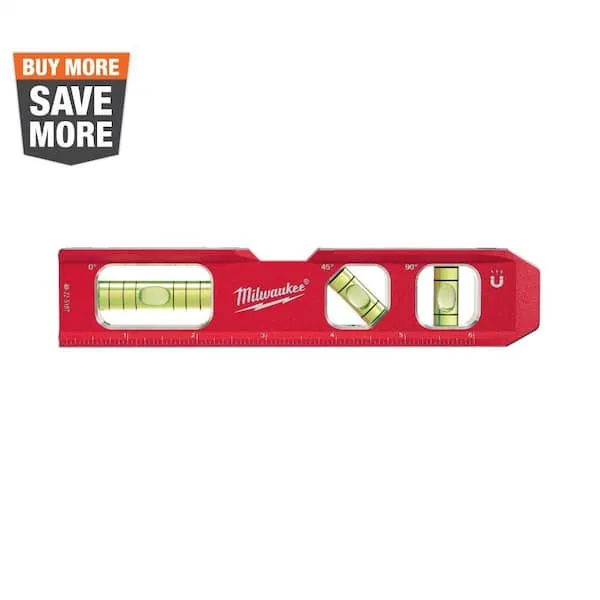
Level
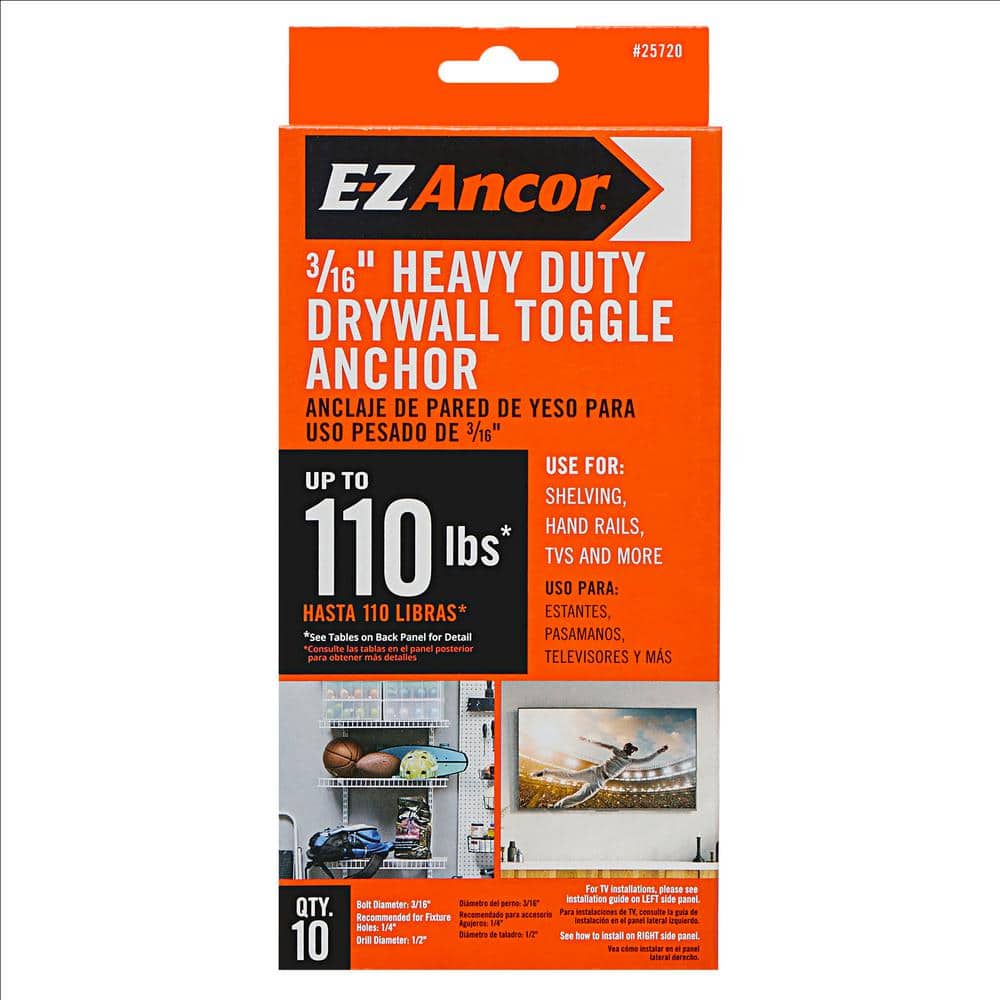
E-Z Ancor 3/16 in. x 2-1/2 Heavy-Duty Phillips Drywall Screw Toggle Anchors (10-Pack) 25720
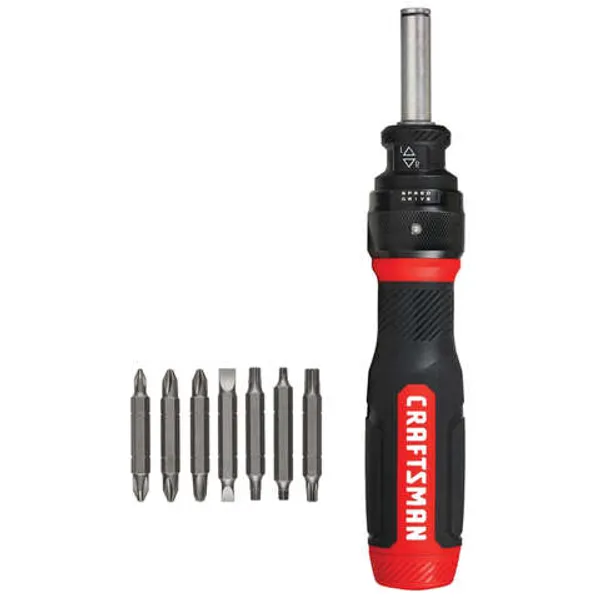
Screwdriver
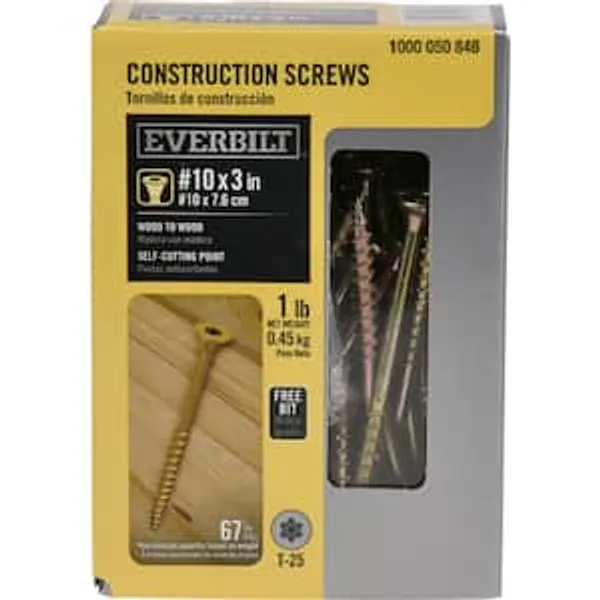
#10 3” Wood Screws
RYOBI ONE+ 18V Cordless 1/2 in. Drill/Driver (Tool Only) PCL206B
Expand your RYOBI 18V ONE+ System with the 18V ONE+ Cordless 1/2 in. Drill/Driver. The 18V ONE+ Cordless 1/2 in. Drill/Driver comes equipped with a powerful motor that provides 515 in./lbs. of torque.
DEWALT 1-1/2 in. Stud Finder DW0150
This Center Sensor Stud Finder has a detection depth of 1-1/2 in. for wood and metal. Traditional stud sensors locate the edge of the stud, but our new product locates the center for a more efficient read, even when held at an angle. Plus, it is constantly calibrating to save time during use. An audible alert and directional LED arrows clearly notify you once the stud is located and you can easily mark the center of the stud with the center marking channel.
Level
Ensures surfaces are just right.
E-Z Ancor 3/16 in. x 2-1/2 Heavy-Duty Phillips Drywall Screw Toggle Anchors (10-Pack) 25720
E-Z Ancor 3/16 in. Heavy-Duty Drywall Toggle Anchors (10-Pack) provide a strong hold for a variety of wall-hanging needs. They provide anchoring versatility and are easy to install. These anchors are ideal for use with shelving, hand rails, TVs and more.
Screwdriver
A tool used to turn screws.
#10 3” Wood Screws
Sturdy screws ideal for wood.
Steps
Determine Shelf Placement and Locate Studs
15 minutesUsing a pencil, lightly mark the desired height for the top of the floating shelf on the drywall. Employ a stud finder to scan the wall horizontally along your marked line to locate the center of any wall studs. Mark the center of each stud found. For a secure installation, aim to hit at least two studs.
Mark Mounting Bracket Position
10 minutesHold the floating shelf's mounting bracket against the wall, aligning it with your pencil marks and ensuring it is centered over the located studs. Use a pencil to mark the positions of the screw holes on the wall through the bracket's openings. Double-check that the bracket is level before marking.
Drill Pilot Holes
15 minutesSelect a drill bit slightly smaller than the diameter of your mounting screws. Drill pilot holes into the wall at each pencil mark. If you are not drilling directly into a stud, you will need to install appropriate drywall anchors. If drilling into studs, ensure the pilot hole is deep enough for the screw.
Install Mounting Bracket
10 minutesAlign the mounting bracket with the pilot holes. Drive appropriate screws through the bracket and into the pilot holes. If using drywall anchors, ensure they are properly installed before driving the screws. Tighten the screws until the bracket is snug against the wall and does not move.