

Faucet Repair
About This Project
This project outlines the steps to diagnose and fix a leaking single-handle kitchen sink faucet. It covers identifying the source of the leak, gathering necessary tools and parts, disassembling the faucet, replacing worn components (like O-rings, washers, or cartridges), and reassembling and testing the faucet.
Tools & Materials

Adjustable Wrench
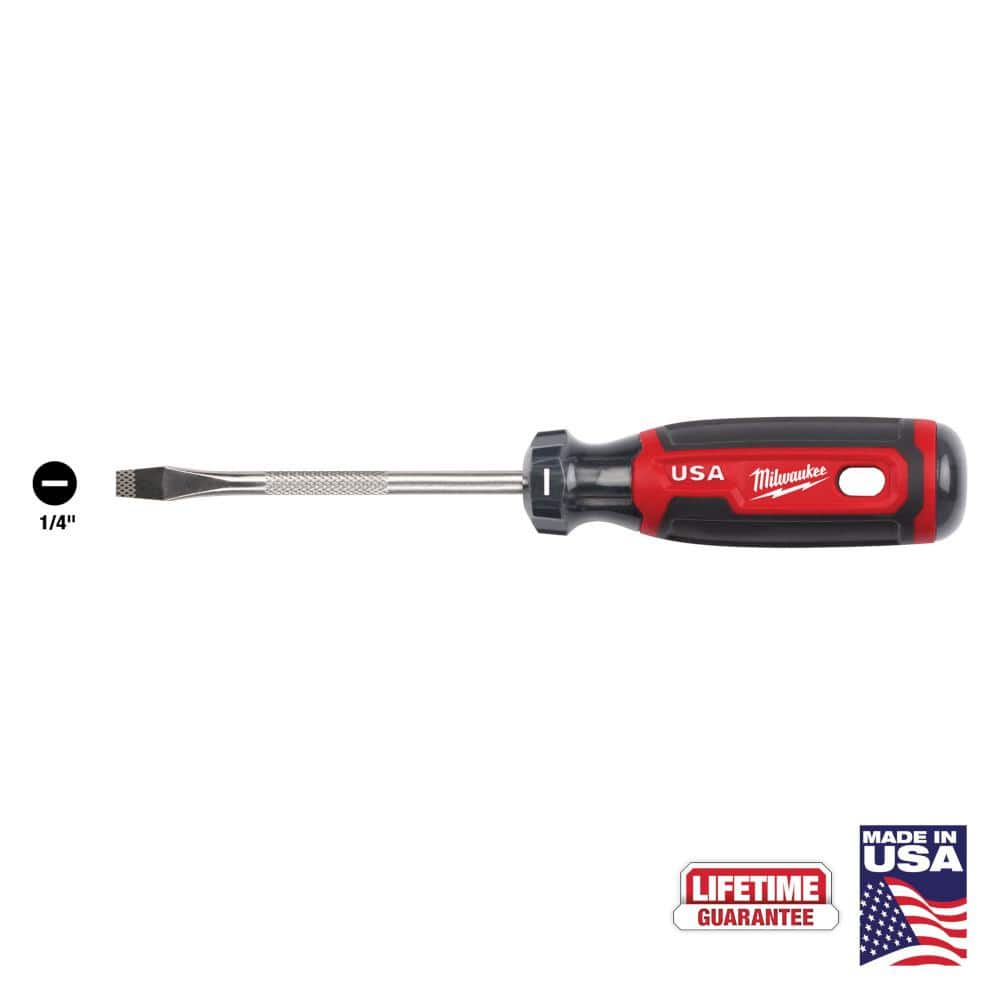
Milwaukee 4 in. x 1/4 in. Slotted Flat Head Screwdriver with Cushion Grip MT206
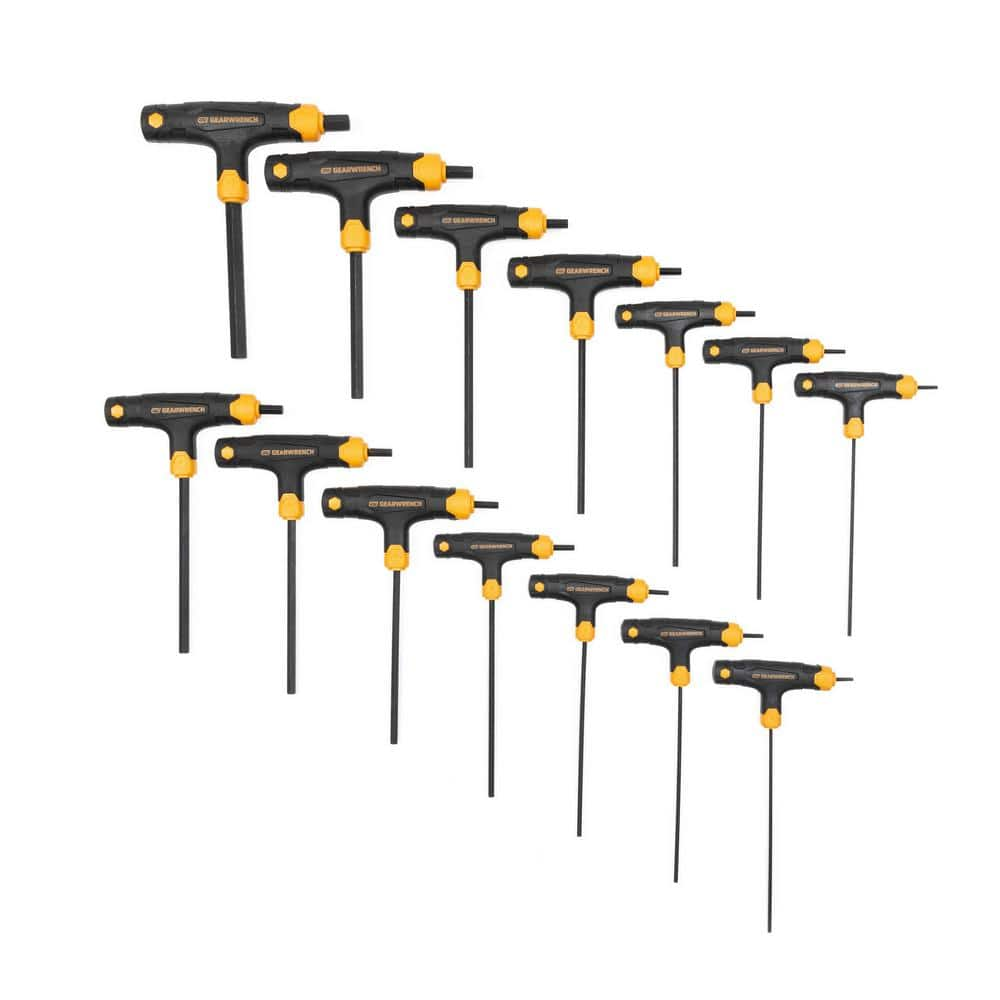
GEARWRENCH SAE & Metric T-Handle Hex Key Set (14-Piece) 83514
Towel
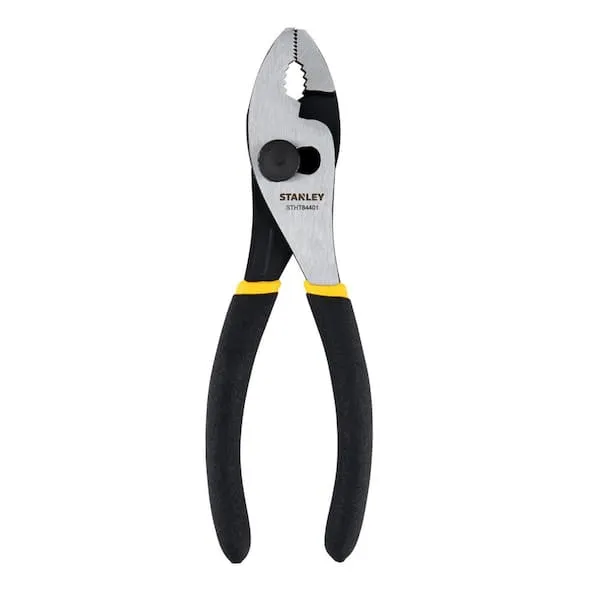
Pliers
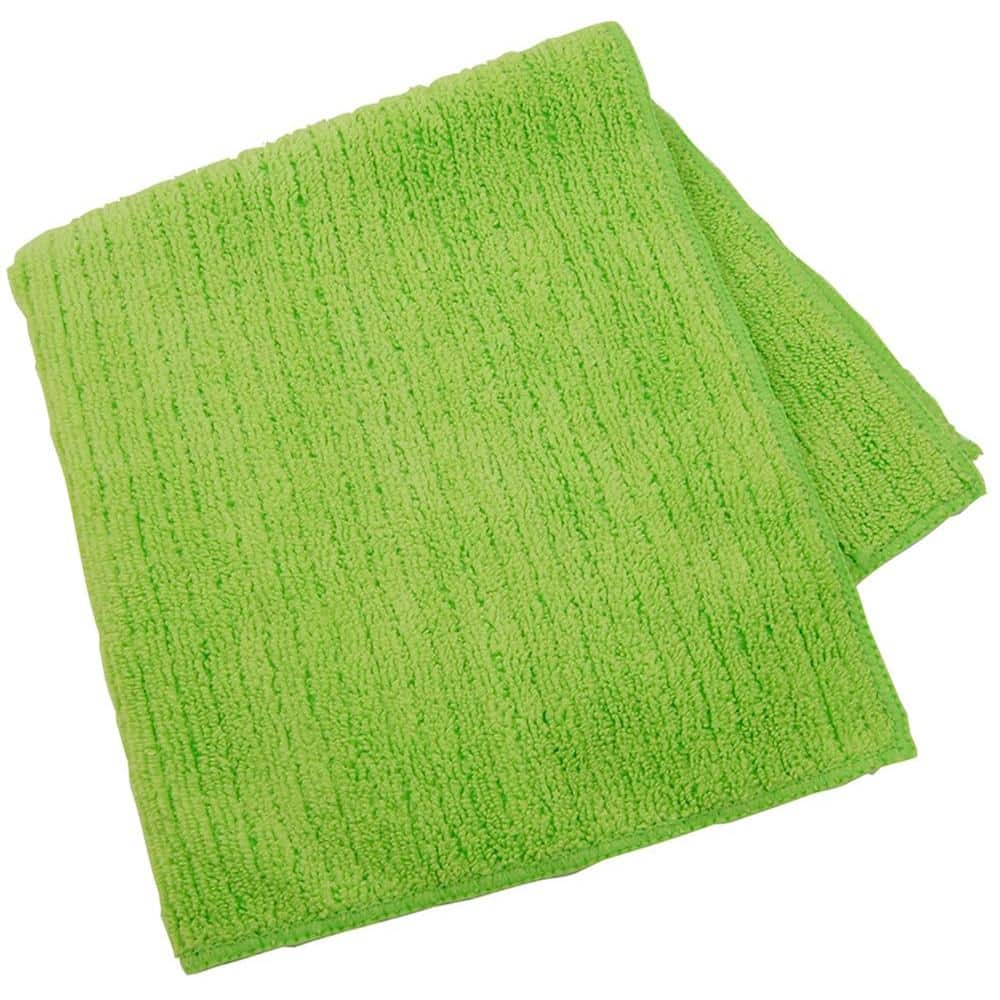
Quickie Microfiber Kitchen and Bathroom Cloth 469372
Adjustable Wrench
Fits various nut and bolt sizes with its adjustable jaw.
Milwaukee 4 in. x 1/4 in. Slotted Flat Head Screwdriver with Cushion Grip MT206
The Milwaukee® 1/4" Slotted 4" Cushion Grip Screwdrivers (USA) are manufactured to give the professional the best-fitting screwdriver with max grip. These screwdriver tips are custom machined to deliver
GEARWRENCH SAE & Metric T-Handle Hex Key Set (14-Piece) 83514
The GEARWRENCH 14-Piece SAE/Metric T-handle hex key set includes hex keys made from alloy steel to deliver maximum strength and resist rotational distortion. Chamfered edges help slide the hex keys easily
Towel
Absorbs moisture and dries surfaces.
Pliers
Grips and manipulates objects.
Quickie Microfiber Kitchen and Bathroom Cloth 469372
Clean those tough bathroom and kitchen messes with this high quality microfiber weave cloth. Microfiber has natural cleaning powers and the textured weave of this cloth enhances its ability to absorb liquids and clean up messes. Use it on counter tops, appliances, bathroom surfaces, paintwork and furniture. The cloth is machine washable and comes with an identification tag to tell you on what surfaces it should be used.
Steps
Disassemble faucet handle
5 minutesPry off the decorative cap on the faucet handle using a flathead screwdriver or a putty knife. Once the cap is removed, you will see a set screw. Loosen this set screw with an Allen wrench or screwdriver, depending on the type of screw, and then lift the handle straight up and off the faucet body.
Extract the faucet cartridge
2 minutesOnce the retaining nut or clip is removed, the faucet cartridge should be accessible. Grasp the top of the cartridge with pliers or by hand and pull it straight up and out of the faucet body. Some cartridges may require a slight twist or wiggling to remove.
Clean the faucet body
3 minutesUse a soft cloth and a mild cleaning solution (like vinegar or a dedicated faucet cleaner) to wipe down the inside of the faucet body, paying attention to the area where the cartridge was seated. Remove any mineral buildup or debris to ensure a good seal with the new cartridge.
Insert the new faucet cartridge
2 minutesCarefully align the new faucet cartridge with the opening in the faucet body, ensuring any tabs or notches are properly seated. Gently push the new cartridge into place until it is fully seated. Refer to the manufacturer's instructions for specific alignment details.
Turn on water supply and test
5 minutesSlowly turn the hot and cold water shut-off valves counter-clockwise to restore the water supply. Turn on the faucet and let the water run for a minute, checking carefully for any leaks around the handle, spout, and under the sink. Turn the faucet off and observe for any drips.