
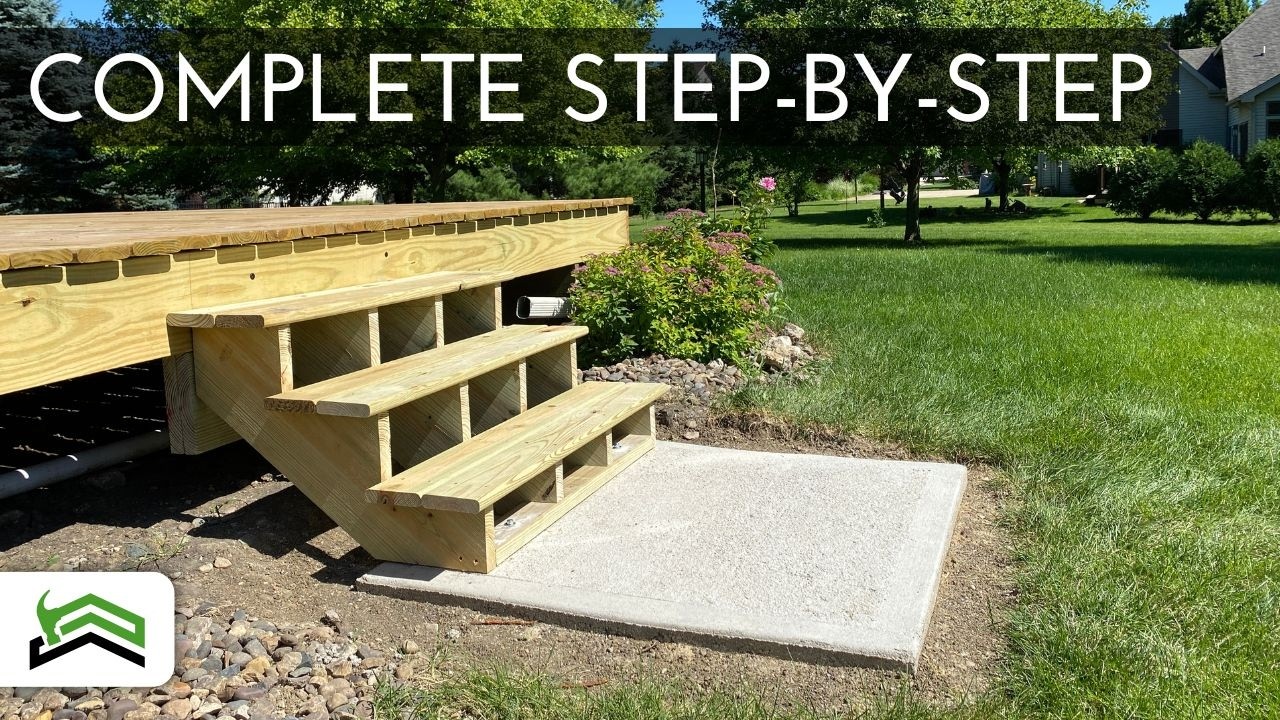
How to Build Deck Stairs with Pre-Cut Stringers
About This Project
Outline for building deck stairs using pre-cut stringers, focusing on safe attachment and proper support.
Tools & Materials
Measuring Tape
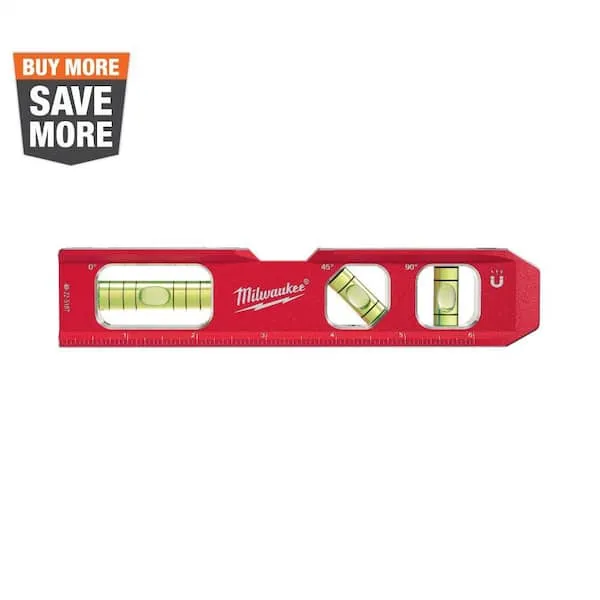
Level
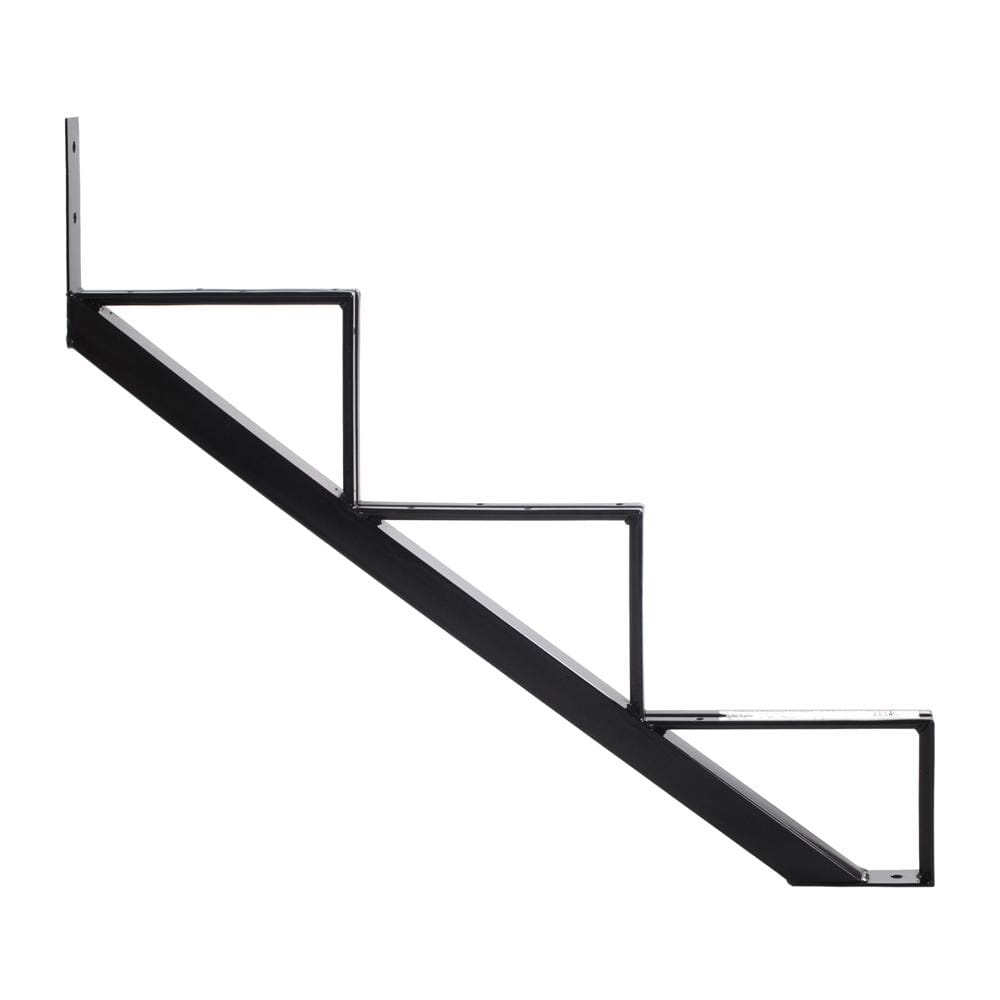
Pylex 3-Steps Steel Stair Stringer black 7-1/2 in. x 10-1/4 in. (Includes 1 Stair Stringer) 13903

SPAX 3/8 in. x 6 in. Exterior Hex Head Structural Wood Lag Screws Powerlags Hex (25 Each) Bit Included 4571821001525

Safety Glasses
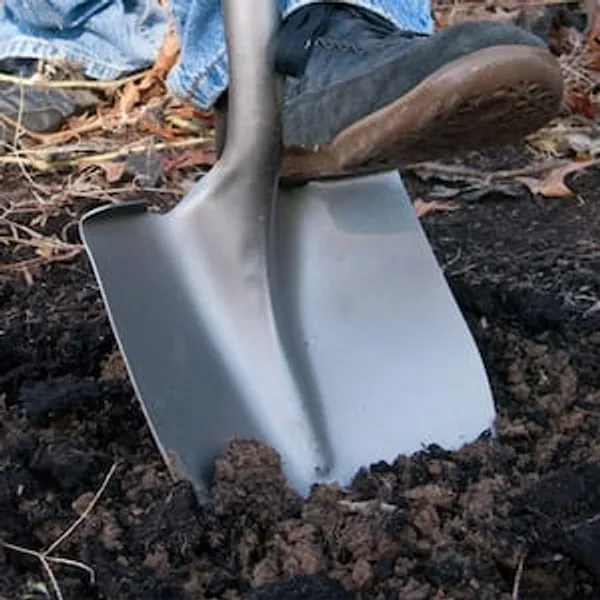
Shovel
Measuring Tape
For accurate measurements of plywood and components, ensuring proper assembly.
Level
Ensures surfaces are just right.
Pylex 3-Steps Steel Stair Stringer black 7-1/2 in. x 10-1/4 in. (Includes 1 Stair Stringer) 13903
The easiest way to build a solid and lasting staircase. Light and easy to manipulate, this stair frame is quickly installed. Designed in 1-piece, it is ready for steps. No more complicated assemblies.
SPAX 3/8 in. x 6 in. Exterior Hex Head Structural Wood Lag Screws Powerlags Hex (25 Each) Bit Included 4571821001525
The SPAX Factor - For the craftsman that concentrates on the details, We Work for You. For the Pro that puts qualify first, we help you create stronger connections, enhance performance and improve results
Safety Glasses
Keeps eyes safe from potential hazards.
Shovel
Digs, lifts, and moves with ease.
Steps
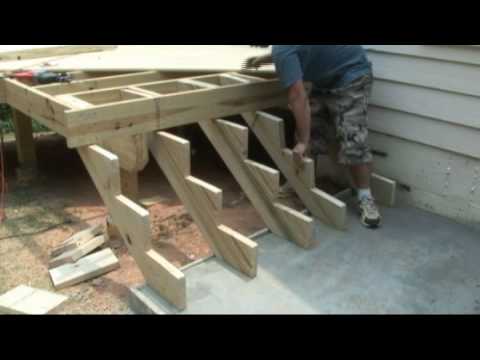
Attach Stringers to Deck Frame
30 minutesPosition the top of each stair stringer flush against the deck ledger board. Ensure the stringers are plumb and parallel to each other. Secure the stringers to the ledger board using lag screws or structural screws specifically designed for exterior wood construction. Drive the screws through the stringer and into the ledger board, ensuring at least two screws per stringer. For added support, if the stringer extends past the rim joist, secure the bottom of the stringer to the deck frame joist using appropriate fasteners, such as joist hangers or structural screws, following manufacturer recommendations for load-bearing connections.
Watch: Attach Stringers to Deck Frame
Install Bottom Support (Optional but Recommended)
120 minutesIf your stairs are tall or will experience significant traffic, it is recommended to provide a solid base. Dig a hole and pour a concrete footing, or attach a treated lumber support block to the ground or a stable existing structure. Ensure the top of the support is level and at the correct height to receive the bottom of the stringers. If using a concrete footing, use a post anchor to connect the stringer to the concrete. If using a lumber block, secure the stringer to the block with appropriate fasteners.
Watch: Establish Stair Base Support
Install Treads
60 minutesPlace the first tread onto the bottom steps of the stringers. Ensure the tread is level and its front edge overhangs the riser slightly (typically 1 inch). Secure the tread by driving screws through the tread and into the stringer notches. Use at least two screws per stringer. Repeat this process for each subsequent tread, working your way up the stairs. Ensure each tread is level and consistently spaced from the one below.
Watch: Install Treads
Install Risers (Optional)
45 minutesIf you are adding risers, cut pieces of lumber to fit snugly between the front of one tread and the back of the tread above. Align the top of the riser with the underside of the tread. Secure the riser by driving screws through the riser into the back of the tread above and into the stringer. Repeat for all steps.
Watch: Install Risers
Install Handrails and Balusters
180 minutesSecurely attach the bottom of the stair stringers to the deck frame using appropriate fasteners, such as structural screws or bolts. The top of the stringers should already be secured to the deck ledger. If handrails are required by local code, install handrail posts at the top and bottom of the stairs, and potentially at intermediate points for longer runs. Posts should be securely bolted to the deck frame or substructure. Attach balusters to the treads or stringers, spaced according to local building codes (typically no more than 4 inches apart). Finally, attach the handrail to the posts, ensuring it is at the correct height (usually 34-38 inches from the tread surface).
Watch: Install Railings and Balusters
Inspect and Finish
60 minutesWalk the stairs and test for any wobble or instability. Check that all screws and fasteners are tight and properly seated. Ensure treads are level and secure, and that the handrail is sturdy. Sand down any rough edges or splinters on the wood. Apply a sealant, stain, or paint to protect the wood from the elements and enhance its appearance, following the manufacturer's instructions for application and drying times.
Watch: Final Test and Inspection