
Bathtub Caulking
About This Project
This DIY project will guide you through the process of removing old caulk and applying new caulk around a bathtub to create a watertight seal, preventing water damage and improving aesthetics.
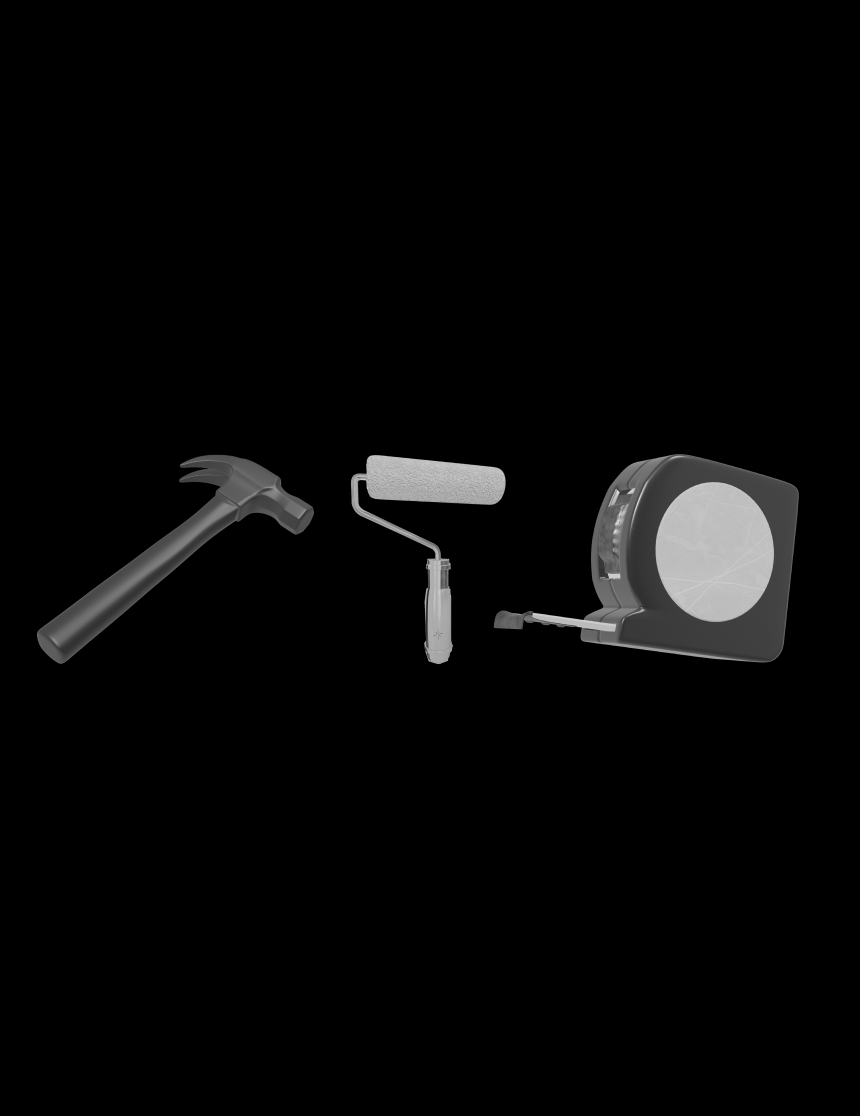
Tools & Materials
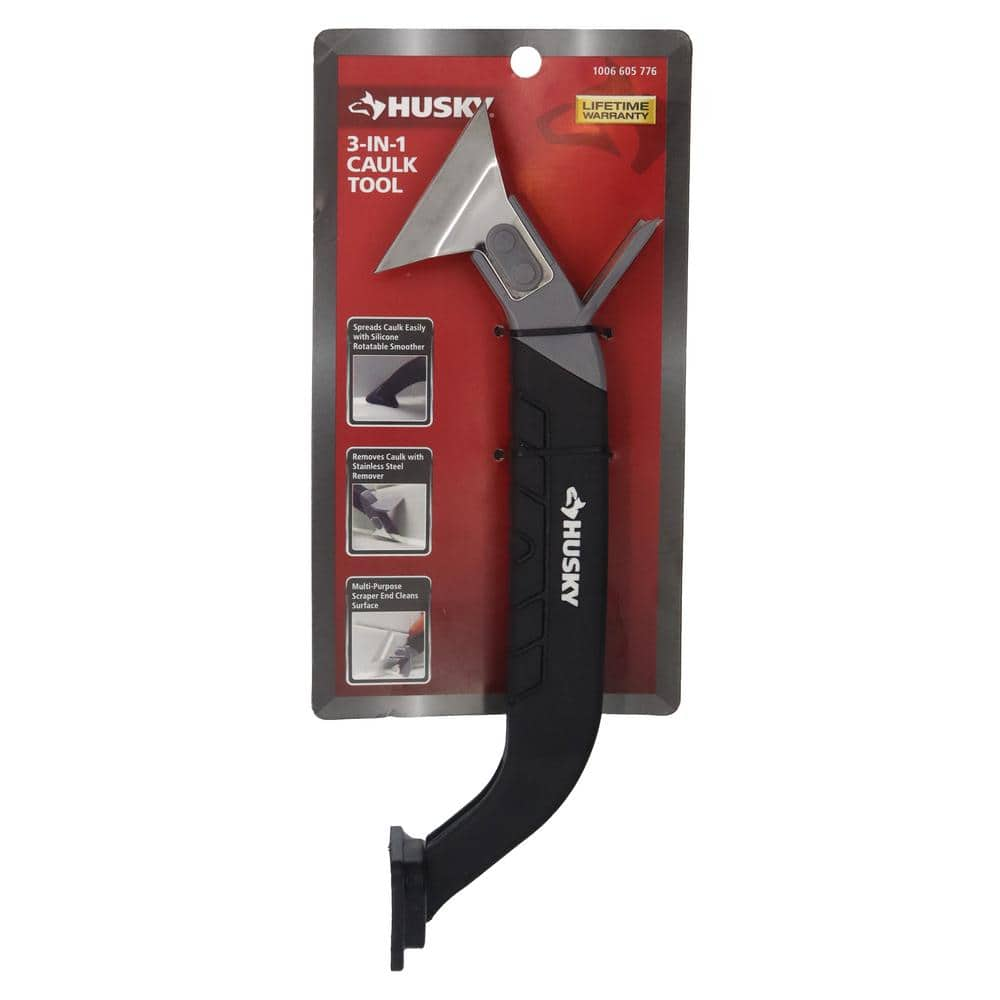
Husky 3-in-1 Caulk Tool CT31-HKY
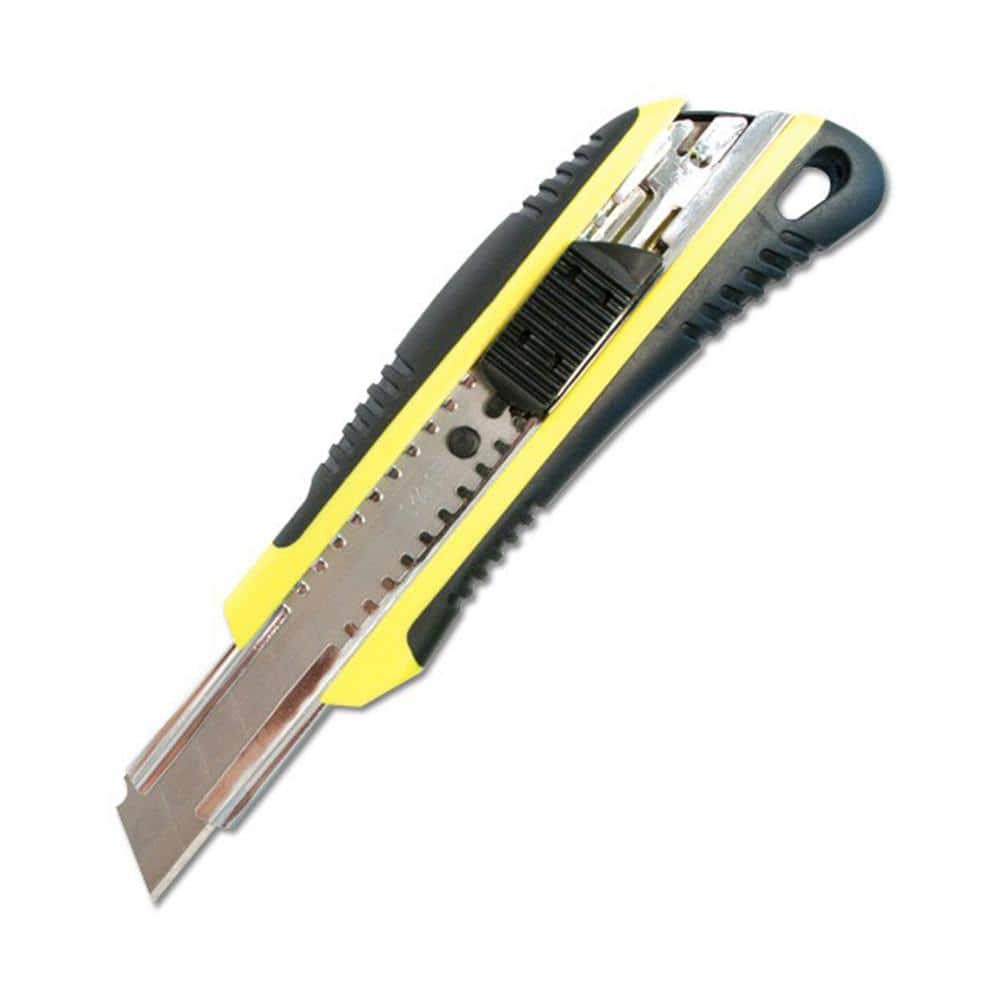
FASTCAP Triblade Utility Knife FC.TRIBLADE
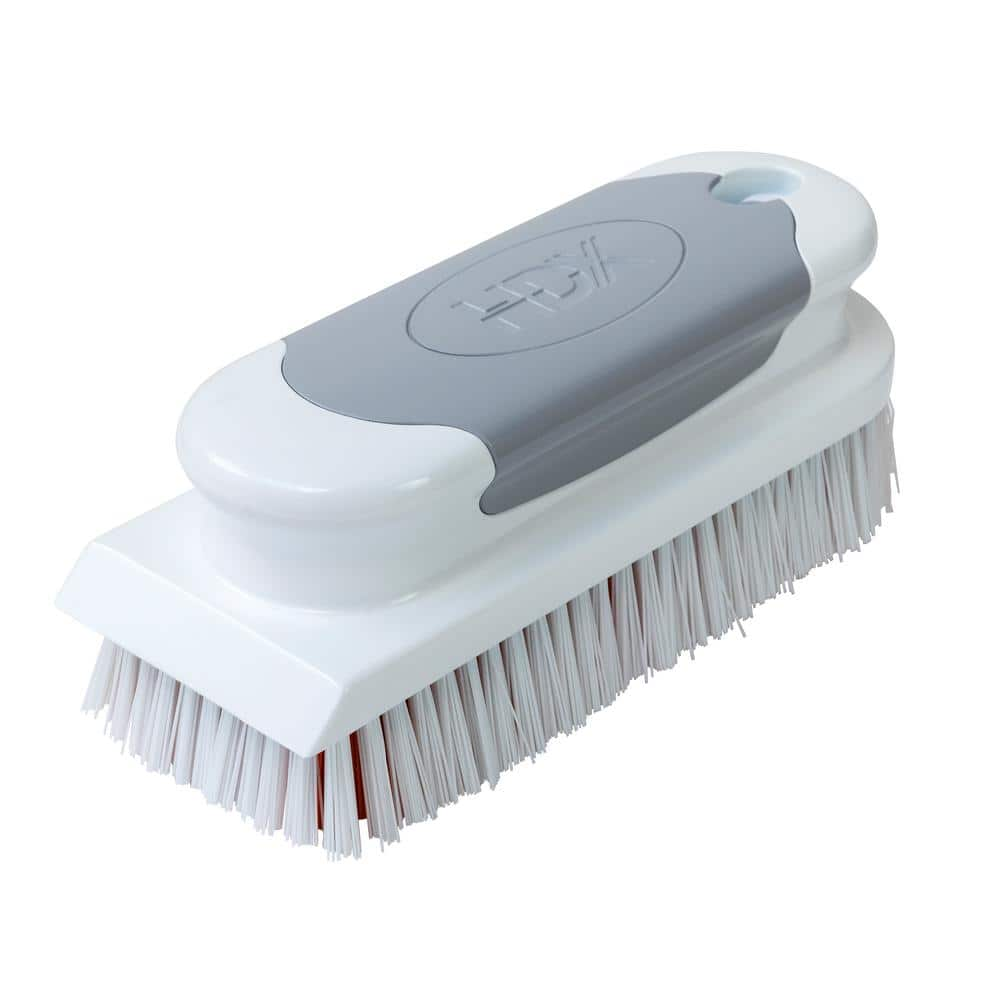
HDX Kitchen and Bath Scrub Brush 257MBHDXRM
All Purpose Sponge (3-Pack) FT4004
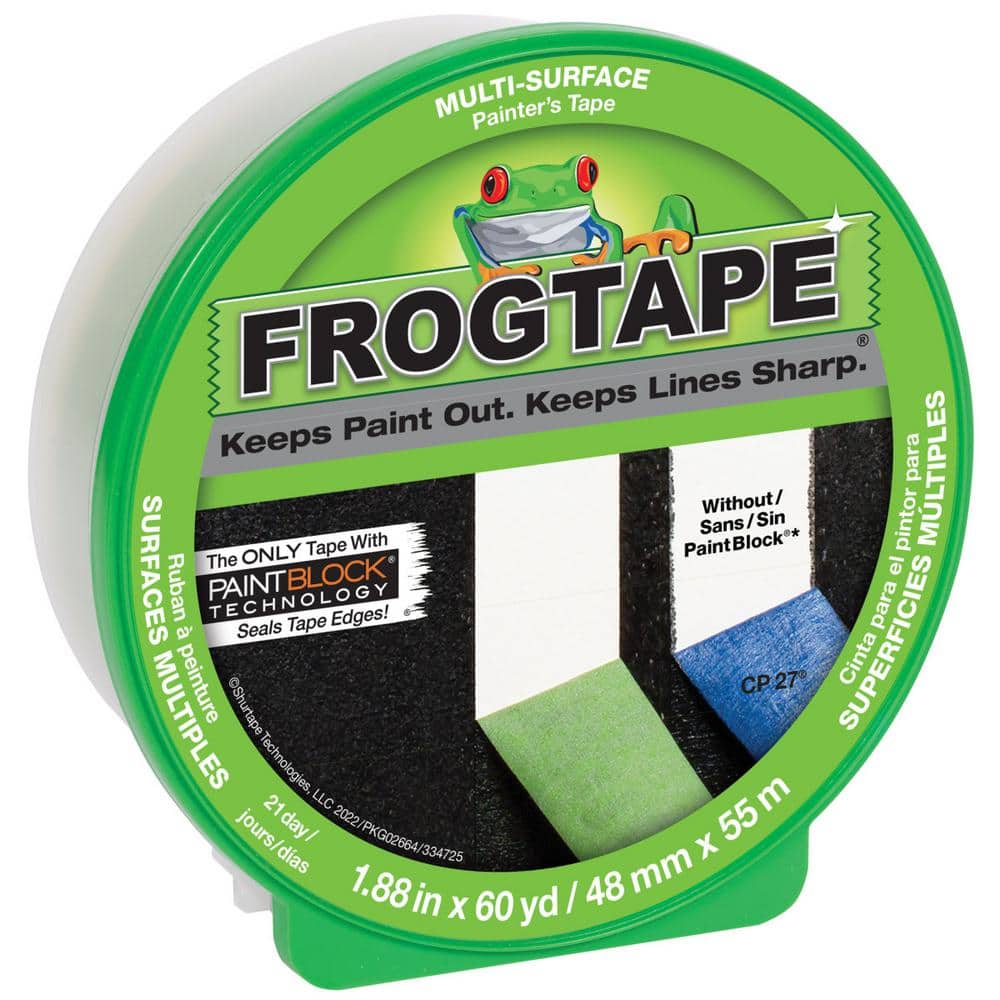
FrogTape Multi-Surface 1.88 in. x 60 yds. Painter's Tape with PaintBlock 240904
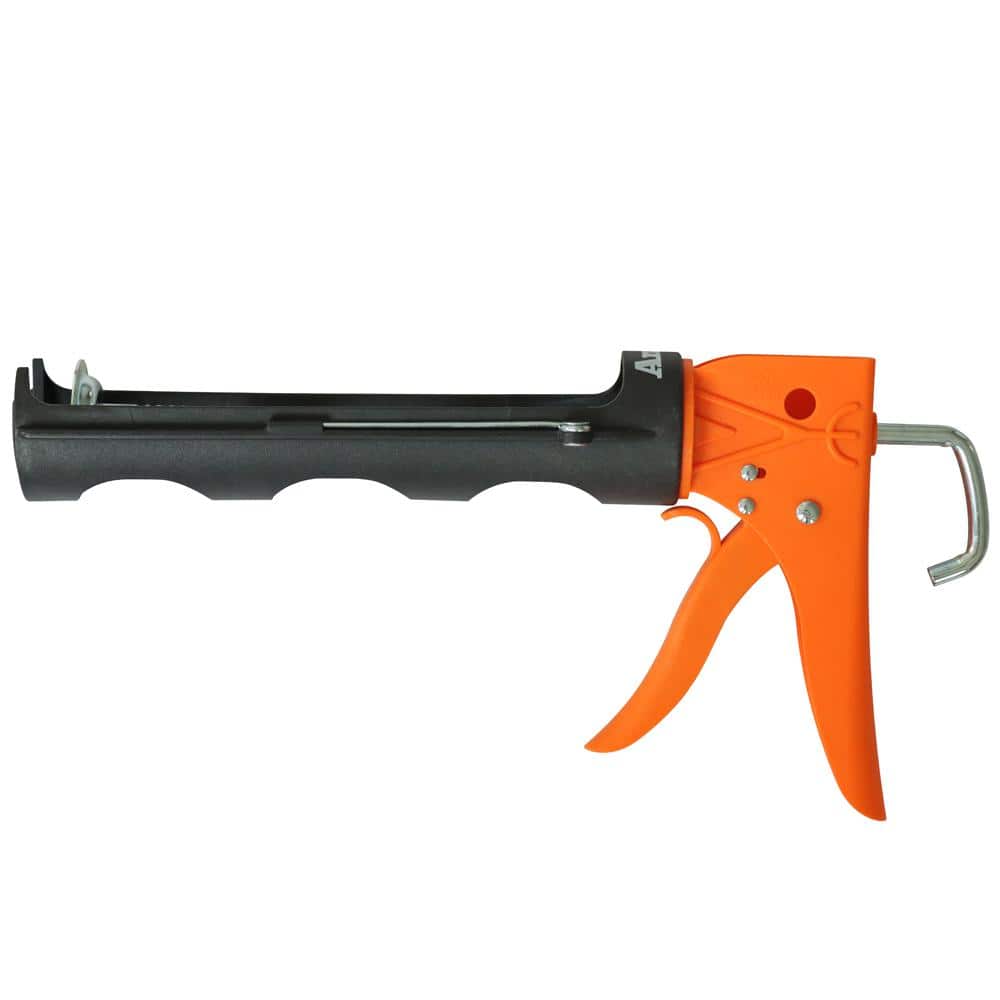
Anvil 10 oz. Drip Free Ratchet Caulk Gun HD-117FG-B1
Husky 3-in-1 Caulk Tool CT31-HKY
The 3-in-1 Caulk Tool consists of a steel caulk remover and a smoother with an adjustable radius. It works with acrylic, latex and silicone and is handy for window, bath and shower projects. A scraper
FASTCAP Triblade Utility Knife FC.TRIBLADE
The Fast Cap Tri Blade Utility Knife has a unique design allows for additional storage of 2 extra blades. The rubberized grip makes it comfortable to hold. The retractable self-locking blade makes the
HDX Kitchen and Bath Scrub Brush 257MBHDXRM
The stiff fibers of this brush are designed to withstand heavy use. Made for your toughest jobs. The Jumbo Scrub Brush features a patented no slip grip and is ergonomically designed for easier use.
All Purpose Sponge (3-Pack) FT4004
Easy grip sponge for multiple uses. This durable sponge is safe for all surfaces. Can be used for general duty clean up at the job site.
FrogTape Multi-Surface 1.88 in. x 60 yds. Painter's Tape with PaintBlock 240904
Get super sharp paint lines on your next project with FrogTape Multi-Surface Painter's Tape. This premium painter's tape is treated with exclusive PaintBlock Technology to seal tape edges and prevent paint bleed. Featuring medium adhesion, this multi-surface painter's tape is ideal for a variety of surfaces and applications. Plus, the solvent-free, high performance adhesive bonds quickly to the surface, so there is no wait to paint.
Anvil 10 oz. Drip Free Ratchet Caulk Gun HD-117FG-B1
Anvil 10 oz. dripless ratchet caulk gun is a lightweight caulk gun with rotating barrel for easy applications around edges and corners. It offers an 8:1 thrust ratio making it ideal for 10 oz. tubes of
Steps

Remove Old Caulk
30 minutesBegin by scoring the edges of the old caulk bead with a sharp utility knife or a dedicated caulk removal tool. Apply steady pressure and work your way along the entire seam, lifting and peeling the old caulk away. For stubborn areas, you may need to make multiple passes. Ensure all remnants of the old caulk are removed to provide a clean surface for the new application.

Clean the Surface
15 minutesAfter removing the old caulk, clean the bathtub edge and surrounding tiles or wall with a bathroom cleaner or a solution of water and mild detergent. Use a scrub brush or sponge to remove any soap scum, mildew, or adhesive residue. Rinse the area thoroughly with clean water and allow it to dry completely. A clean and dry surface is crucial for proper adhesion of the new caulk.
Apply Painter's Tape
10 minutesApply painter's tape along both sides of the seam where the new caulk will be applied. Ensure the tape is pressed down firmly to prevent caulk from seeping underneath. The tape should be positioned so that the edge of the tape aligns with the desired bead of caulk. This creates a guide for an even application and makes cleanup easier.

Prepare the Caulk Tube
2 minutesUsing a utility knife or the cutting mechanism on a caulk gun, carefully cut the nozzle of the caulk tube at a 45-degree angle. Start with a small opening, as you can always cut more away if needed. The size of the opening will determine the width of the caulk bead. A smaller opening is recommended for beginners to ensure better control.

Apply New Caulk
15 minutesInsert the prepared caulk tube into the caulk gun. Place the tip of the nozzle at the beginning of the seam at a 45-degree angle. Apply steady, even pressure to the caulk gun trigger, moving the gun smoothly along the seam to create a consistent bead of caulk. Aim to fill the gap completely without excessive overflow. Overlap slightly at the start and end of each section.

Smooth the Caulk Bead
10 minutesImmediately after applying the caulk, use a caulk tooling tool or a damp finger (wearing a glove is recommended) to smooth the bead. Run the tool or finger along the caulk line at a consistent angle, pressing gently to push the caulk into the gap and create a neat, concave surface. Wipe away excess caulk from the tool or finger onto a damp cloth or paper towel as you go.

Remove Painter's Tape
3 minutesGently and slowly pull the painter's tape away from the surface at a 45-degree angle. It is important to remove the tape while the caulk is still wet to ensure a clean break and prevent the caulk from peeling away with the tape. If any smudges occur, carefully touch them up with a damp cloth or your caulk smoothing tool.

Allow Caulk to Cure
Refer to the caulk manufacturer's instructions for the specific curing time. This typically ranges from 12 to 24 hours, but can vary depending on the type of caulk and environmental conditions. Avoid using the shower or bath, and keep the area dry during the curing process to ensure a strong, watertight seal.